Change an Encounter’s Billing Place of Service After Posting Charges
You can adjust an encounter’s place of service when you post charges.
Sometimes you need to change the place of service of an encounter after the charges have already been posted.
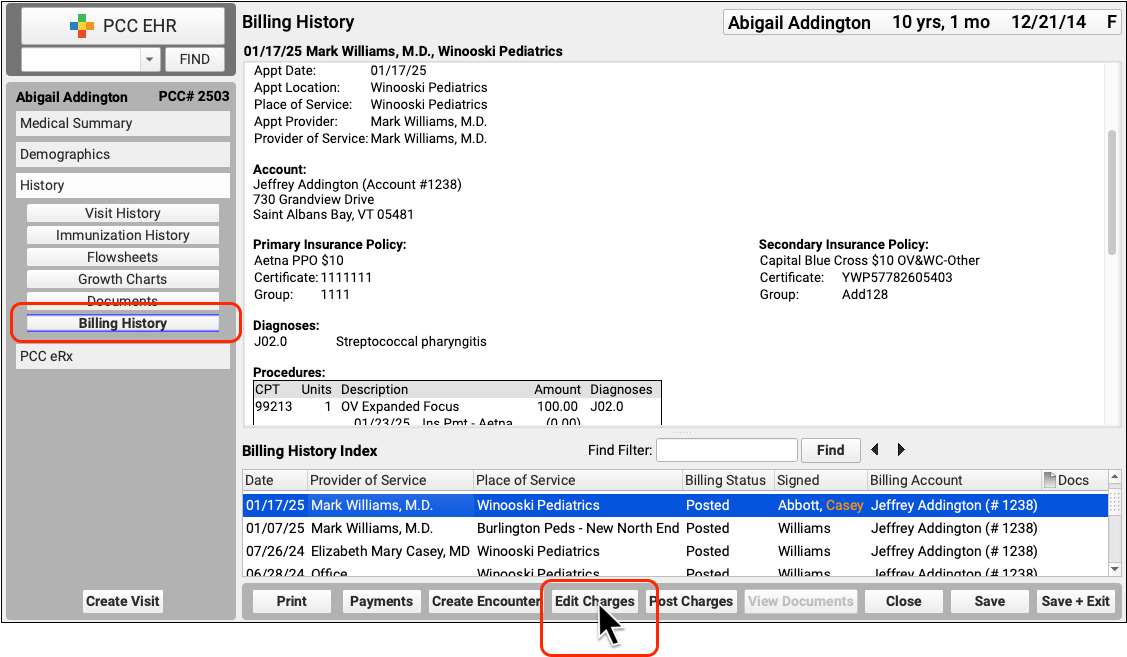
Select the encounter in the Billing History in the patient’s chart. Then click “Edit Charges”.
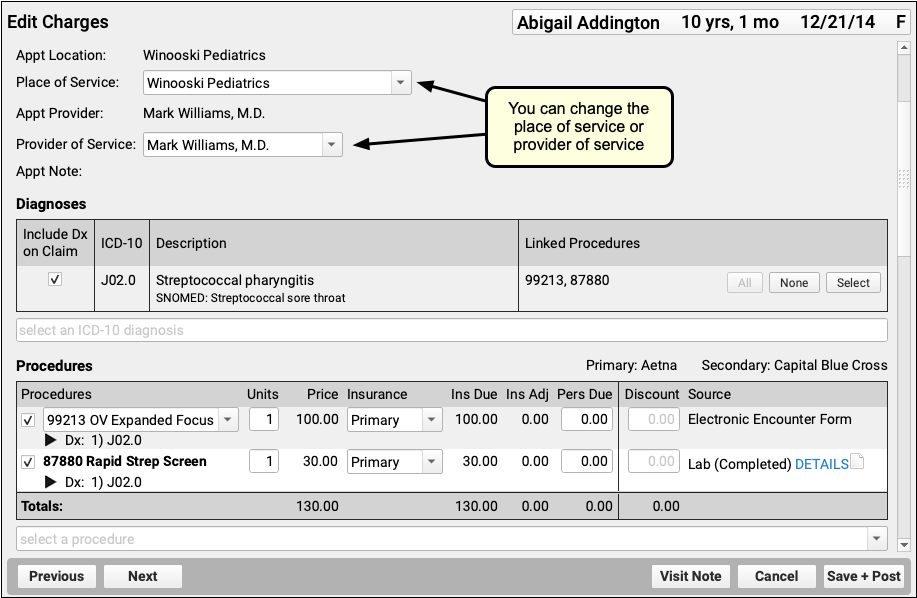
Next, edit the encounter’s location, or any other information about the encounter. Then click “Save + Post”.
For more information, including how to make other changes and queue up a claim, see Edit Encounter Charges and Other Claim Information.