Change the Copay and Responsible Party for Posted Charges
How do you change the responsible party for an encounter’s charges, and how do you change the expected copay (or personal amount due) for a charge?
Contents
Update the Patient’s Insurance Policies and Expected Copay
Start by fixing the patient’s policy information. Your practice can update a patient’s policies, including their expected copay, at any time before or after charges are posted. Use the Policies component, which is found in Patient Check-In, in the Demographics section of the chart, in the Post Charges tool, and wherever else your practice decides it should be visible.

When you update policy and copay before you post charges for an encounter, they will pend the correct payer and the correct expected copay will be indicated for the visit charge.
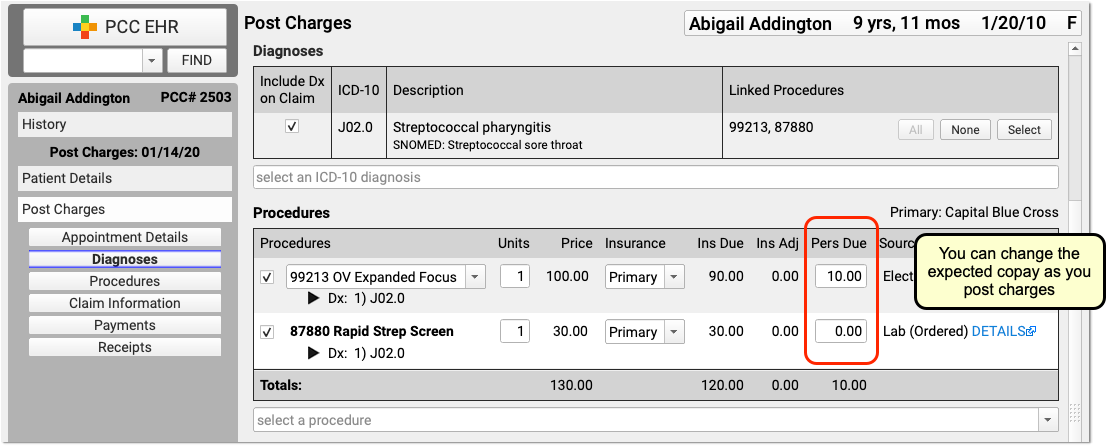
Adjust the Copay and Responsible Party as You Post Charges
As you post charges for an encounter, you can adjust the responsible party for each charge and change the copay or “Personal” amount due for each charge.
Read Post Charges to learn more.
Use “Edit Charges” to Change the Copay and Responsible Party
After charges are posted, you can make changes in from the Billing History in the patient’s chart. Select an encounter and click “Edit Charges” to change encounter details, including the code suffix, responsible party, and amount due personal (typically the copay) for each procedure.
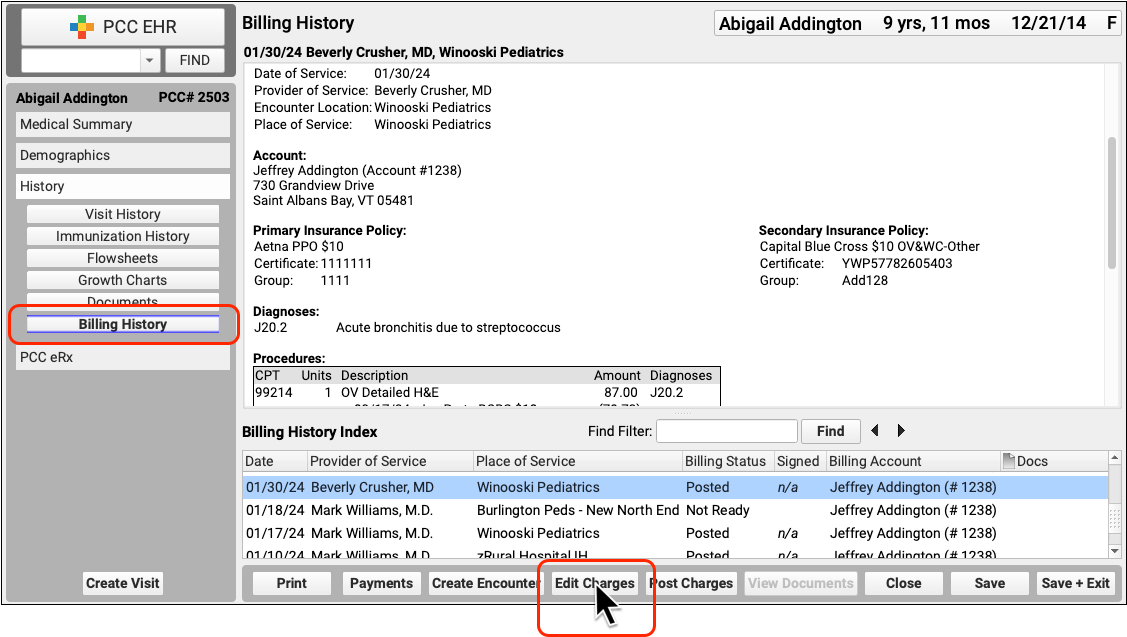

After making changes, you can optionally queue up a new claim. Read Edit Encounter Charges and Resubmit Claims to learn more.
Change the Copay and Next Responsible Party in the Insurance Payments Tool
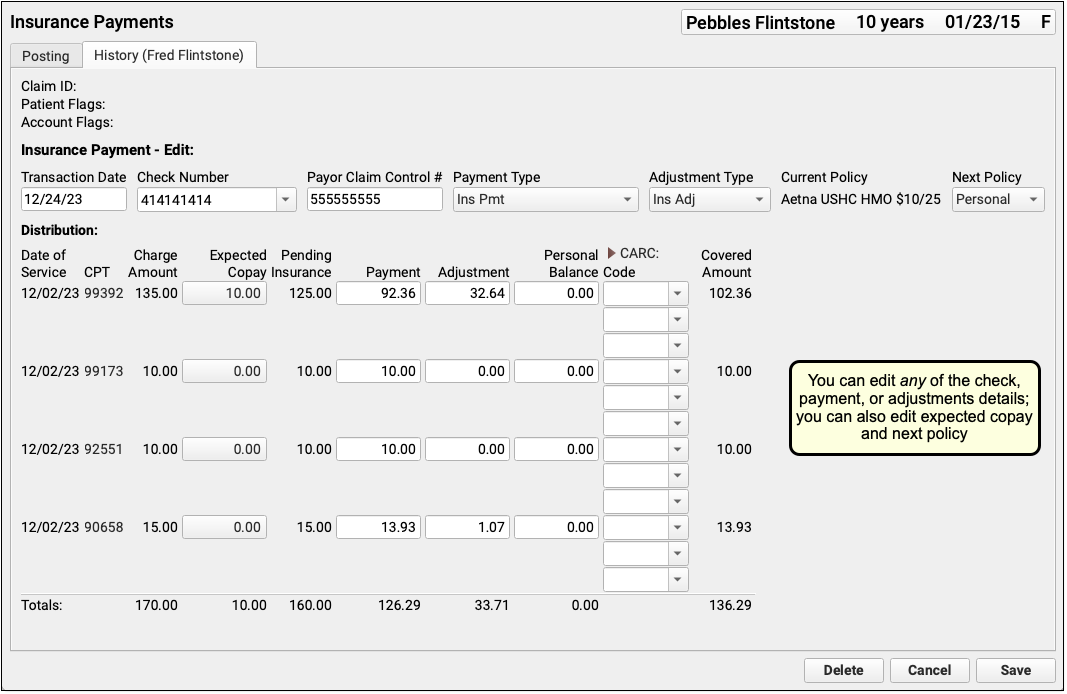
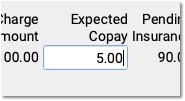
As you post insurance payments and adjustments, you can change the copay amount if (for example) the payer waives the copay or the ERA indicates a different expected amount.
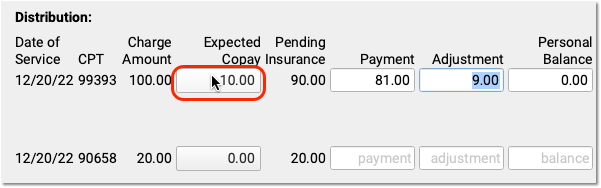

You can also select the next responsible party for any remaining amounts due on the charges.
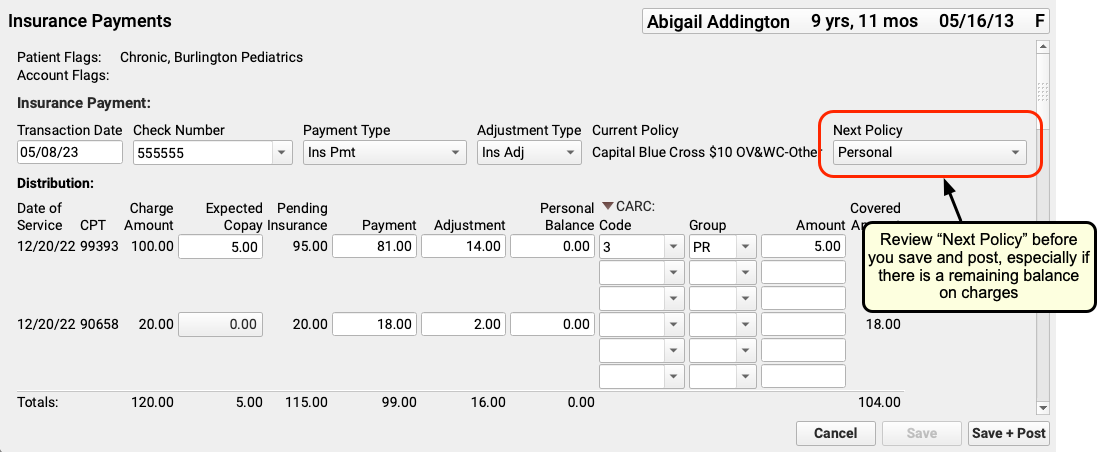
You can select from any policy on the patient’s record, and if necessary make changes to the patient’s policies on the same screen.
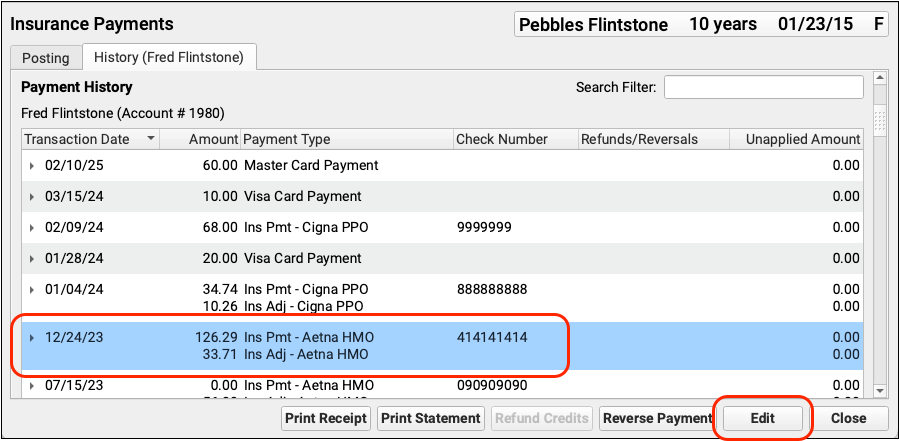
Later, you can use the History tab to edit any insurance payment and make the same changes, adjusting the copay and next responsible party.