Schedule Reports in PCC EHR
You can schedule reports to run in the future in PCC EHR.
Contents
Schedule a Report to Run Automatically
Use scheduled reports to automate recall lists, billing oversight reporting, and other workflows.
Select a Report
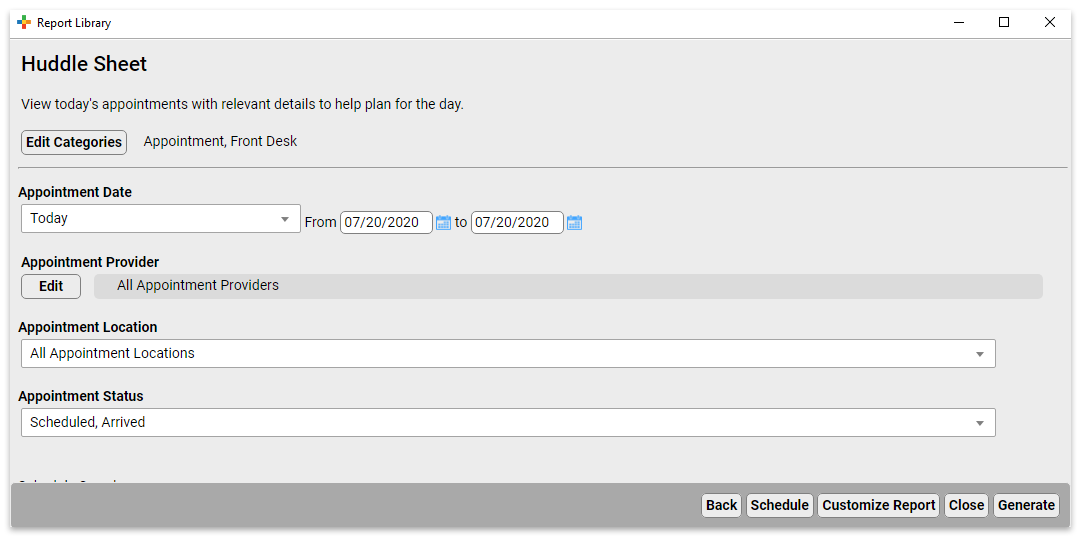
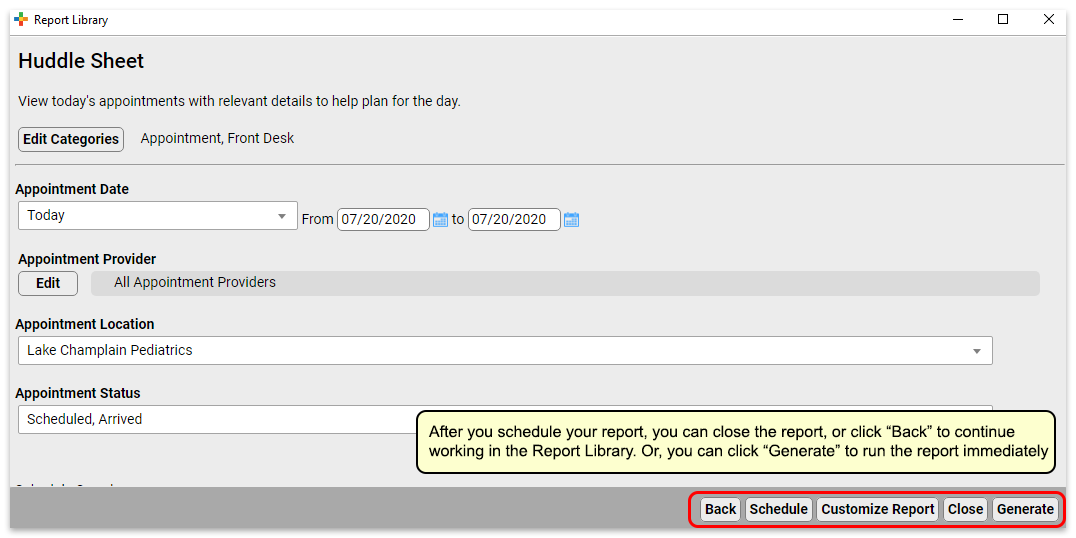
Open the Report Library and select the report you would like to schedule.

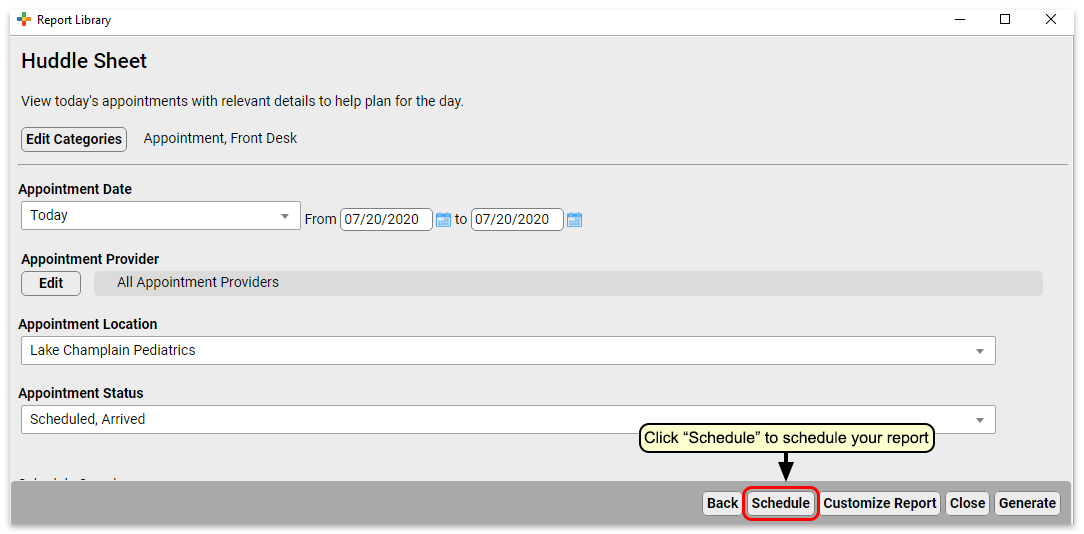
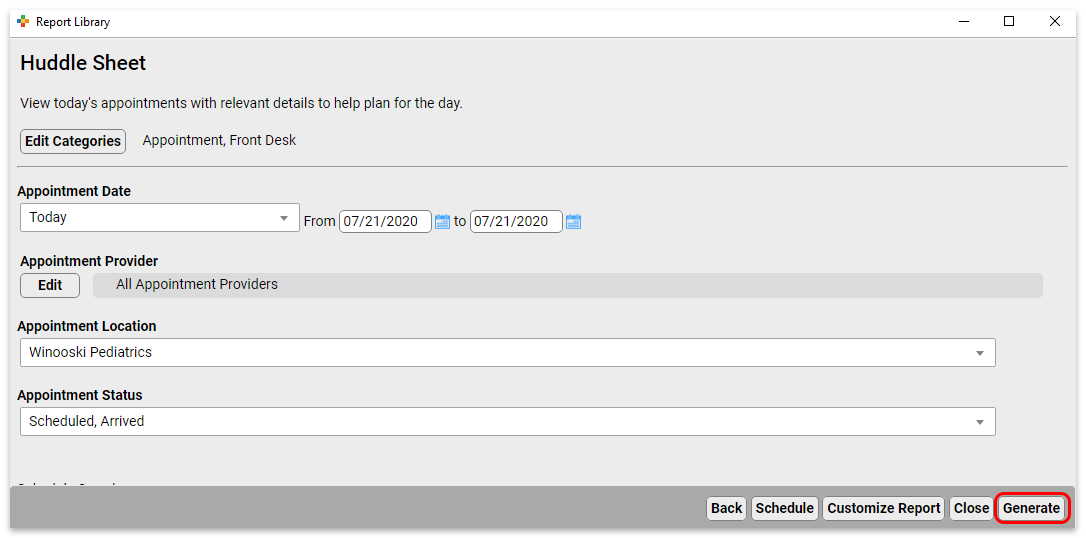
Set Report Filters and Click “Schedule Report”
Set up the Report Schedule
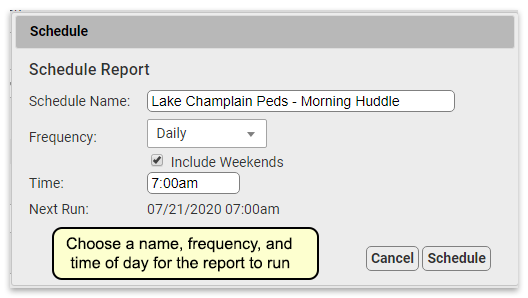
Choose a name for this scheduled report and the frequency at which you want it to run. You may want to schedule multiple instances of the same report with different filter settings, or to run on different schedules. Choose a name that will help identify which instance of a report this is.
Finish Scheduling the Report
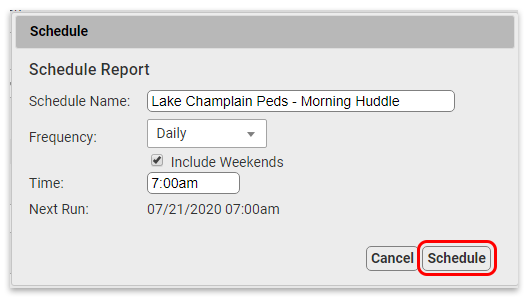
Click “Schedule” to finish scheduling the report.
Your report is scheduled. If you’d like, you can click “View Results” to generate the report immediately or move on to other tasks.
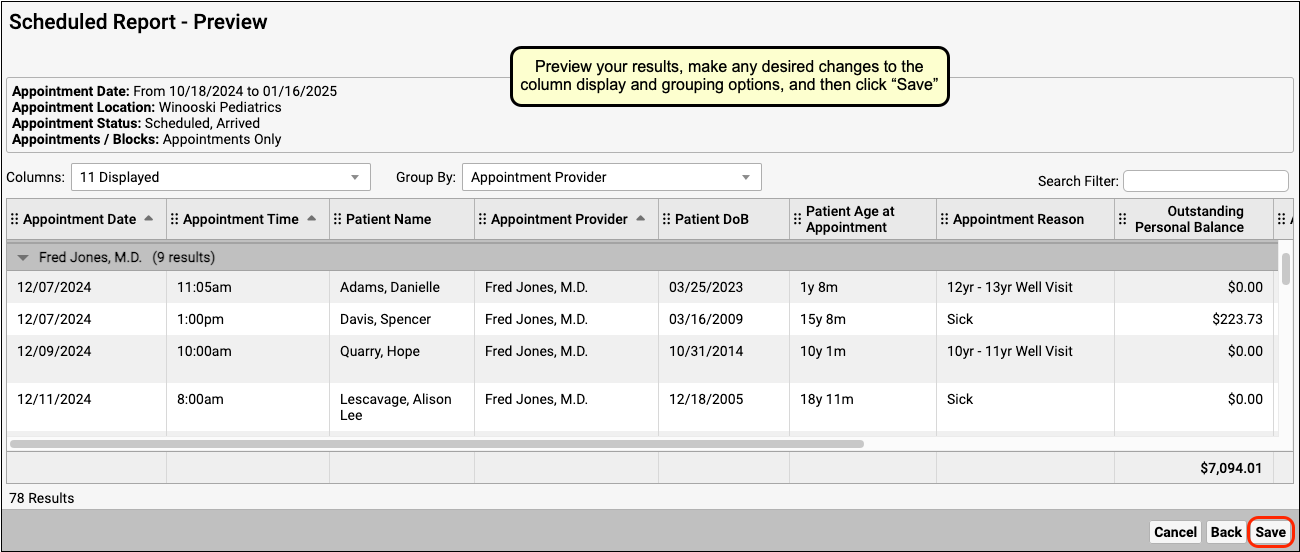
Preview Results and Save Output Settings
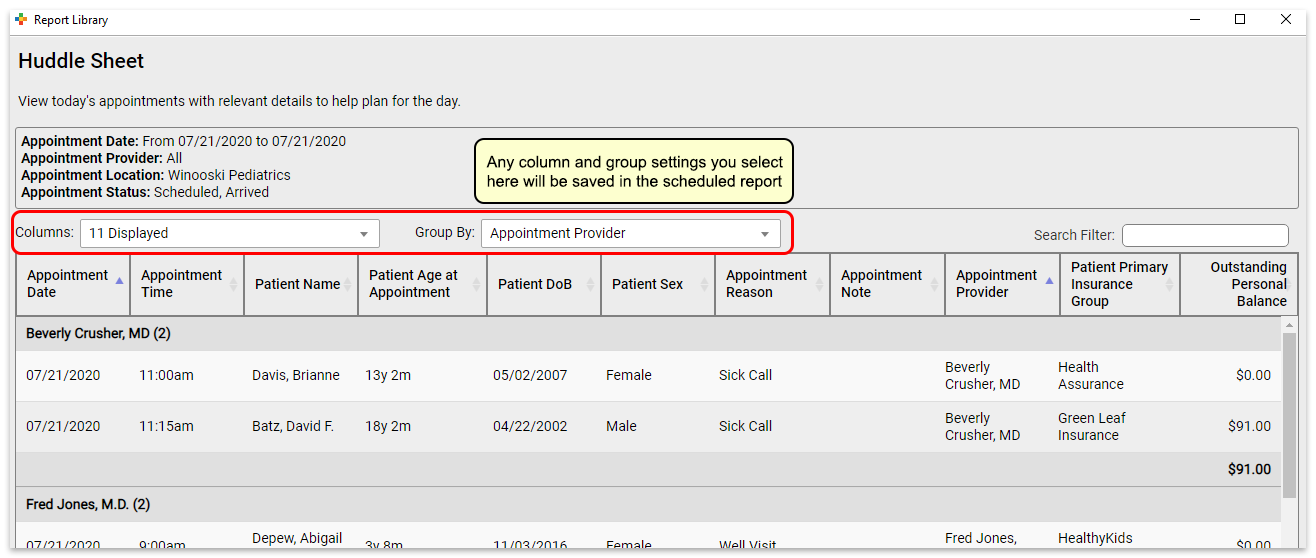
What if you want to check the output of the report before you schedule it, or you want to save column and group by (subtotaling) settings with your output? You can schedule from the results page of a report, which will retain any column and group settings you configure.
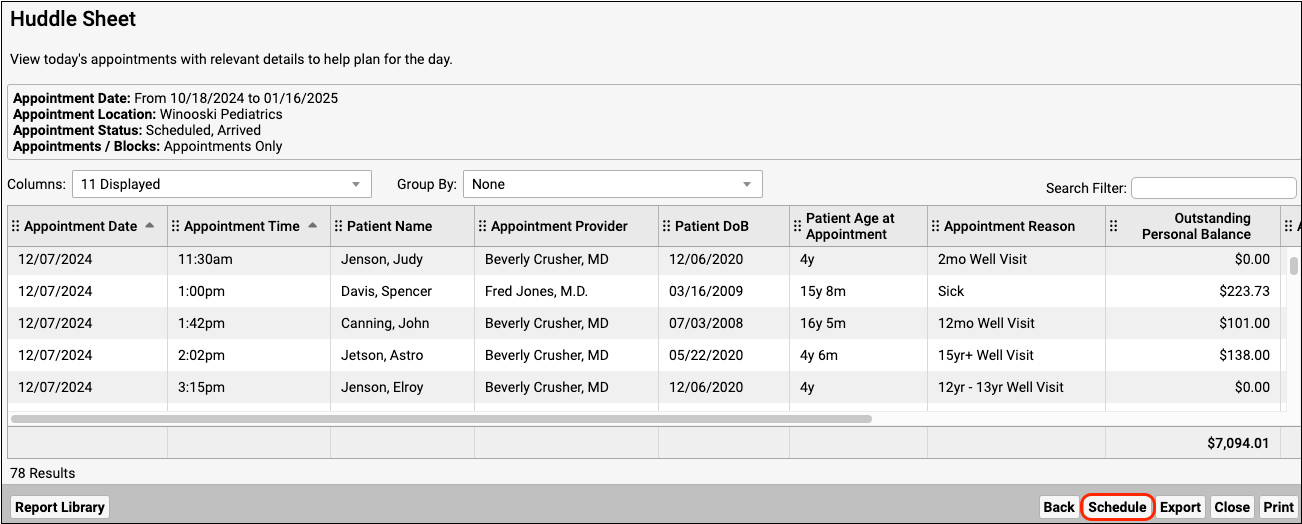
Reports scheduled in this manner will retain any column and group settings you configure here.
View Scheduled Report Results
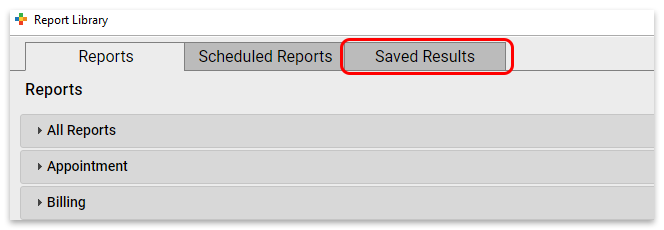
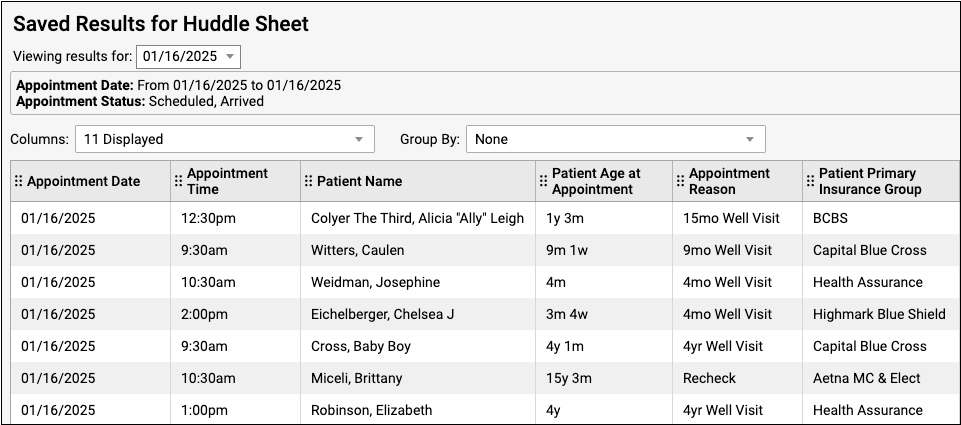
You can view scheduled report results in the Saved Results tab.
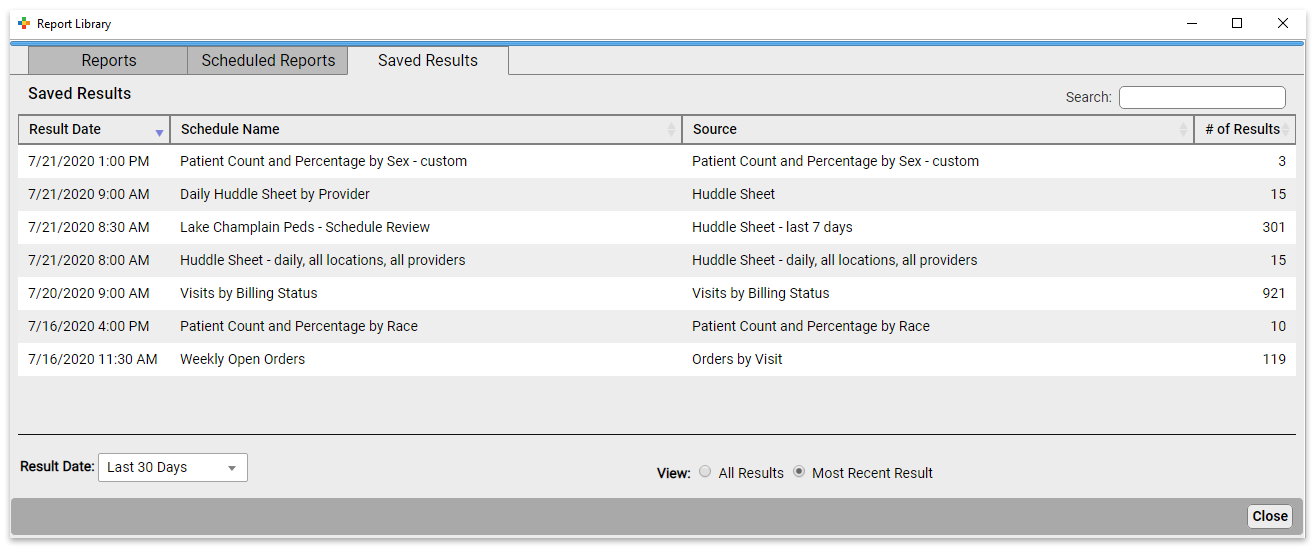
Here you can see the results for all scheduled reports.
You can see the date the report was run, the name of the schedule, the name of the source report the scheduled report was based on, and the number of results in the report.
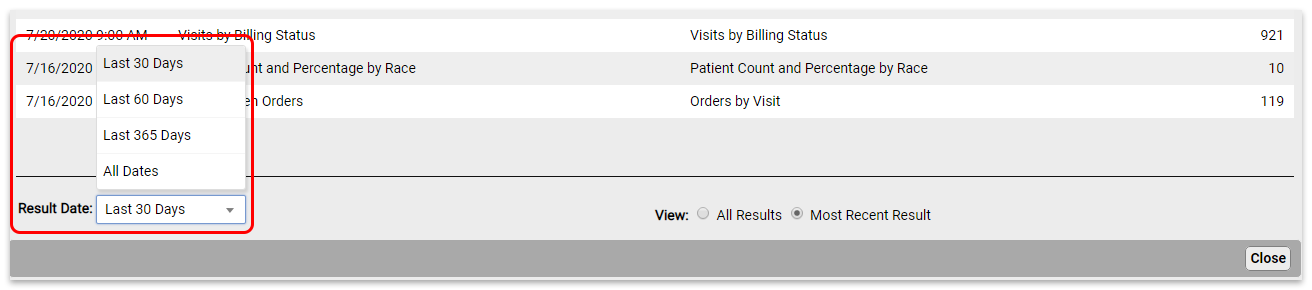
To see reports that last ran more than 30 days ago, change the “Result Date” filter setting.
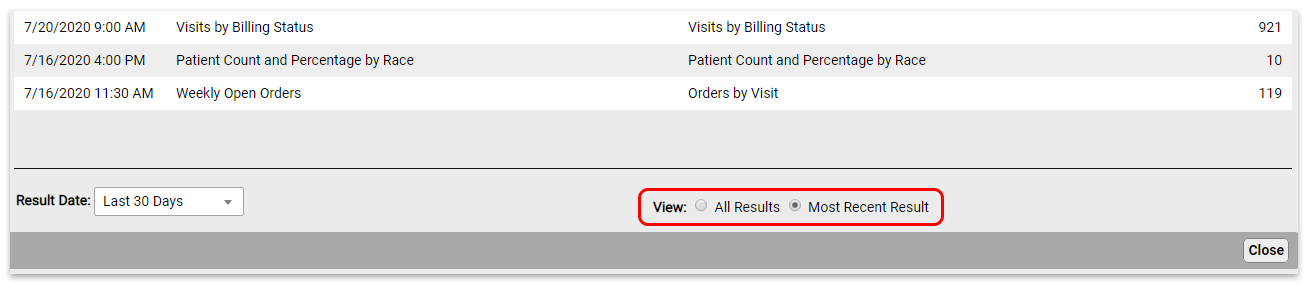
By default, you will see only the most recent results for each scheduled report. To see all results, change the “View” filter setting.
Click on the report you want to view to open the results.

From here, you can export or print the results.
If a report has been run more than once, you can use the drop-down at the top of the report results to switch between results without going back to the Results tab.

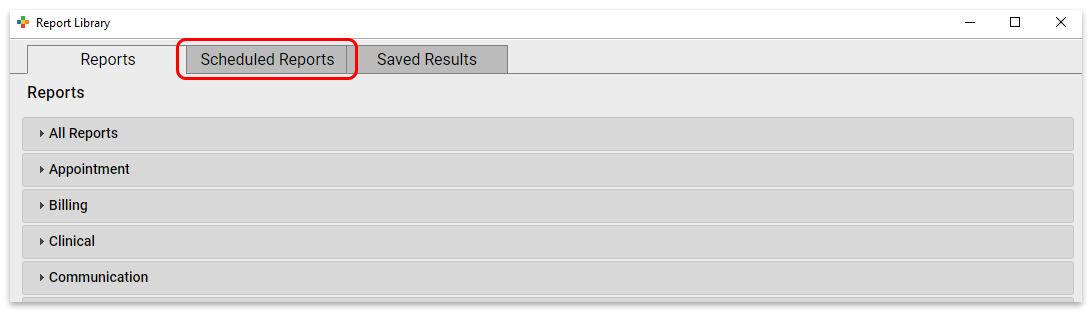
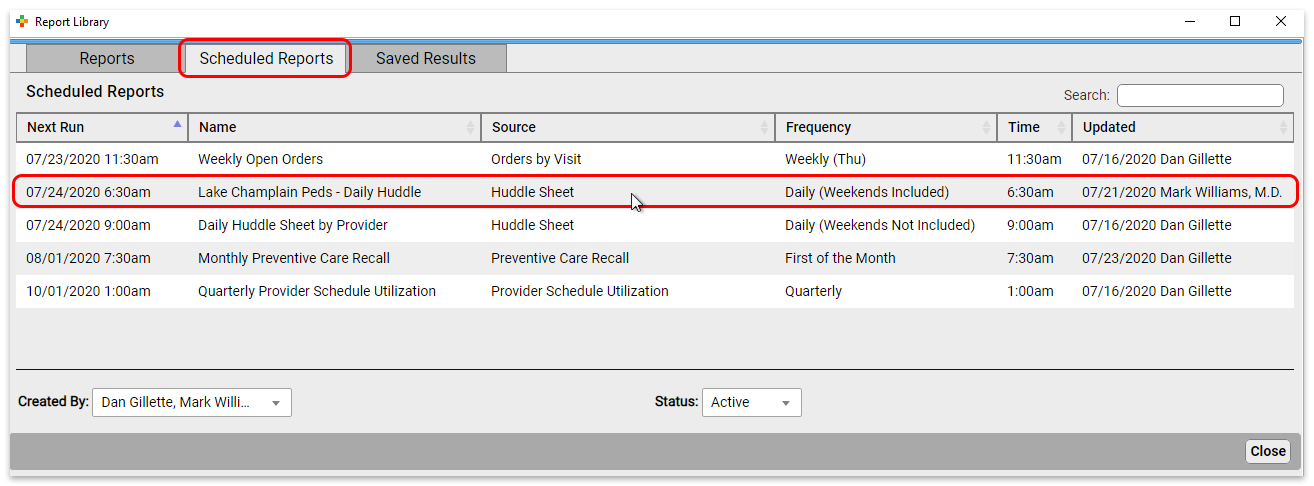
Edit Scheduled Reports
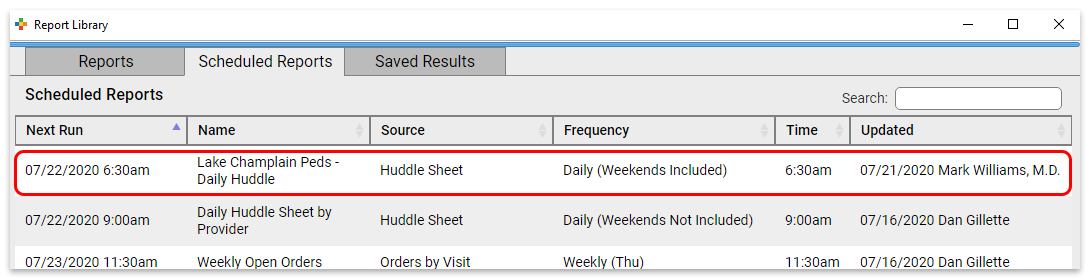
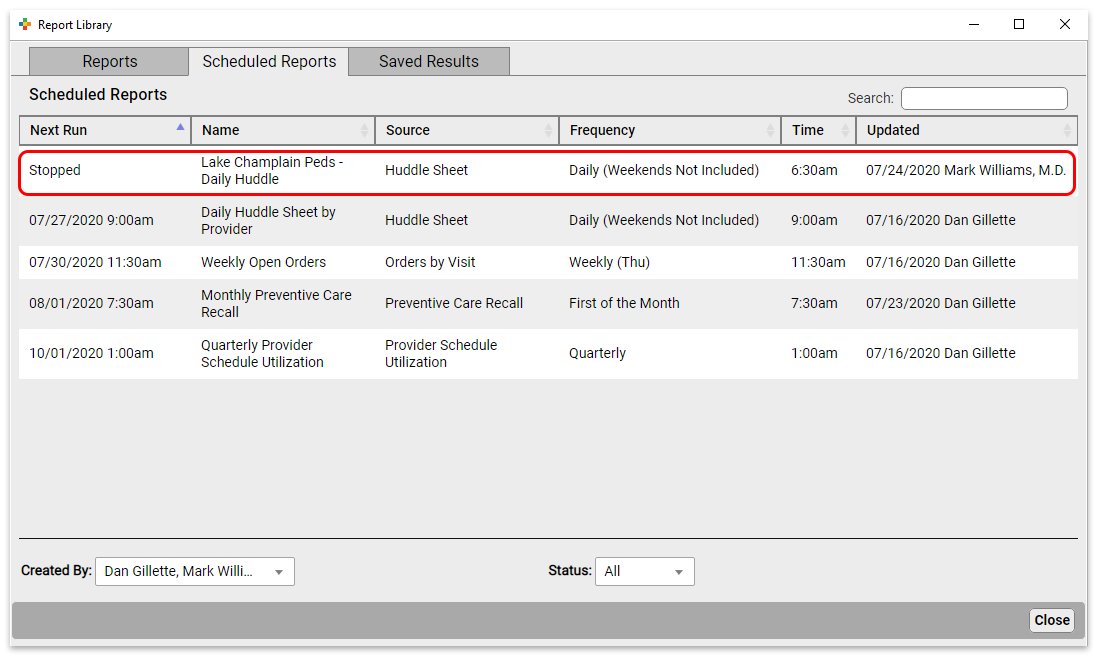
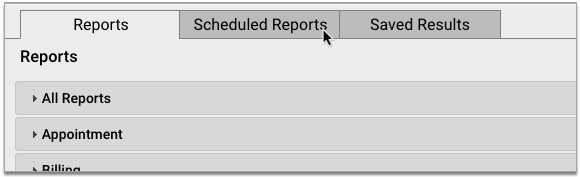
To edit a report, click the Scheduled Reports tab. Here you can see all scheduled reports.
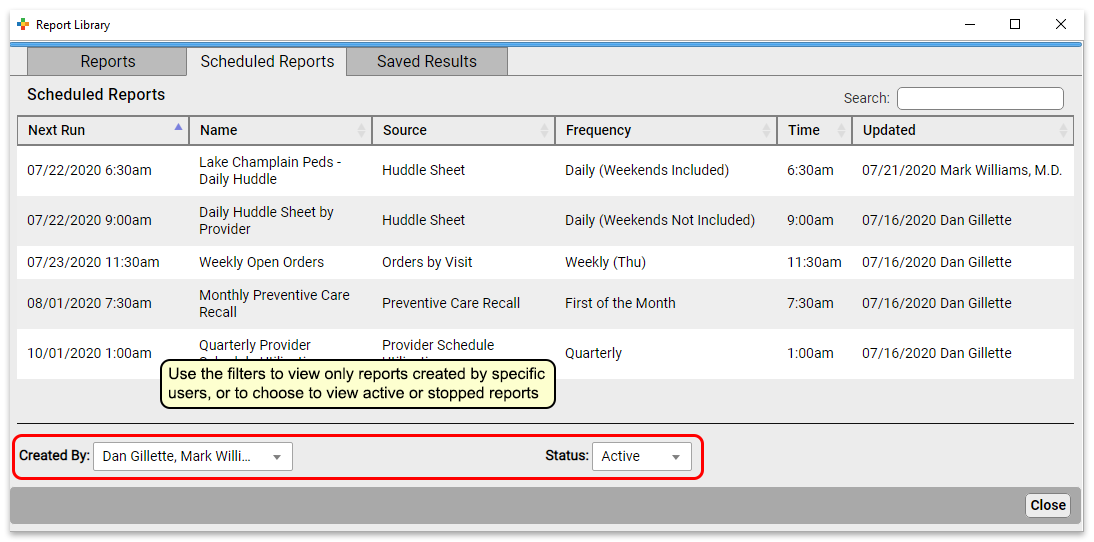
Click a report to edit it.
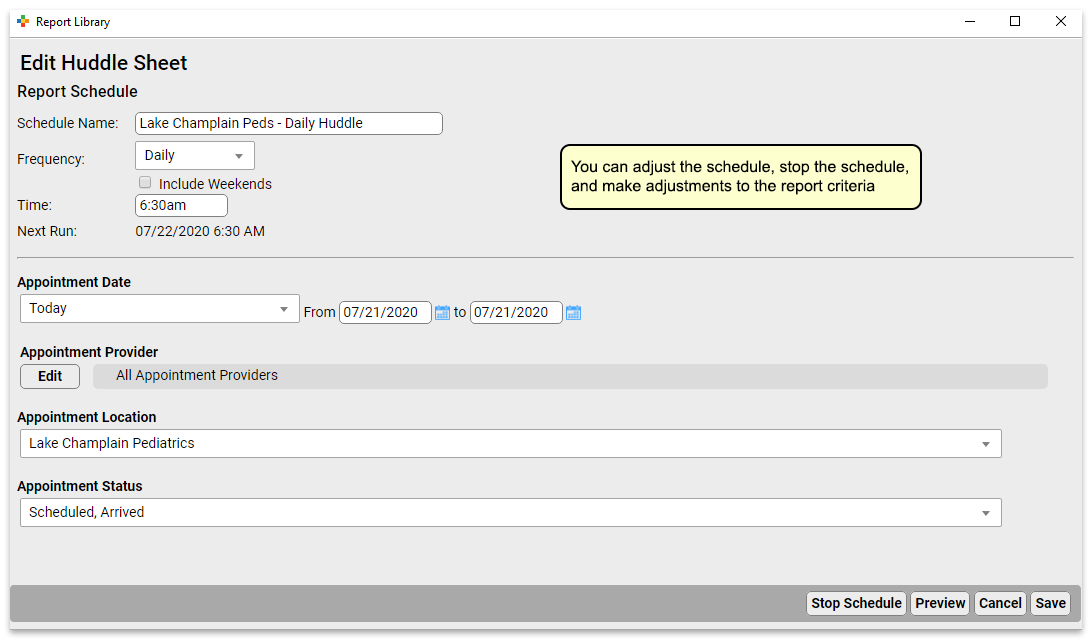
At the top of the report, you can change the schedule name, and the frequency and time the report will run. Below that, you can adjust the filter settings for all future runs of this report.
Click “Save” to save your edits. Or, if you’d like to make edits to the output formatting or to preview your report, click “Preview” to view report results.

Previewing Reports Takes Time: Previewing a report will run an instance of the report. If it’s a report that takes a long time to generate, this will take a while.
Stop and Start Reports
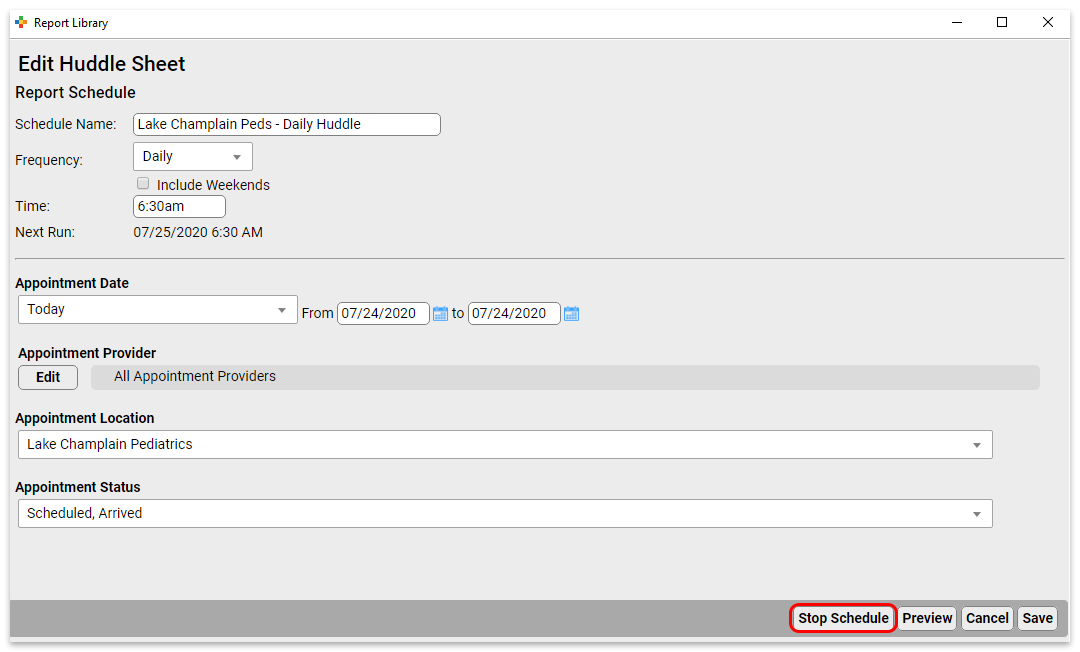
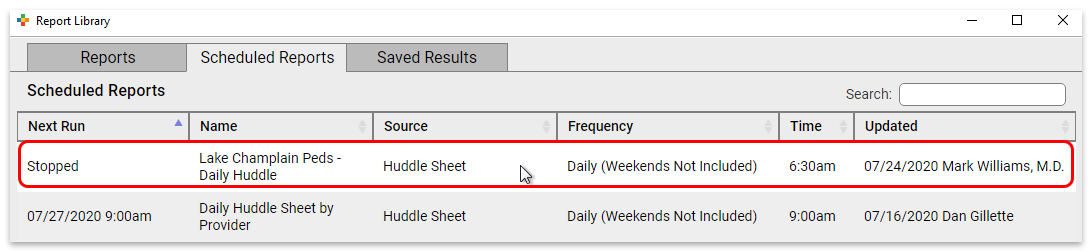
To stop a scheduled report from running, open it from the Scheduled Reports tab.
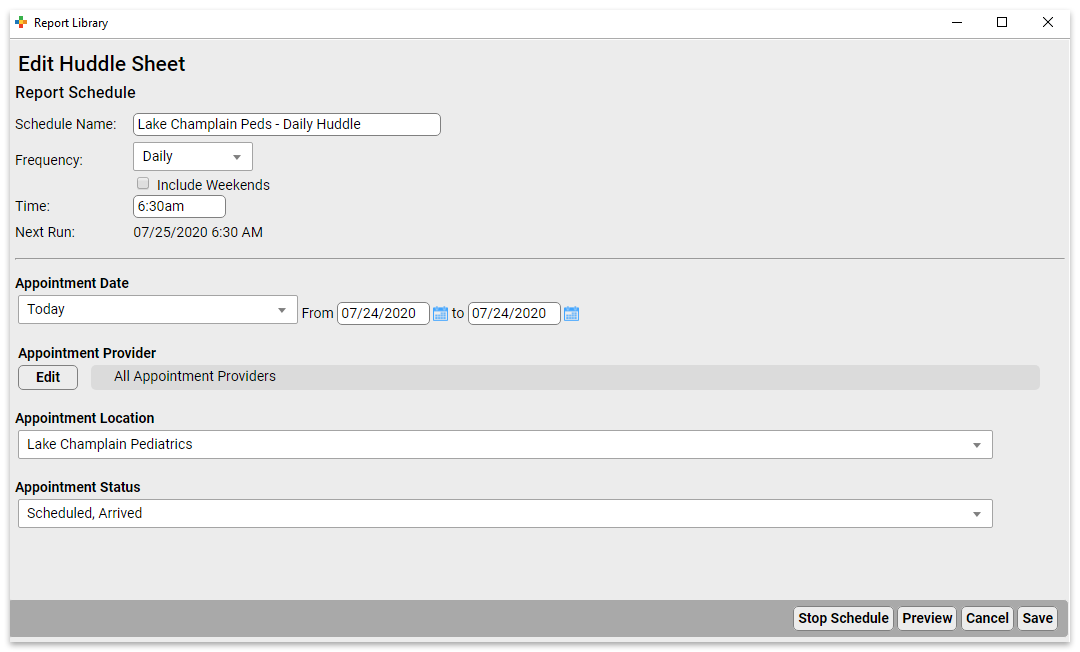
Click “Stop Schedule” to stop running the report.
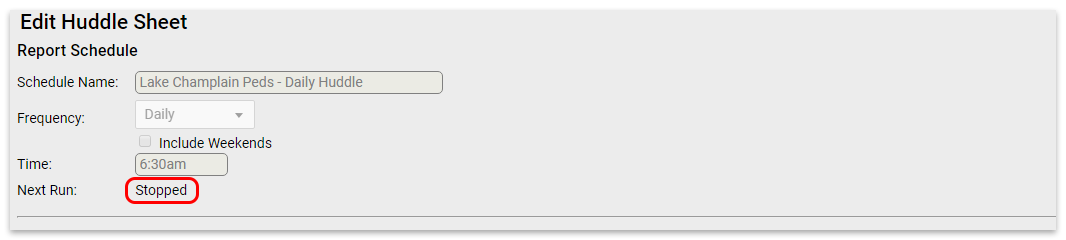
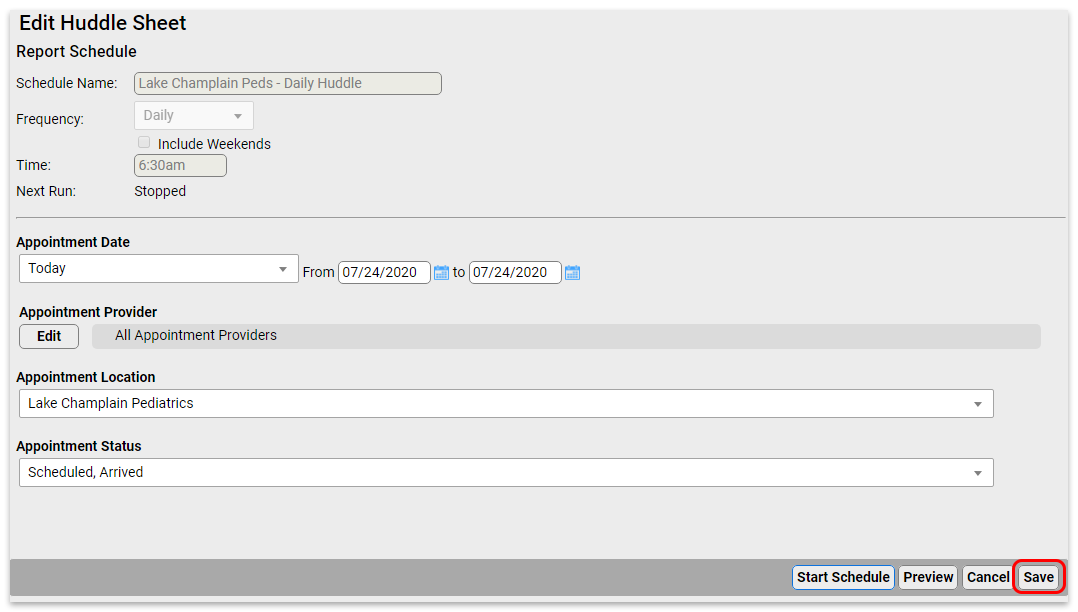
Click “Save” to commit the change.
To start a previously stopped report, open it from the Scheduled Reports tab.
Click “Start Schedule” to activate the report.
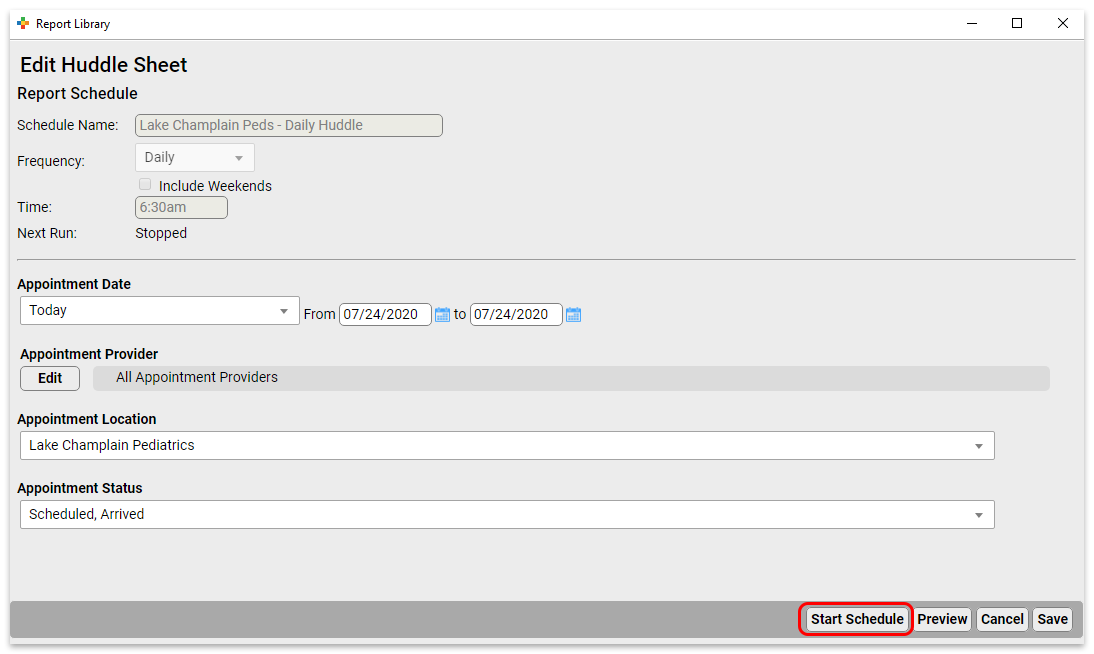
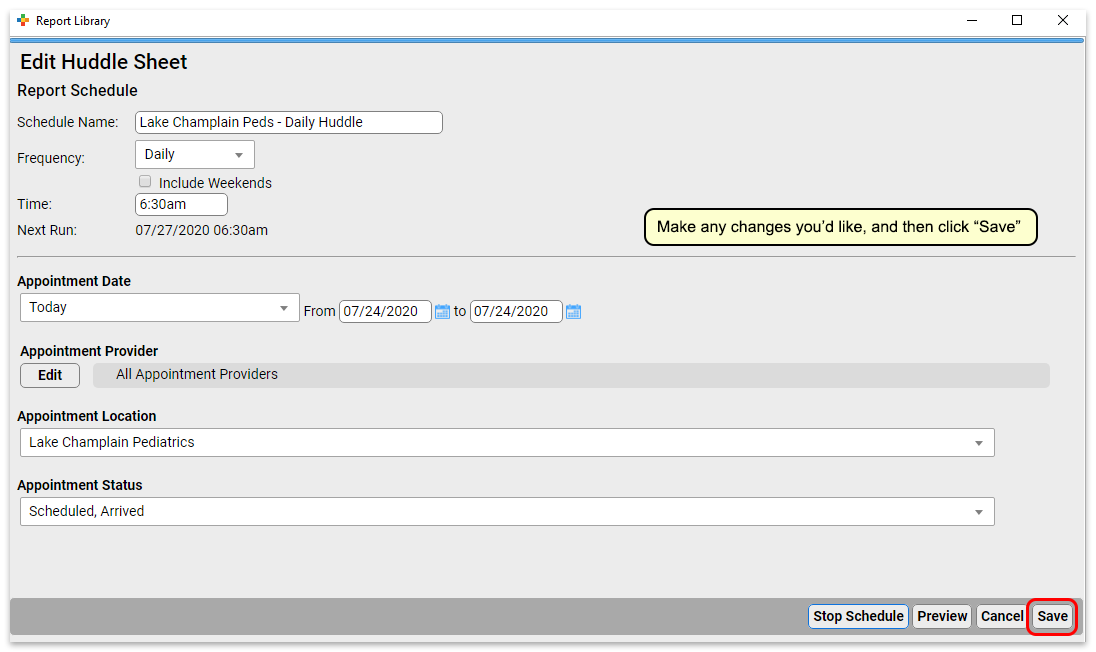
Make any adjustments you want to the name, frequency, and filters, and then save (or preview and save) the report.
Delete Scheduled Reports
To delete a scheduled report from the Report Library, open it from the Scheduled Reports tab.
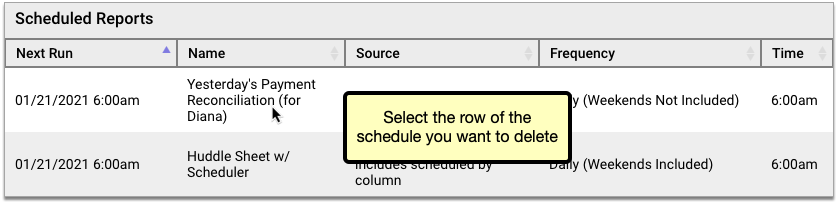
Click the “Delete” button, then confirm that you truly want to delete the schedule.

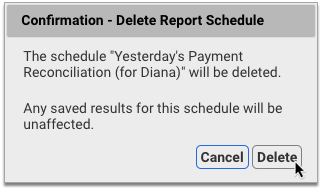
Deleted schedules are permanently removed from the Report Library and cannot be re-enabled. You can continue to view past saved results of deleted scheduled reports in the Saved Results tab of the Report Library.