Review and Update Patient Insurance Policies
Use the “Policies” component to add, update, and work with a patient’s insurance policies and medicaid plans in PCC EHR.
Watch a Video: You can watch a short video that teaches you how to update insurance policy information for a patient: Review and Update Patient Policies
Contents
- 1 Review Policy Information
- 2 Add a Policy
- 3 Working with Scanned Insurance Card Images
- 4 Work With Insurance Policies that Are Not Yet Active
- 5 Insurance Policies Shared Among Siblings
- 6 Set Primary, Secondary, Tertiary and Medicaid Plans
- 7 Edit, Expire or Delete a Policy
- 8 Check Patient Eligibility for a Policy
- 9 Policies in pocketPCC
Review Policy Information
You can review the active policies for any patient at any time by clicking on the Patient Information banner.


Use the Policies component to see more details and make changes. The Policies component appears on the Demographics screen, and your practice can add it to chart notes, phone notes, or other PCC EHR ribbons.
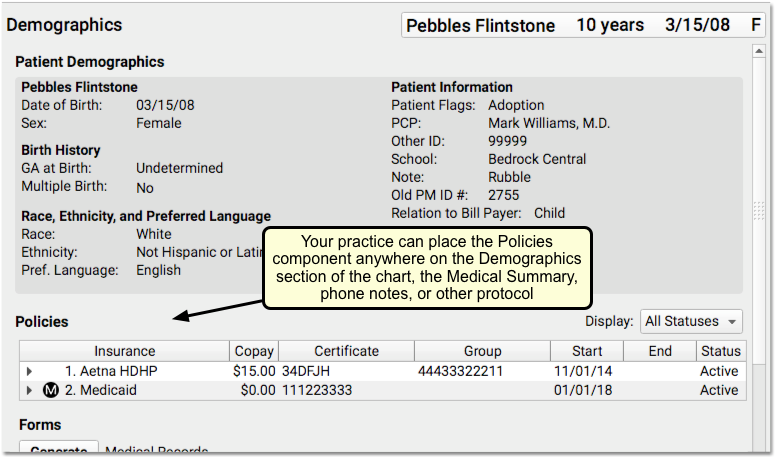
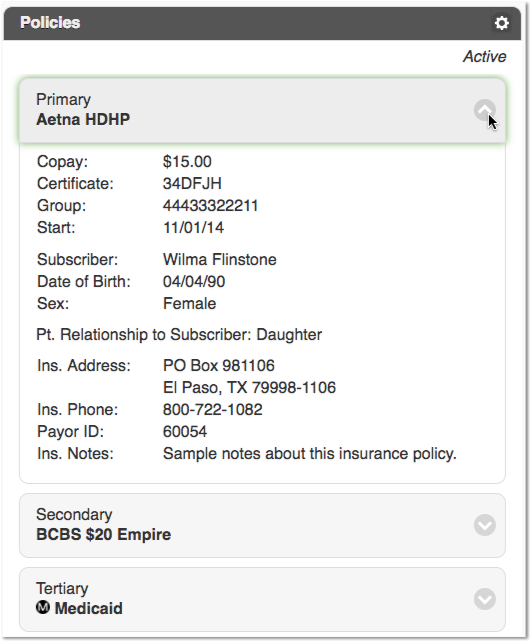
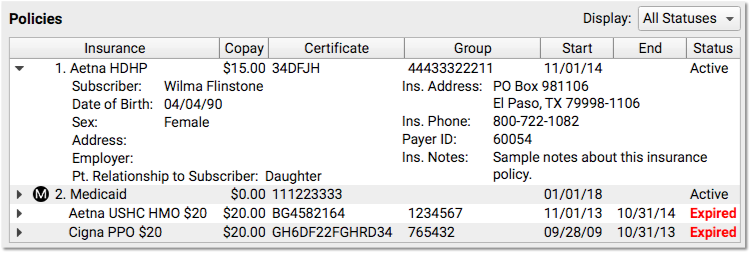
The patient’s primary policy appears at the top, with a “1”, and any secondary or tertiary policies appear as well. By default, you’ll see active policies, but you can also review expired policies using the “Display” feature.

Click the disclosure triangle to see full policy information.

Add a Policy
When mom hands you a new insurance card, click “Add Policy”.

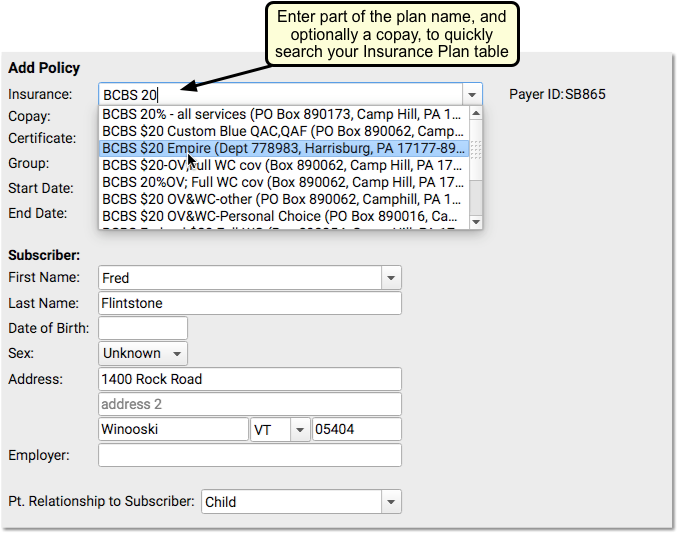
Next, enter policy information. PCC EHR will search for a matching insurance plan as you type.
Autofill Subscriber Information: PCC EHR will attempt to fill in the appropriate account information for the policy, based on the patient’s bill payer account. By default, PCC enters “Child” in the “Patient Relationship to Subscriber” field for a policy. For a Medicaid-type plan, PCC EHR will automatically fill in the patient’s information. You can review and change the policy information, including the Patient Relationship to Subscriber, before you save. If a sibling already has the policy you are entering, you can optionally autofill policy information from their plan.

Remember to enter a Start Date and add an End Date, when appropriate. PCC knows to bill insurance plans based on these dates and the patient’s dates of service.
If your practice bills for home visits, remember to add the complete “Zip +4” Zip Code, as insurance carriers usually require all nine digits.
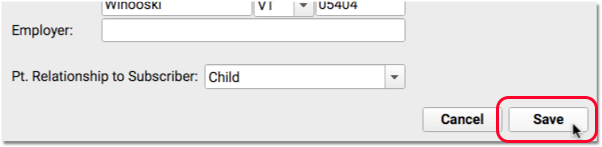
Click “Save” to save the policy.
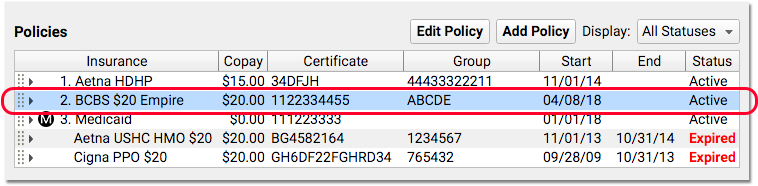
After you create a policy, you can click “Edit Policy” to make changes.
More About Patient Relationship to Subscriber: When PCC processes claims, it uses the relationship to subscriber entered for the patient’s specific policy first. If blank, PCC looks at the relationship entered in the patient’s demographics record.
Working with Scanned Insurance Card Images
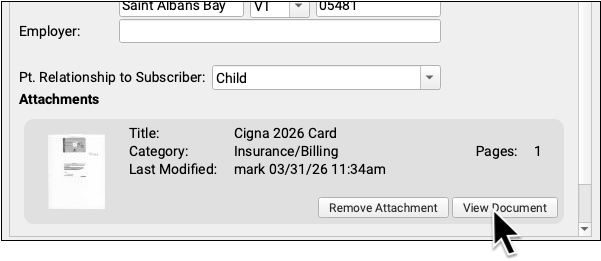
Patients and families can add an image to a policy when they perform pre-check-in. When a policy has one or more attachments, an icon appears in the paperclip column in the Policies component.

You can edit a policy and view or remove an attachment.
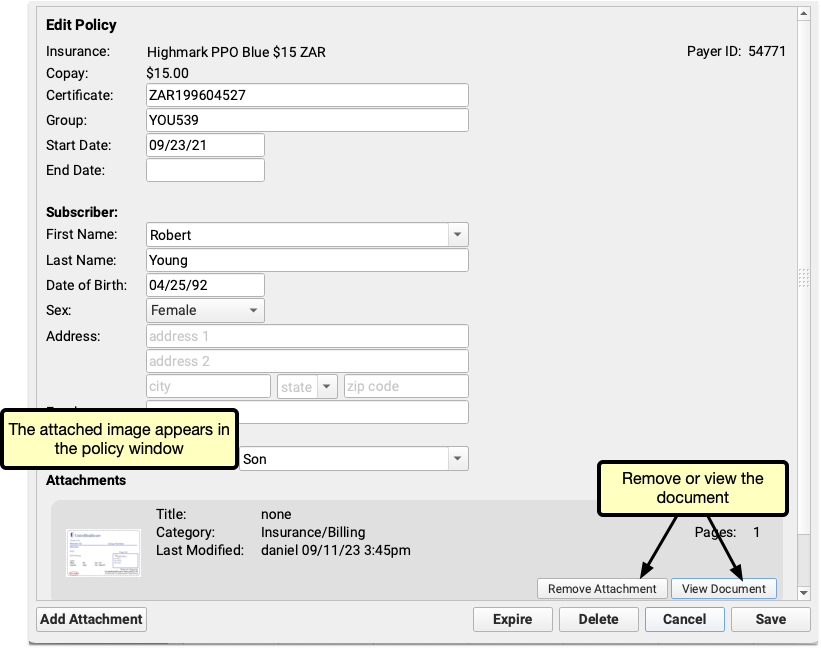
As you edit a policy, you can view the scanned card image and continue to enter policy details.
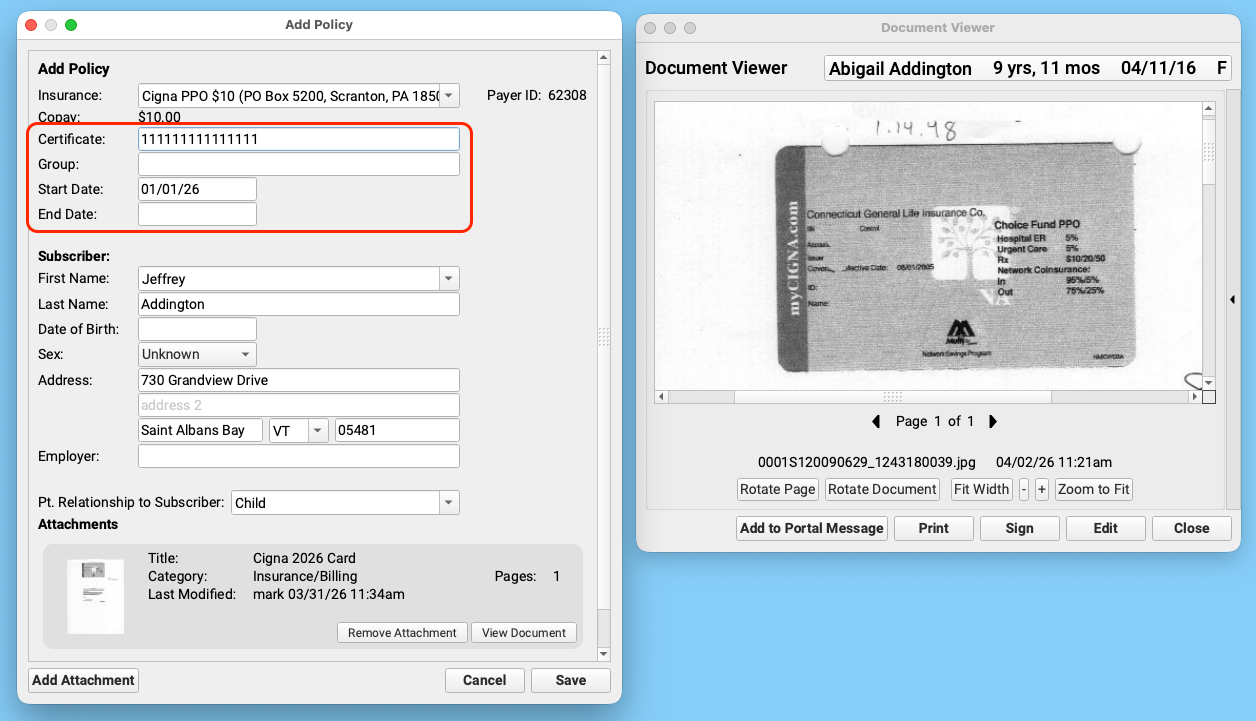
This allows you to easily update the member ID and other insurance information.
You can add additional scanned insurance card images to a patient’s policy. In the Edit Policy window, click “Add Attachment” to open the attachment tool.
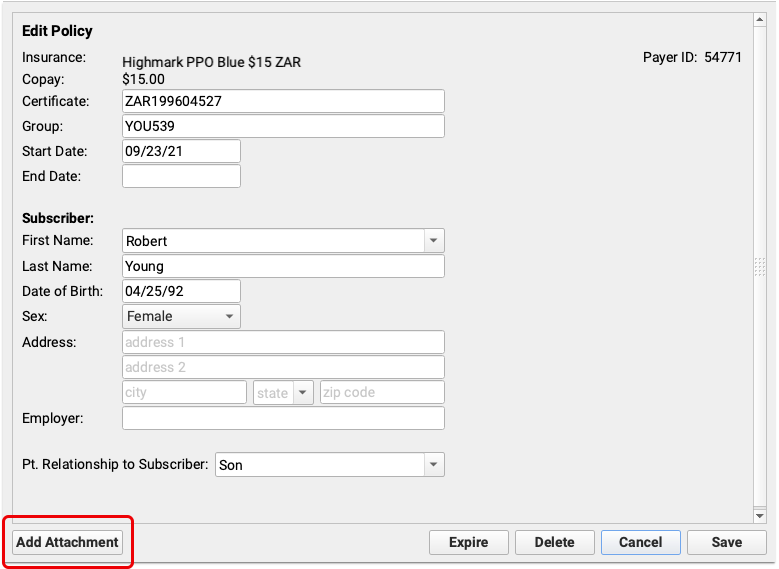
Find your insurance card in Recent Documents or your practice’s custom category for insurance documents.
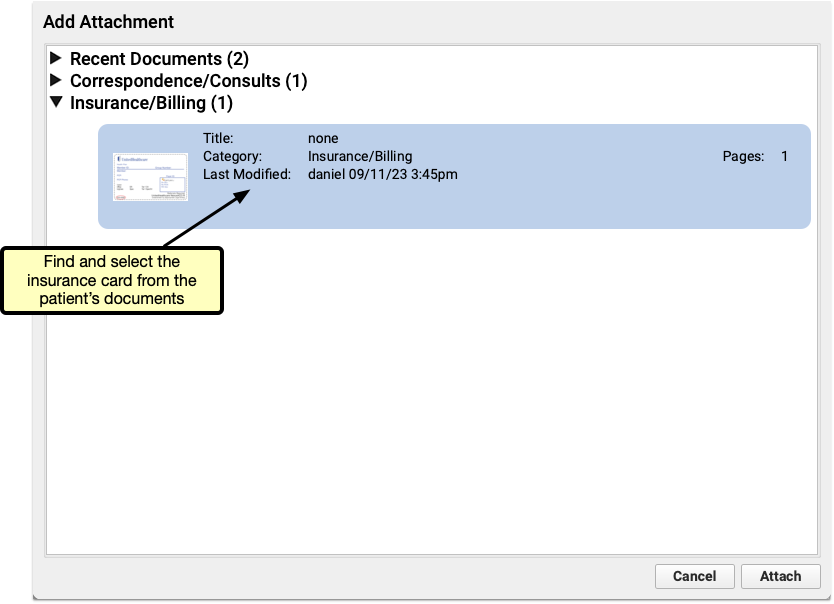
You can add multiple attachments to a policy, such as both sides of an insurance document or other scanned information about the policy.
Work With Insurance Policies that Are Not Yet Active
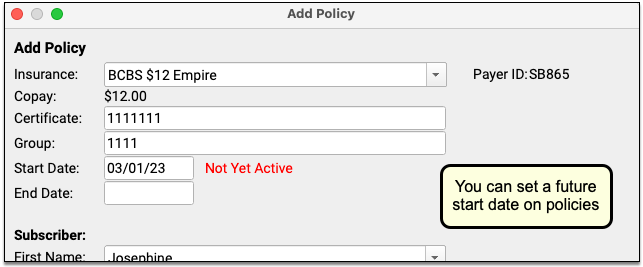
When you add a policy to a patient’s record with a start date in the future, PCC EHR will display the “Not Yet Active” status.
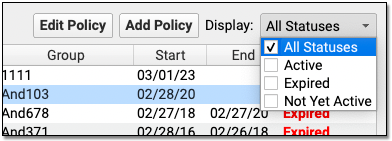
In the patient’s policies list, future policies will appear above active policies. You can filter that list to review All, Active, Expired, and/or Not Yet Active policies.

When you add or edit a policy for a patient who has siblings, PCC EHR will prompt you to update their policies as well.
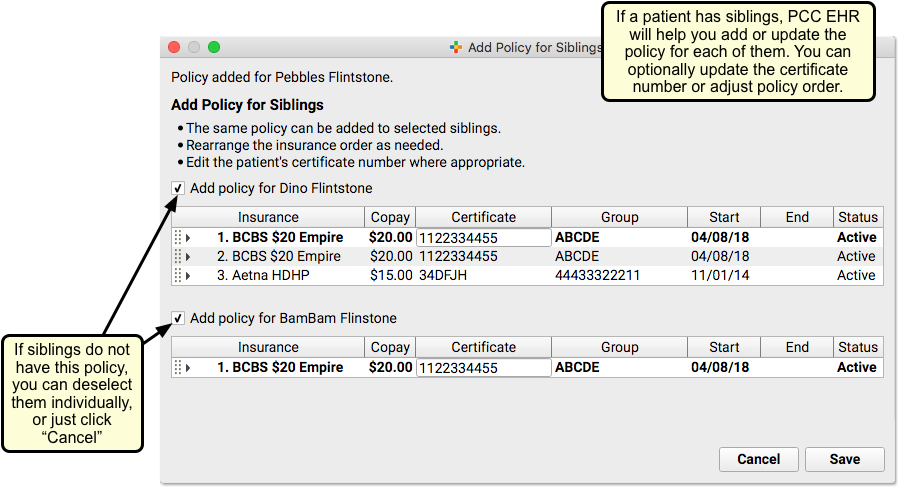
You can deselect any siblings that will not have the policy, optionally enter different Certificate numbers, and click “Save” to add the policy to the sibling(s). Or you can click “Cancel” to skip adding the policy to siblings.
New Insurance Plans: When you add a policy to a patient, you pull from your practice’s official list of insurance plans, kept on your PCC system. That official list of plans is maintained in the Insurance Plans table in the Table Editor in Practice Management. For help making changes to your insurance table, contact your Client Advocate or read The Insurance Plan Tables.
Set Primary, Secondary, Tertiary and Medicaid Plans
When you edit patient policies, you can click and drag to move them to primary, secondary, and so forth.
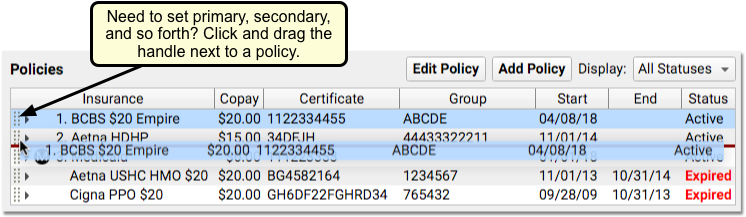
The numbers by each active policy (1, 2, 3, etc.) will adjust for the new position on the list of policies.
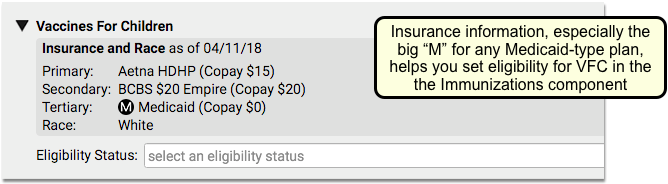
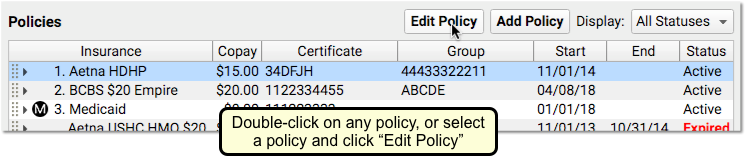
PCC EHR will not allow you to move an expired policy into a primary position. It will also automatically sort Medicaid-type policies to the bottom of active insurance policies. The helpful “M” indicator for Medicaid plans will also help your practice when they need to select VFC status or make other decisions affected by Medicaid coverage.
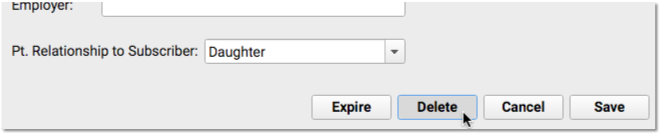
Edit, Expire or Delete a Policy
While in Edit mode, double-click or select any plan and click “Edit Policy” to make changes.
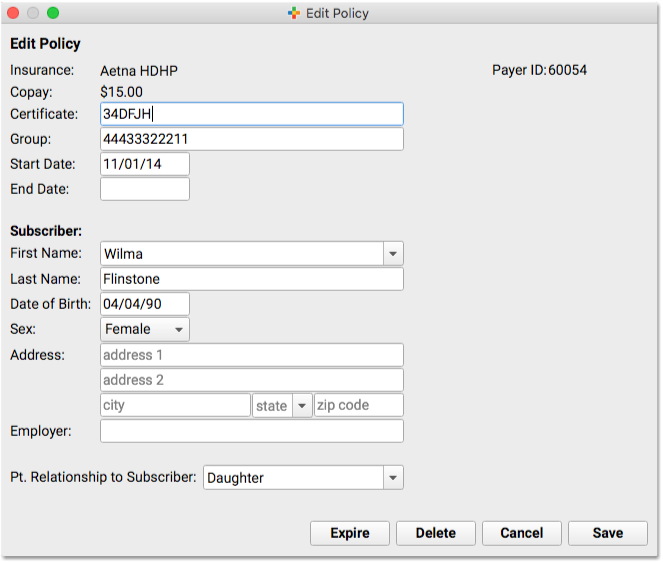
If you click “Expire”, PCC EHR will pop yesterday’s date into the End Date field.

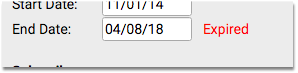
You can also manually change that date to whenever the plan expired. PCC uses Start and End dates to determine the responsible parties for a date of service.
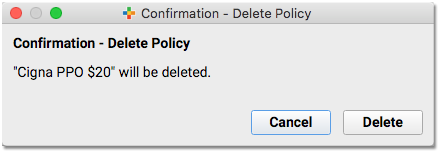
PCC recommends you keep all old policies on a patient’s record. However, you can click “Delete” to delete a policy that was added to a patient’s record by mistake.
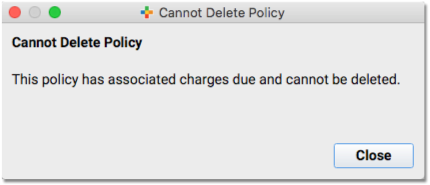
What if the policy has outstanding charges pending? PCC EHR alerts you, and prevents you from deleting that policy.
Check Patient Eligibility for a Policy
You can review patient insurance eligibility for all active policies in PCC EHR. You can do so without an appointment, in which case PCC EHR will request eligibility for today’s date. Or you can check eligibility with every visit, either in the Insurance Eligibility tool, during Patient Check-In, or when charting the encounter.
Use the Insurance Eligibility component to check that the patient is validated for today’s visit.
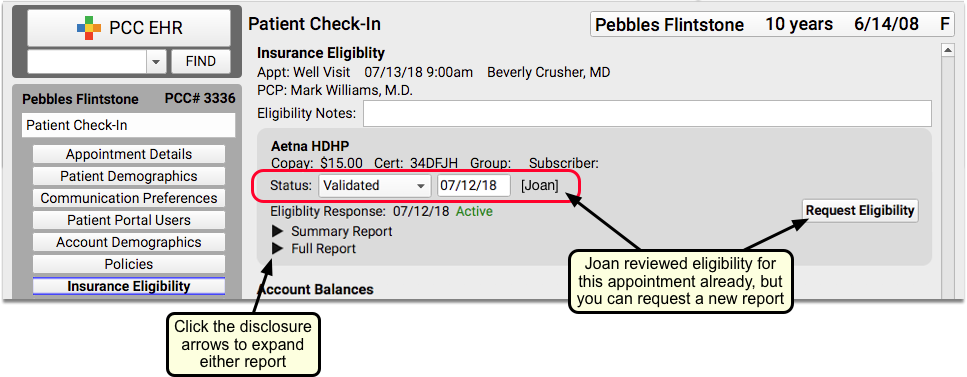
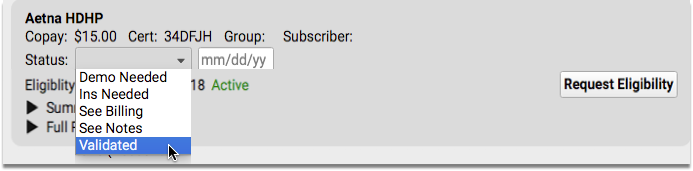
Optionally, you can click a disclosure triangle to look at the Summary Report or Full Report from the insurance carrier. If you just updated or added a new policy, you may want to click “Request Eligibility” to request a new report from the carrier. You can then set a new Status, based on what you learn.
For more information about the Insurance Eligibility component, read Patient Insurance Eligibility with PCC.
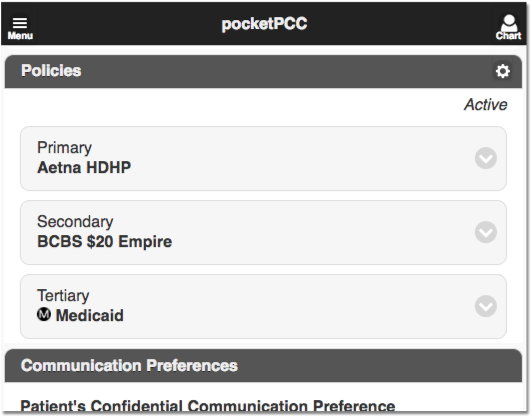
Policies in pocketPCC
On your mobile device, you can review a patient’s policies in the Demographics section of the chart, or wherever the component appears.