Generate Outbound Lab and Radiology Requisitions
After ordering labs or x-rays during a visit, you can easily generate requisitions with the patient demographic, insurance, diagnostic, and testing information that the lab or radiologist needs.
Contents
- 1 Generate a Requisition
- 2 Save, Print, and Share Requisitions
- 3 Configure In-Office Lab Orders and Facilities
- 4 Set Up Default Document Categories for Lab and Radiology Requisitions
- 5 Configure Provider Signatures to Automatically Appear on Lab and Radiology Requisitions
- 6 Configure Custom Requisition Forms
Generate a Requisition
You can generate lab and radiology requisitions from your patient’s encounter note in PCC EHR. Requisitions can include diagnoses, orders, and other information from the encounter. If the patient needs tests from multiple labs, you can generate multiple requisitions within the visit and include only the specific information each facility needs.
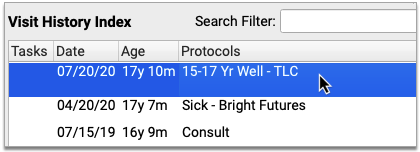
Open the Patient’s Encounter Note
In PCC EHR, open the visit, phone note, or portal message where you plan to order labs or x-rays.
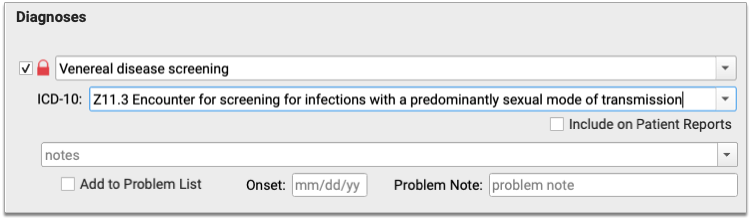
Document Diagnoses
Document the patient’s diagnoses, including those you will need to report on the lab or radiology requisition.
Place Orders
Order the patient’s labs or x-rays.

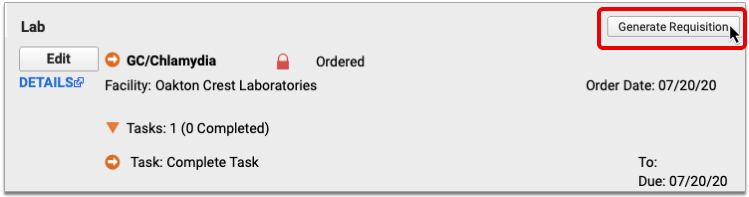
Generate a Requisition
Click the “Generate Requisition” button within the lab or radiology orders component.
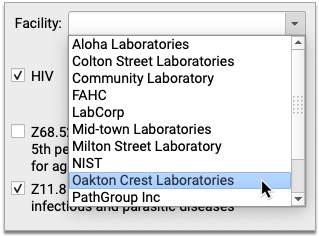
For Lab Requisitions, Select a Facility
If all of the patient’s lab orders list the same facility, that facility will be pre-selected in the Generate Requisition window. Otherwise, select the facility for which you wish to generate a lab requisition.
If you leave the Facility drop-down field blank, the requisition will generate without a facility address or phone number.
No In-Office Facilities: In-office laboratories are excluded from the list of facilities.
No Facility Drop-Down for Radiology Requisitions: Because there is no place to record radiology facility information in PCC EHR, the Facility drop-down is never available for radiology requisitions.
Select a Form
Select the form you wish to generate from the Requisition Form drop-down.
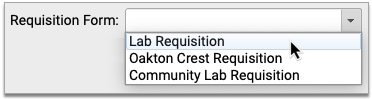
If you do not see a Requisition Form drop-down, it means your practice only has one requisition template configured for use.
Select Orders and Diagnoses
Select the orders and diagnoses you want to include on the requisition.
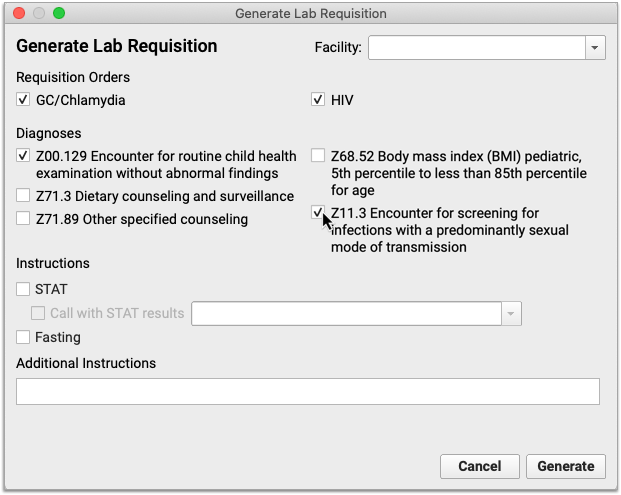
The orders and diagnoses presented in the Generate Requisition window come from the patient’s encounter note and exclude in-office tests.
Fill Out Instructions
Use check boxes to indicate if the requisition is for STAT or fasting orders.
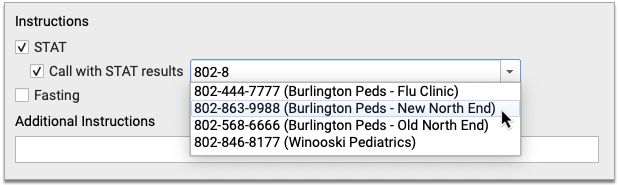
For STAT orders, indicate if you would like a call with results and which phone number to use. Manually type a number or pick one from the drop-down list. The drop-down list comes pre-populated with phone numbers for each of your office locations, and also remembers the most recent numbers entered by the user generating the requisition.
Write additional details or instructions in the Additional Instructions field.
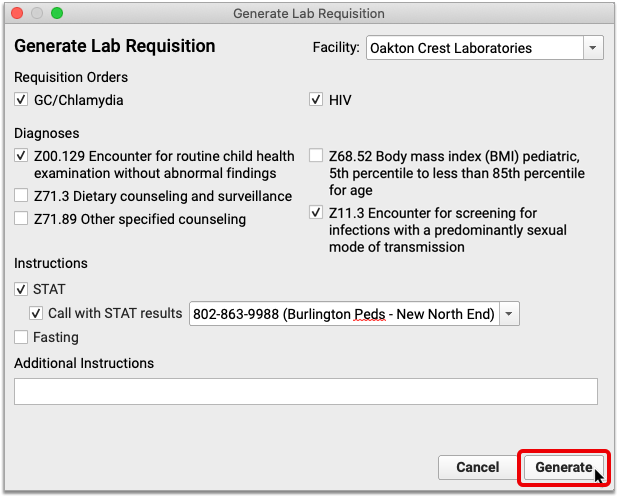
Finish Generating the Requisition
Click the “Generate” button to finish generating the requisition.
Review and Title the Requisition
When the preview of the requisition opens in a Document Viewer window, give your requisition a title, optionally change the document category and add tasks in the Document Viewer window.
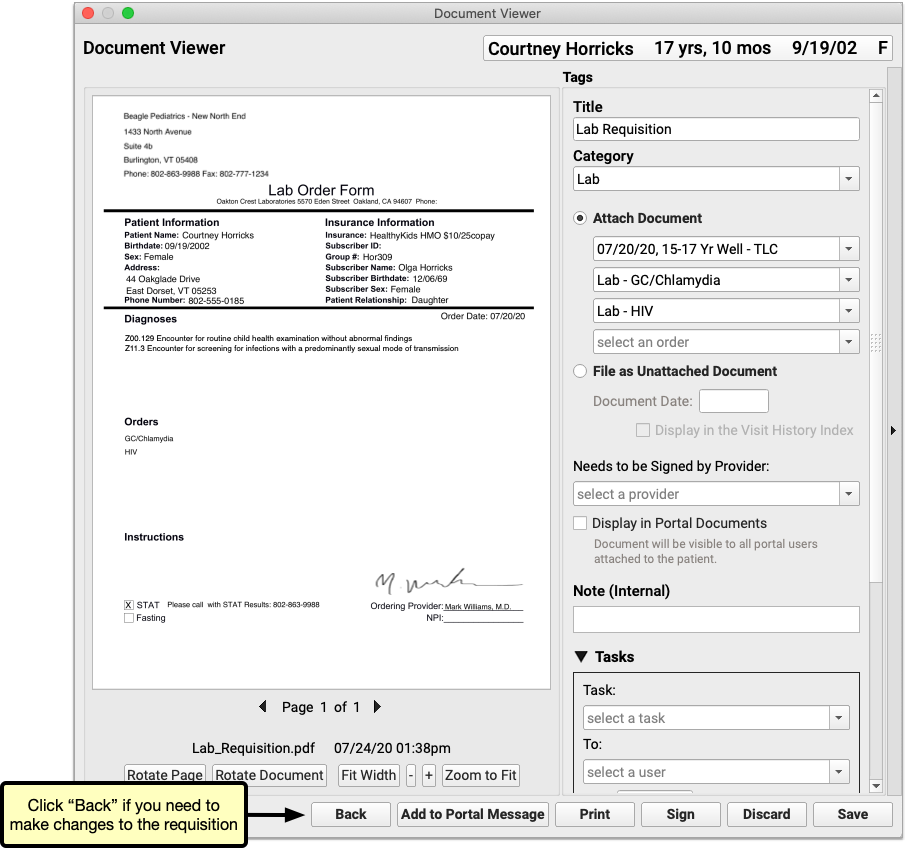
If you need to make changes before saving, printing, or sharing the requisition, click the “Back” button.
Once you generate a requisition, you can edit and manage it like any other document in PCC EHR.
Review and Edit the Document Details
After you generate a requisition, it opens in a Document Viewer window, where you can review and optionally edit its attributes.
Depending upon the type of requisition, the document title defaults to either “Lab Requisition” or “Radiology Requisition”, and the document category defaults to either “Lab” or “Radiology”.
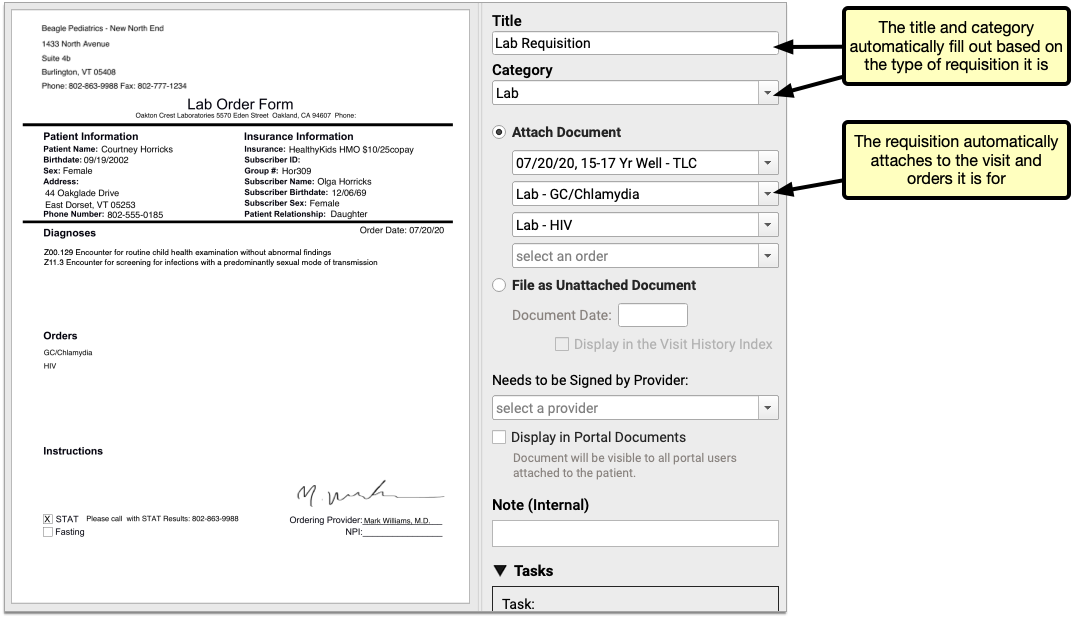
Requisitions get linked by default to the visits from which they originate. They are further linked to whichever orders are on the form.
Create Tasks
Optionally select a task and assign it to a user. You can also include a note and a due date.
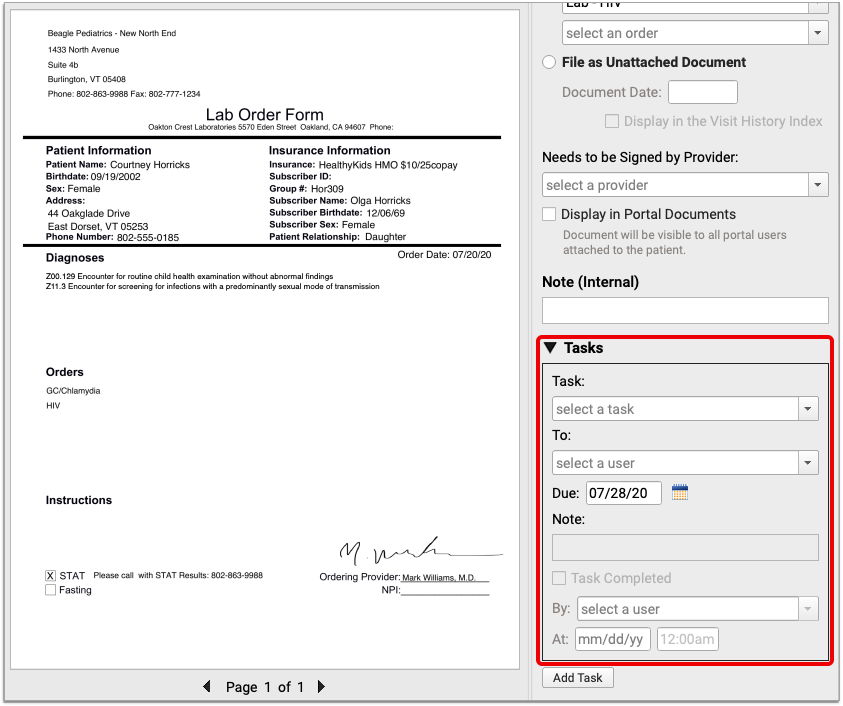
You can use document tasks to inform users at your practice that there are steps to take with the requisition. When the task is done, the assigned user can mark the task complete and create subsequent tasks if needed.
Call PCC Support to Add More Task Options: You might find that you need to add more options to the list of document tasks in PCC EHR. Contact PCC Support for help adding new task types.
Print and Share the Requisition
There are multiple ways to share requisitions with patients and the lab.
You can print out a physical copy and hand it to the patient or fax it to the lab. You can also share a digital copy of the requisition with the patient.

Click “Print” to generate a hard copy of the requisition or check “Display in Portal Documents” to add a digital copy to the patient’s portal documents.
Optionally click “Add to Portal Message” to send the requisition as a portal message attachment.
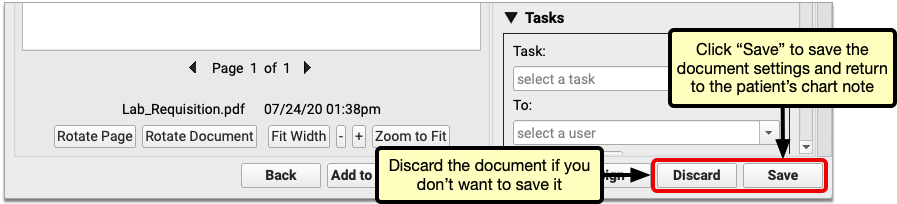
Save the Requisition
Click the “Save” button to save your settings, close the window, and file the requisition in the Documents section of the patient’s chart.
If you don’t want to save the document, you can click the “Discard” button instead.
Configure In-Office Lab Orders and Facilities
In-office lab facilities and orders are automatically excluded from outbound lab requisitions in PCC EHR. You can configure in-office lab facilities and orders in the Lab Configuration tool in PCC EHR.
Configure In-Office Lab Facilities
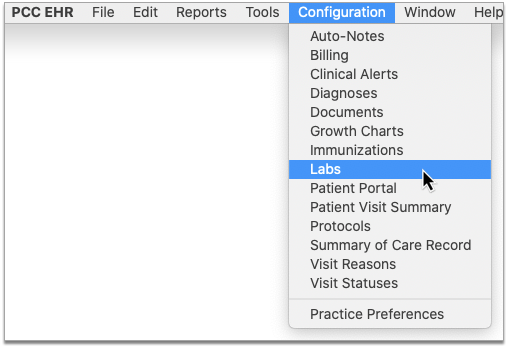
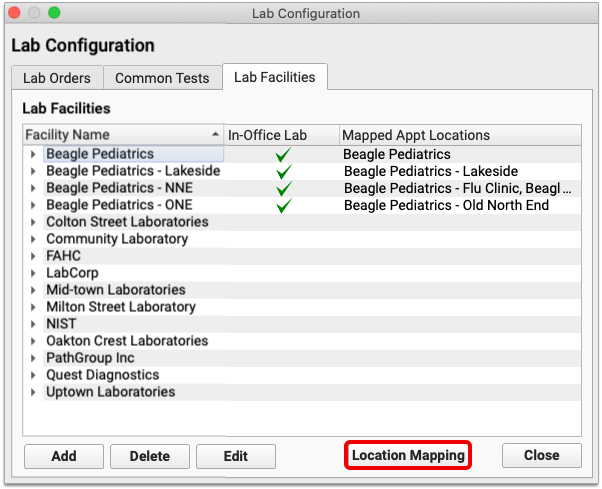
Open Lab Configuration from the Configuration menu in PCC EHR. Click the Lab Facilities tab.
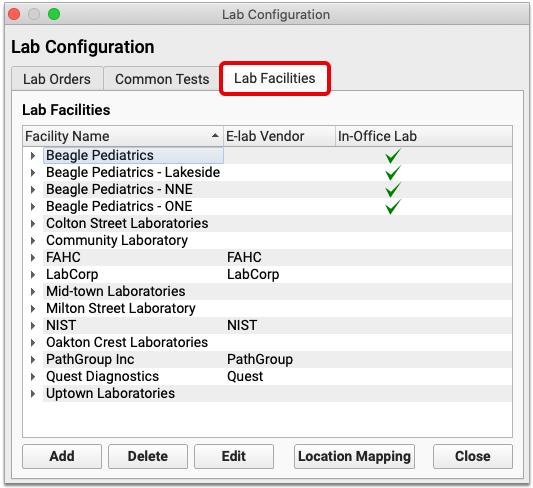
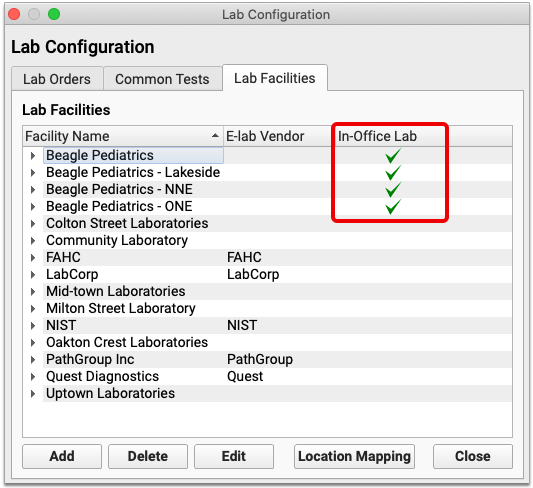
A green check appears in the In-Office column beside lab facilities which are considered to be internal to your practice.
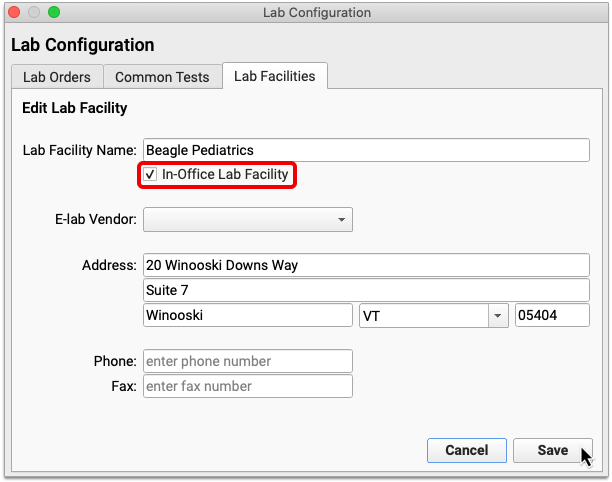
You can edit a facility by double-clicking it, or selecting it and clicking the “Edit” button. Check or uncheck the “In-Office” box within the lab facility settings, then click “Save”.
Once you have configured all of your in-office facilities, map them to your appointment locations.
Map In-Office Lab Facilities to Appointment Locations
Within the Lab Facilities tab, click the “Location Mapping” button. Map each of your appointment locations to an in-office lab facility.
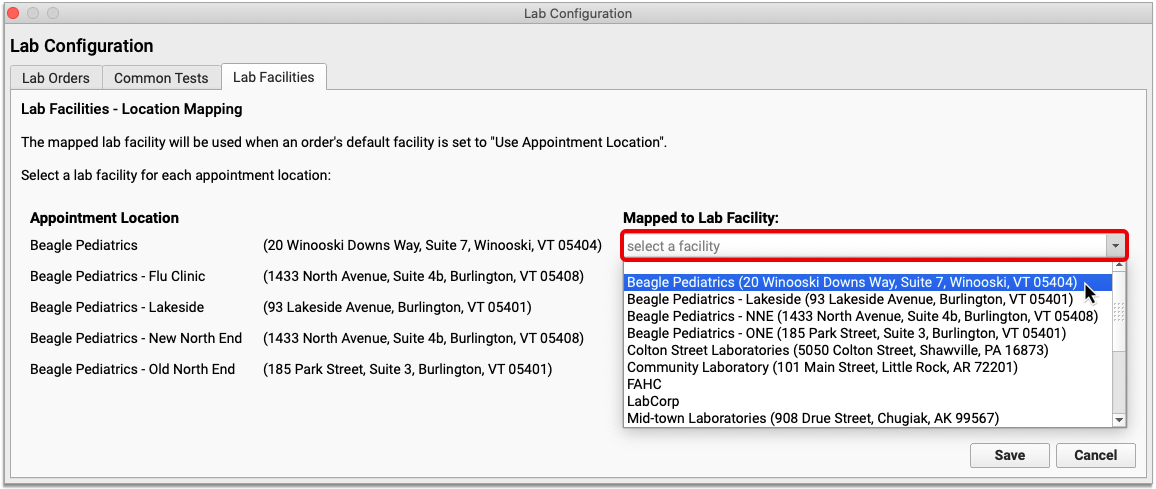
Once all appointment locations are mapped to a lab facility, click “Save”.
Next, check that the lab tests you conduct internally default to using whichever lab facility is linked to the location of the appointment.
Configure a Default Facility for In-Office Lab Tests
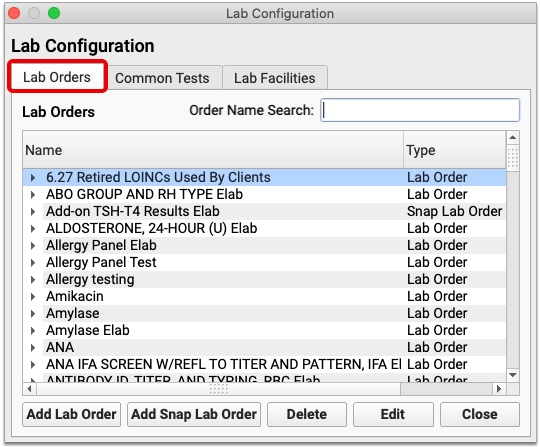
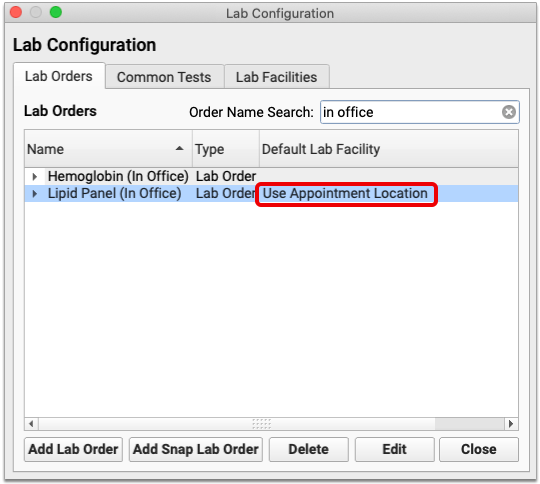
Click the Lab Orders tab. If all of your in-office lab orders follow a similar naming convention, use the search box to narrow down the list.
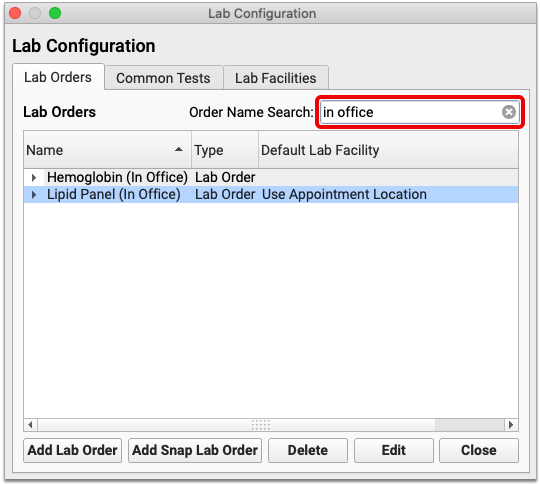
Check that “Use Appointment Location” appears in the Default Lab Facility column beside each in-office lab order.
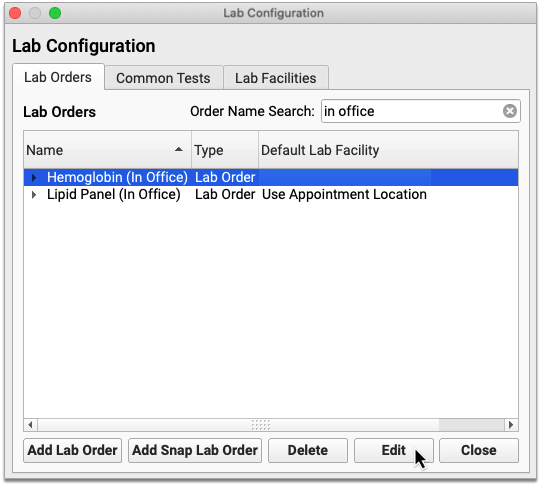
If you need to edit an order’s default lab facility, double-click it, or select it and click the “Edit” button.
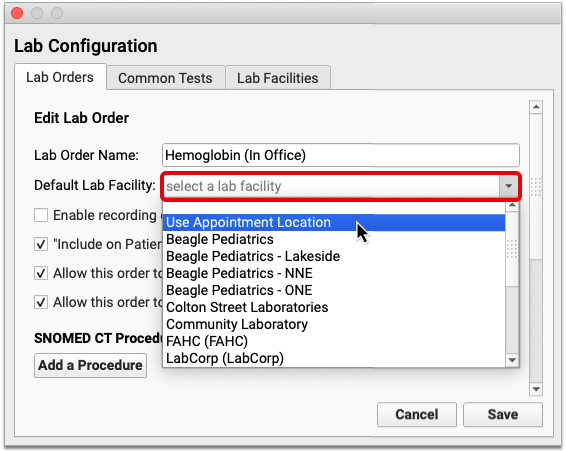
Set the Default Lab Facility field to “Use Appointment Location”, then click “Save”.
Lab orders which use the appointment location as their default lab facility are prevented from appearing on outbound lab requisitions, provided the appointment location is mapped to an in-office lab facility.
To learn more about how to set up lab orders and facilities, read all about Lab Configuration.
Lab Configuration Changes Take Effect the Next Time Users Log In to PCC EHR: The changes you make to in-office lab facilities and orders will not take effect for users until the next time they log in to PCC EHR.
Set Up Default Document Categories for Lab and Radiology Requisitions
By default, PCC EHR saves lab requisitions in the “Lab” document category, and radiology requisitions in the “Radiology” document category. You can change these defaults in the Document Configuration tool.
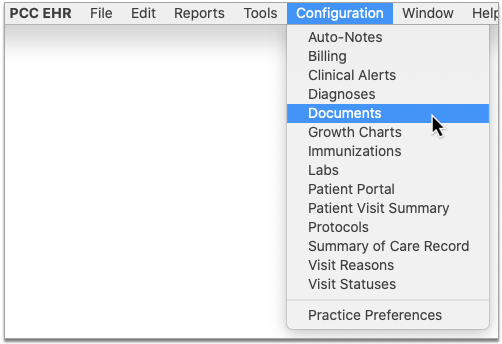
Open Document Configuration tool from the Configuration menu in PCC EHR. Click the “Assigned Categories” tab.
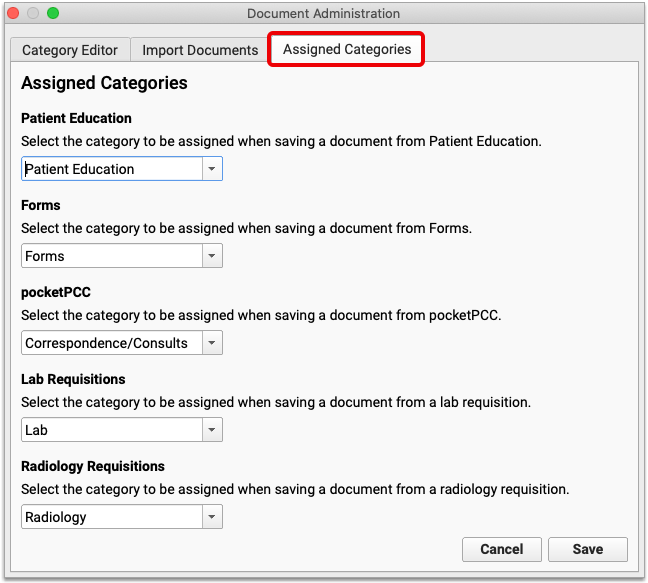
Use the drop-down lists under the Lab Requisition and Radiology Requisition headers to select the document categories where lab and radiology requisitions should be saved by default.
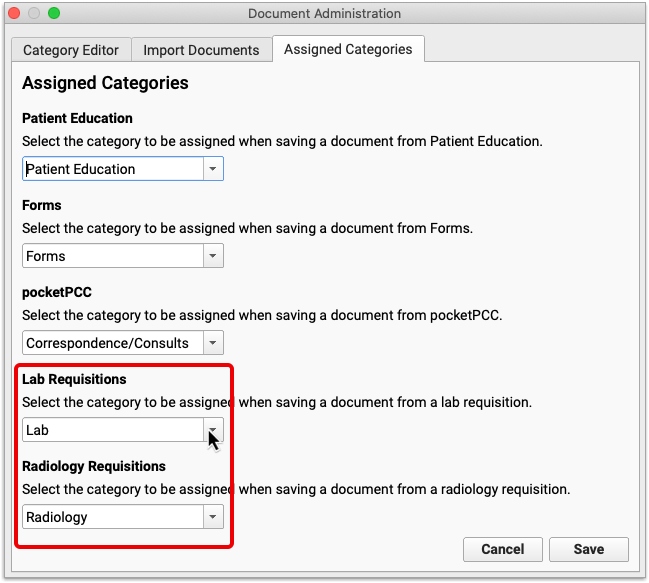
Click “Save” to save your changes.
Configure Provider Signatures to Automatically Appear on Lab and Radiology Requisitions
You can configure lab and radiology requisitions to generate with the signature of the ordering provider. Contact PCC Support for help adding signatures to lab and radiology requisitions.
Configure Custom Requisition Forms
PCC provides a stock lab and radiology requisition template to all practices, but offers the option to upload custom requisition form templates by special request. Please note that PCC cannot configure custom lab and radiology requisition forms containing checkboxes at this time.
Contact PCC Support to learn more about custom requisition form requirements, and to get help adding custom requisitions to your system.
Learn More
To learn more about how to use orders within the patient chart, read Order a Lab, Procedure, Supply, or Other Order. Practice administrators can also learn more about Lab Configuration in PCC EHR.