Best Practices Workflow for Outbound Lab Orders
When a patient needs tests that your in-house lab cannot perform, it’s time to send out to an external facility.
The procedures outlined in this article will help your team stay organized as you requisition external lab tests, process results, and plan next steps.
The procedures are grouped by user role; your practice may find that some of the steps should be done by different individuals, which is fine. The important thing is that the steps are followed in a certain order, not who performs each task.
Orders Overview: For an overview of where to find and how to use orders in PCC EHR, watch this video on order workflow.
Lab Configuration: If you need help setting up lab orders, please read the Lab Configuration article, and get in touch with PCC Support.
Contents
- 1 The Provider Orders a Lab and Assigns the Task to “Nurse”
- 2 A Nurse Sees the Task and Generates a Requisition
- 3 The Nurse Marks the Task Complete and Creates a New Task for “Pending Lab”
- 4 Results Arrive From the Lab
- 5 A Nurse Attaches the Results to the Order
- 6 The Provider Reviews and Signs the Order
- 7 Optional – Orders Follow-up Task(s)
The Provider Orders a Lab and Assigns the Task to “Nurse”
The provider begins by ordering a lab while charting a patient’s visit. The lab order has a task built into it, which the provider assigns to a generic, role-based user account such as “Nurse”.
Why Assign Tasks to Generic, Role-Based User Accounts?: When you assign tasks to a generic user such as “Nurse”, it makes it easier for staff members who share that role to work on the assignments as a group in the Visit Tasks queue. As long as someone with that role is working each day, you know your tasks will promptly be seen and attended to.
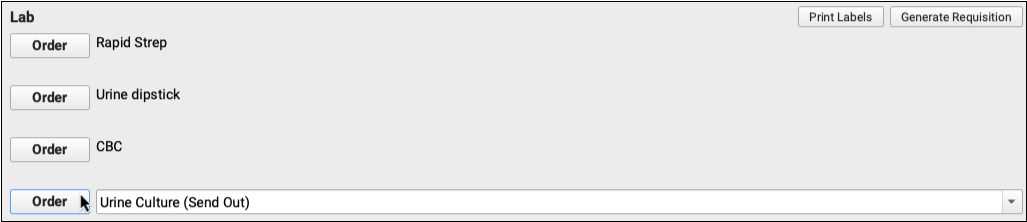
Order a Lab
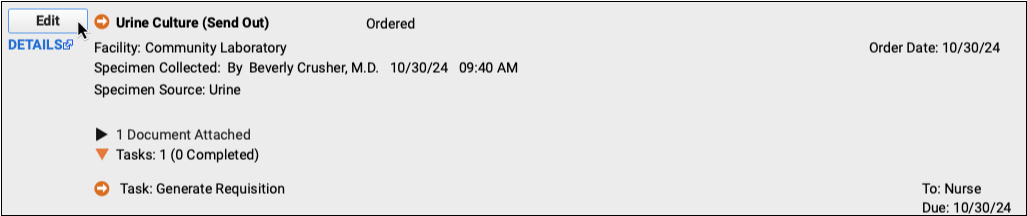
Click “Order” to create the lab order.
Edit the Order
Click the “Edit” button beside the order.

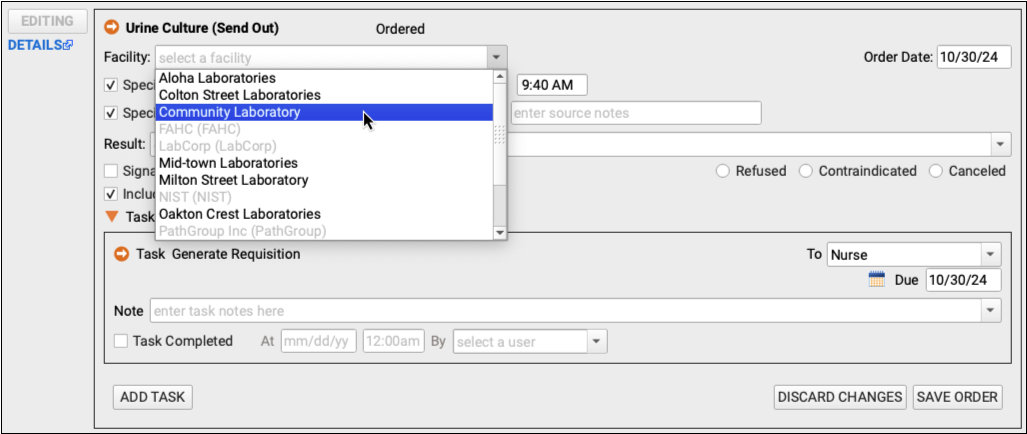
Optionally fill out information tracked by your practice, such as the specimen collection date and source.
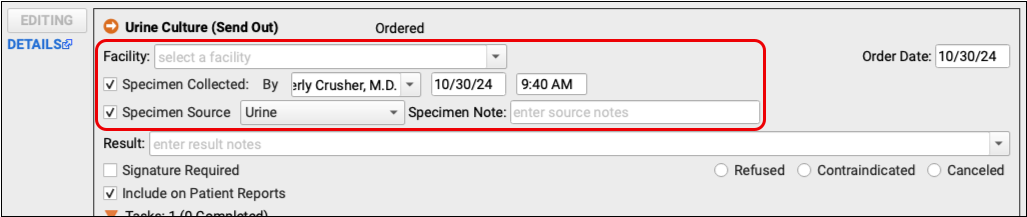
The order will eventually need a lab facility. The provider can add it out now or the person who generates the lab requisition can fill it out later.
In This Example: The provider doesn’t know which lab facility the patient’s insurance prefers so she leaves it blank. A member of the nursing staff will do the research and document a facility when it’s time to generate the requisition and call the lab for a pickup.
Add a Task or Edit the Built-In Task
Click “Add Task” or edit the task built into the order and select what should happen next.

Common next steps are Collect Specimen and Generate Requisition.
In This Example: The patient has provided a urine sample and the next step is to prepare a requisition that will accompany the sample to the lab.
Assign the Task to “Nurse”
In the To field, select the user who should complete the task.

In This Example: The provider assigns the task to the generic “Nurse” user. Many offices assign tasks to generic users so that staff members can monitor shared lists on the Visit Tasks queue.
Save the Order
Click “Save Order” to save your work.

Once the order has been saved, the Task will appear for the Nurse user on the Visit Tasks queue.
A Nurse Sees the Task and Generates a Requisition
Once the provider saves the new order, a nurse sees the related task appear on the Visit Tasks queue. The nurse carries out the task.
Open the Visit Tasks Queue and Filter it to See Tasks Assigned to “Nurse”
Open the Visit Tasks queue and set the Assigned User filter to “Nurse”.
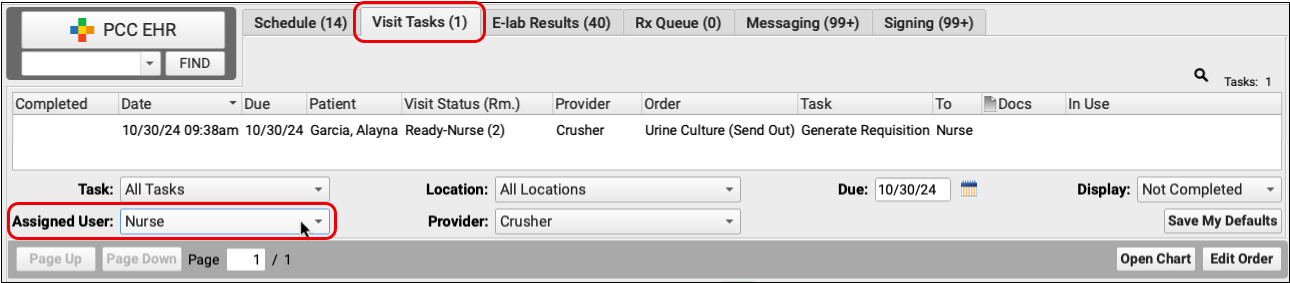
Find and Open the “Generate Requisition” Task
Find the “Generate Requisition” task for the patient’s lab order and double-click to open it.

Open the Patient’s Chart from the Task Window
Within the task window, click “Open Chart”.

This opens the visit where the order was created.
Generate a Lab Requisition
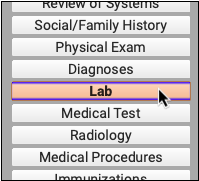
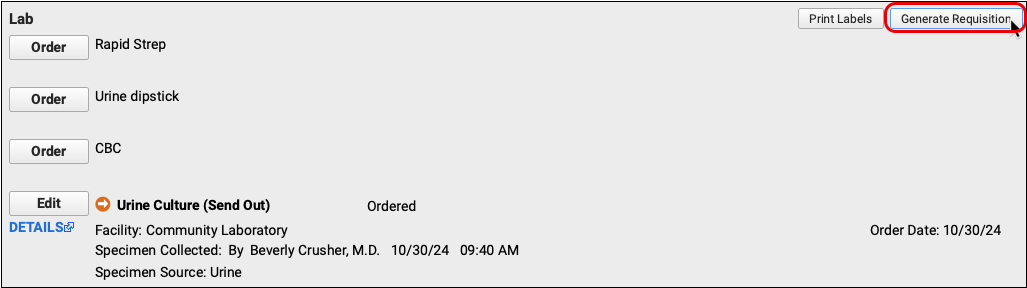
Locate the Lab section of the patient’s visit.
Verify that a facility has been recorded within each lab order that will appear on the requisition.
Save your changes. Then, scroll to the top of the Lab component and click “Generate Requisition”.
Fill out the orders, diagnoses, and any other details relevant to the requisition.
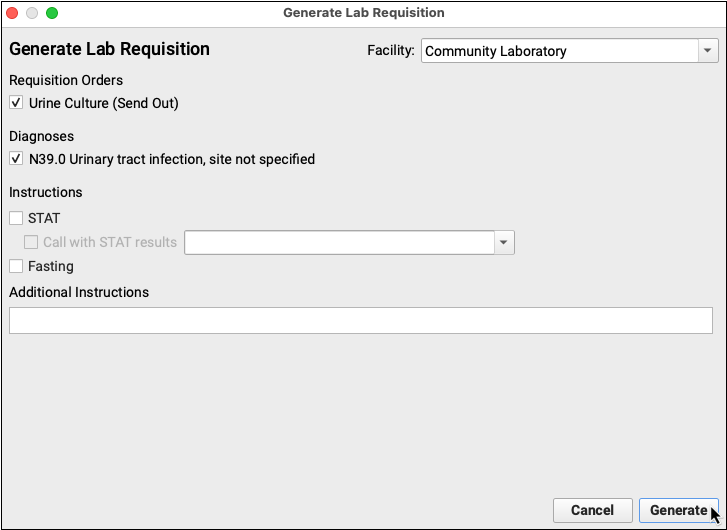
Click “Generate” to see a preview of the requisition.
Print or Share the Requisition
If the patient or family needs a physical copy of the requisition, or you plan to fax a copy to the lab, you can print it from the document preview window.
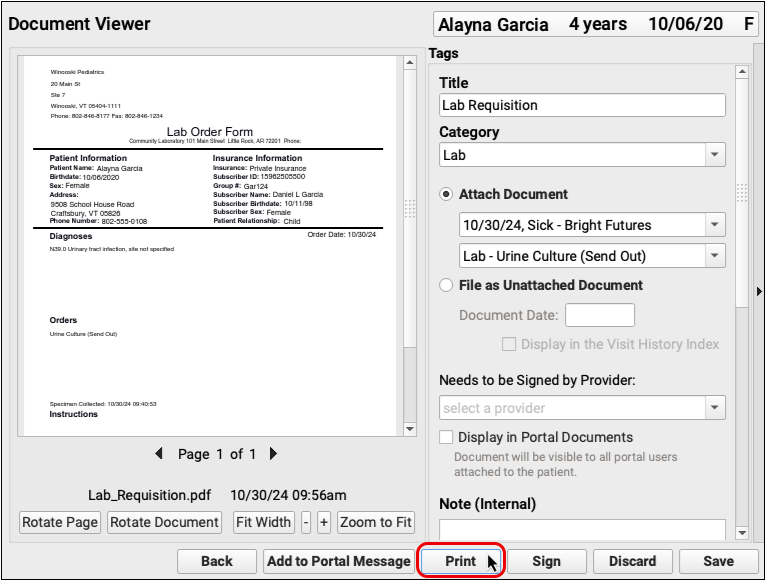
You can also send a copy of the requisition in a portal message or share it to the patient’s portal documents.
Save and Close the Requisition
Click “Save” to save the requisition, close it, and return to the lab order in the patient’s chart.

The Nurse Marks the Task Complete and Creates a New Task for “Pending Lab”
The nurse marks the first task as complete, creates a new task, and assigns it to “Pending Lab” while the practice awaits the results.
Open the Lab Order and Mark the First Task Complete
Now that the requisition has been generated, the nurse can mark the task complete.
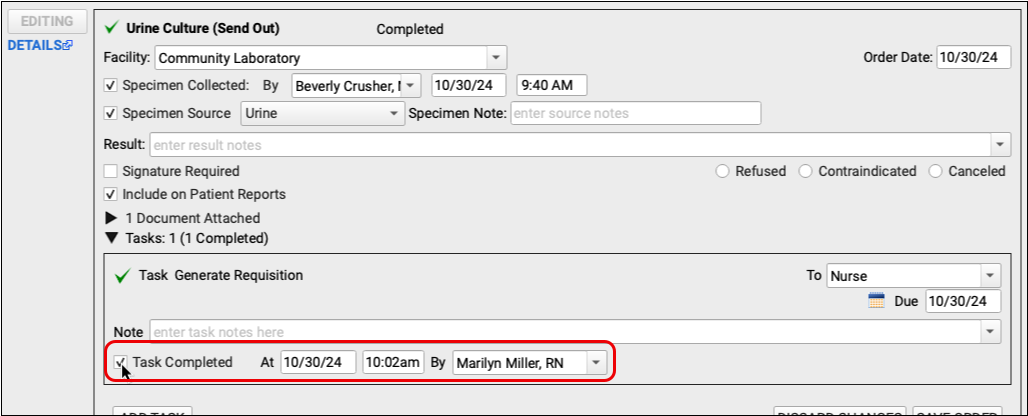
Find the lab order within the patient’s chart and click “Edit” to open it.
Complete the Task
Click the “Task Completed” box. You can edit the date, time, and user name if you need to. You can also enter a note in the field above, if you wish.
Add a New Task
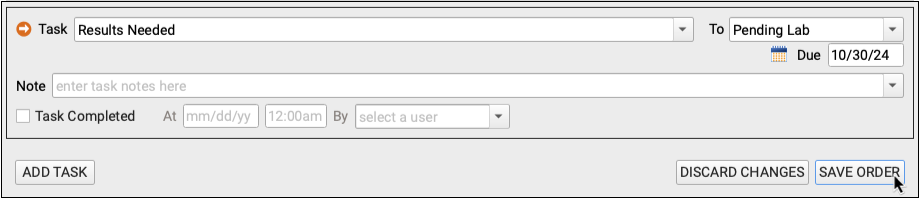
Click the “Add Task” button to create a new task. This task will serve as a reminder that you are awaiting results from the lab.

Assign the New Task to “Pending Lab”
Select a task type such as “Results Needed” (or something similar) and assign the task to the generic user “Pending Lab”.

Tasks assigned to the generic “Pending Lab” user will remain on the Visit Tasks queue until results come back from the external laboratory.
Save + Exit the Patient’s Chart
Click the “Save” button to record your changes.
Exit the patient’s chart.
Results Arrive From the Lab
Results come in from the lab either as electronic lab (e-lab) results, or as documents. E-labs flow directly onto the E-labs Results queue in the EHR. Document results are scanned, printed, or faxed to PCC EHR. For information on how files are uploaded and stored in PCC EHR, read Documents and Scanning in PCC EHR.
A Nurse Attaches the Results to the Order
A nurse (or whoever monitors the “Pending Lab” user in the Visit Tasks queue) uses the Import Documents screen to attach the lab results to the patient’s chart. They send the results to the provider for signature. Then the nurse then opens the lab order, enters the results, and completes the associated “Results Needed” task.
What About E-labs?: If your order is an e-lab, you will find the results on the E-lab Results queue, rather than using the Import Documents screen. Aside from this, you can attach the results to the patient’s chart, visit, and order in the same way. For more information, read Manage Incoming E-lab Test Results.
Open Import Documents
From any window in PCC EHR, open Import Documents from the File menu or by clicking on the document icon in the bottom left corner of the screen.

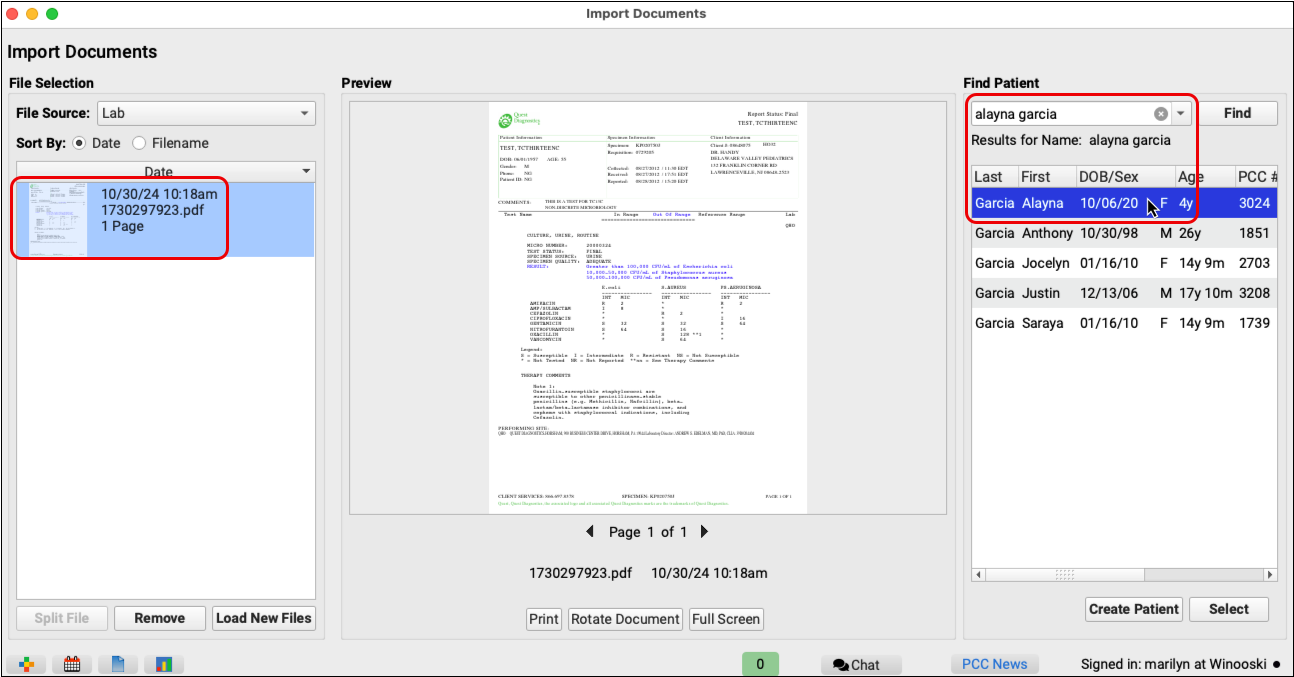
Find the Lab Result and Corresponding Patient
Select the lab result document from the list on the left and use the patient finder on the right to search for the patient to whom the results belong. Double-click to select the right patient.
Attach the Results to the Patient’s Chart, Visit, and Order
Once you have selected the patient, categorize the file and attach it to the right visit and lab order.
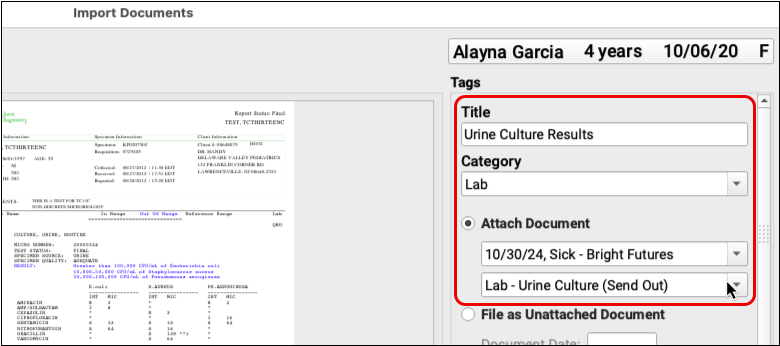
Send the Results to the Provider for Signature
In the document options, select the provider who needs to sign the results.
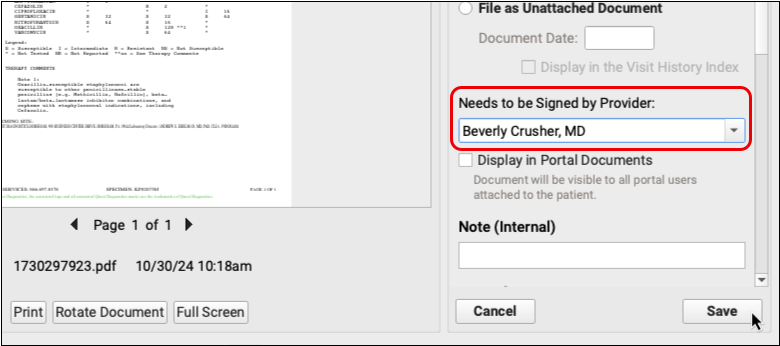
Click the “Save” button to finalize the import and send the results to the provider’s signing queue.
Open the Visit Tasks Queue and Filter it to See Tasks Assigned to “Pending Lab”
Open the Visit Tasks queue and set the Assigned User filter to “Pending Lab”.

Find and Open the “Results Needed” Task
Find the “Results Needed” task for the patient’s lab order and double-click to open it.

Enter Lab Results and Mark the Task Complete
Enter the lab test results in the Results field of the lab order. Then, mark the “Results Needed” task complete.
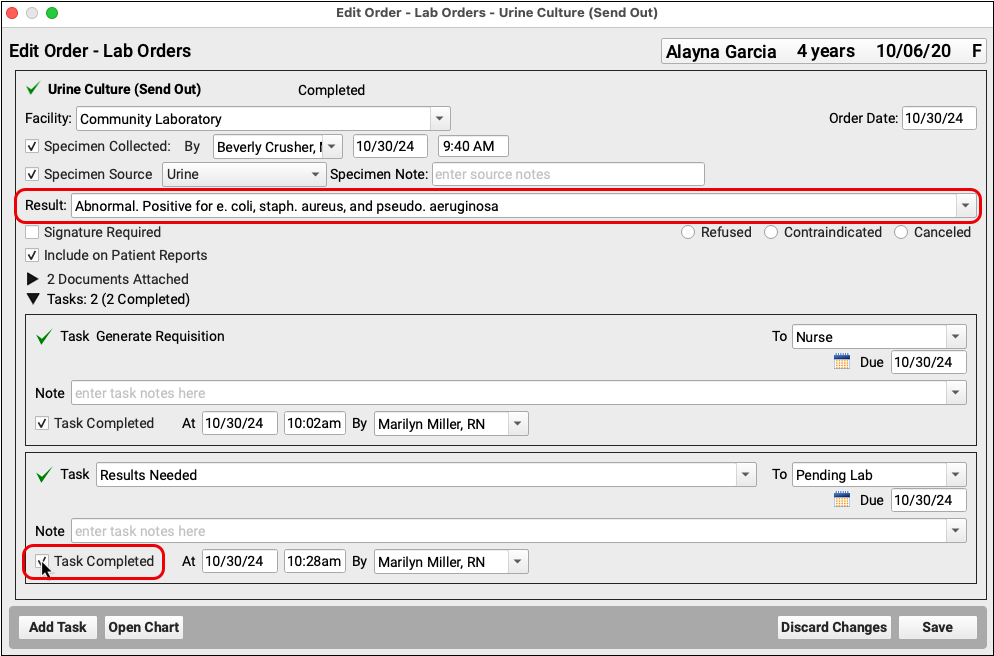
Save the order.
See at a Glance that Results Are In: Once results have been entered into a lab order, the icon next to the lab order name changes to a green check mark. You can see the green check on the Visit Tasks queue and in the visit, phone note, or portal message where the lab was ordered.
The Provider Reviews and Signs the Order
The provider will see the results on their Signing queue as ready to sign. They can review the document, and optionally open the patient’s chart.
The provider can add a signing note as well as a messaging task, if needed.
Open Results From Signing Queue
Double-click on the lab result document from your Signing queue.

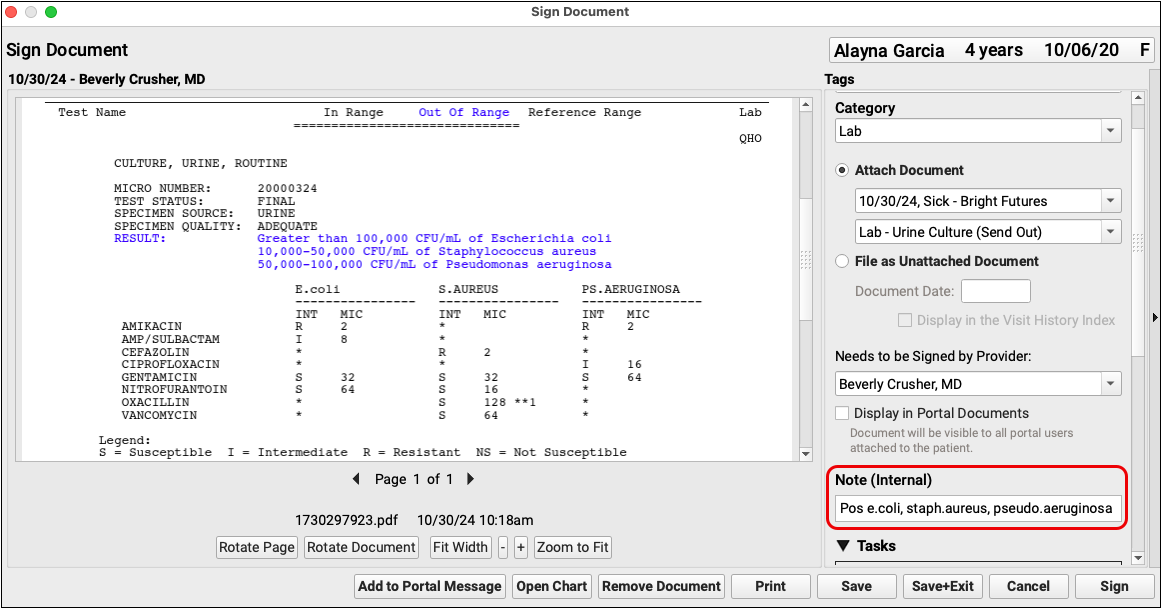
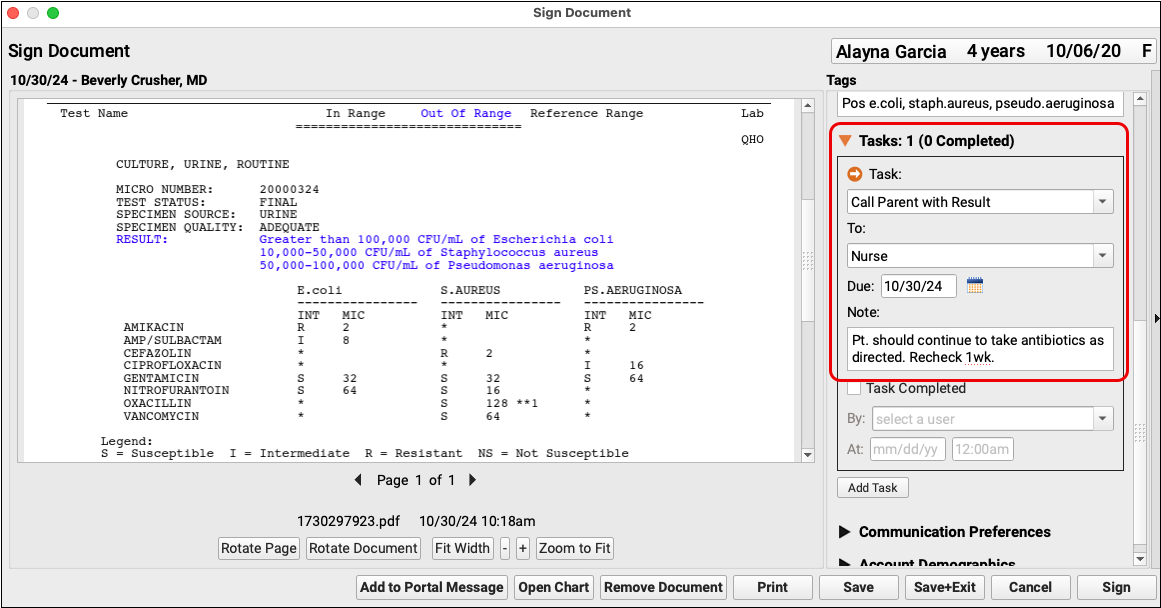
Review Results and Optionally Add Note
Look over the document. If applicable, add a note about the results before you sign.
Optional – Add a Task for Follow Up
Add a document task for the nurse (or whoever is appropriate) if additional follow-up is needed.
Sign the Order
Click “Sign”.
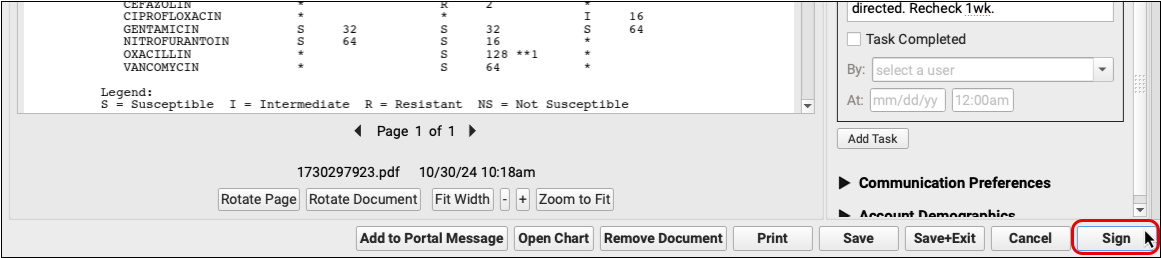
The results document automatically closes and returns you to the Signing queue.
Optional – Orders Follow-up Task(s)
The nurse (or whoever was assigned the document task) will see it on their Messaging queue.
The nurse can reference the document and associated notes as they carry out the task that was assigned to them.
Open the Task from the Messaging Queue
Double-click on the task to open it.

The lab results document will open in a new window.
Complete the Task
Click the “Task Completed” box.
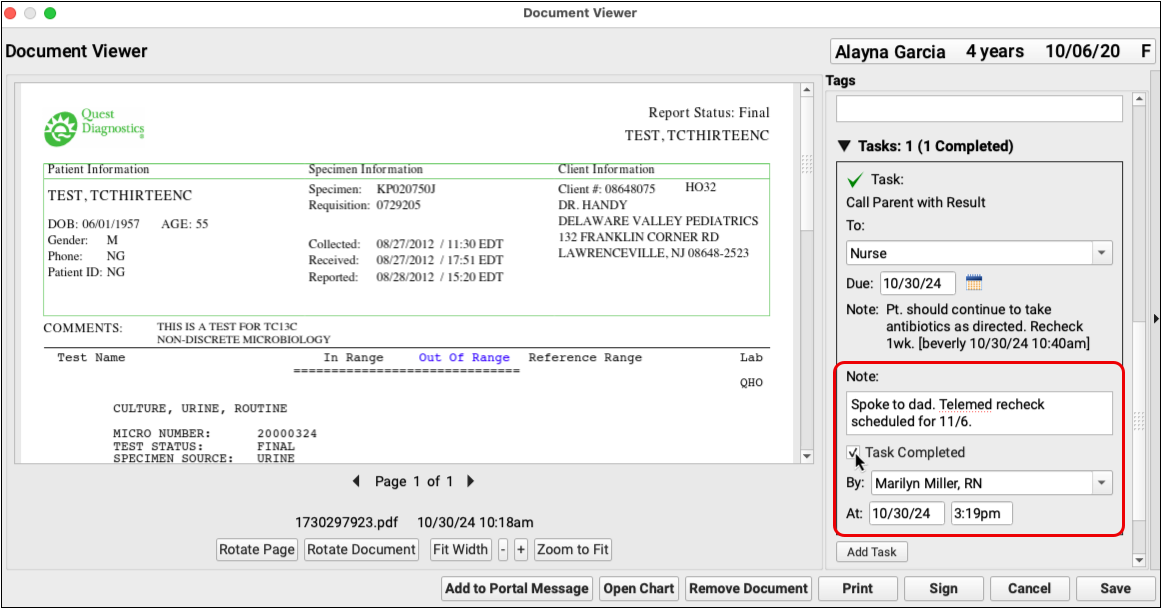
You can continue to add additional tasks, as needed.
Save the Document
Click “Save” to complete the document task process.

While it is expected that there may be slight variations based on each practice’s physical workflow, following these guidelines will ensure that your practice does not lose track of outbound lab orders while moving through the process.