Configure Which PCC EHR Queues Appear for Each User
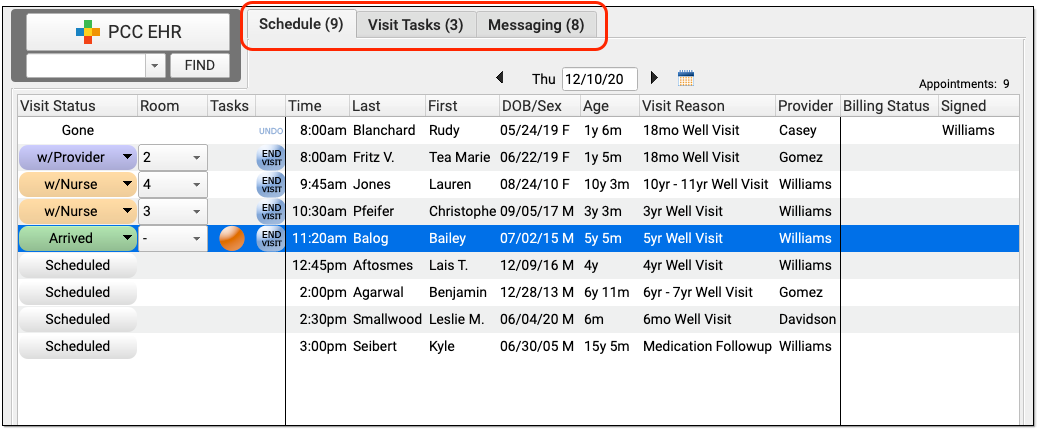
Your practice can define which PCC EHR queues will appear when a user logs in. For example, a staff member at the front desk may not need to see prescription renewals or signing. Their PCC EHR screen could look like this:
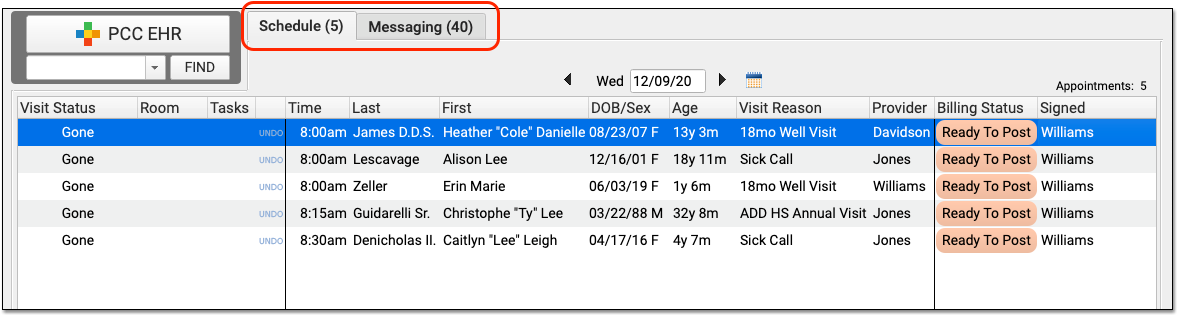
And a biller may only need to review today’s schedule and messages in order to post charges:
By fine-tuning which queues appear for each user role in your practice, you can make PCC EHR easier to use and you can control who has access to different functions in PCC EHR.
Configure User Roles to Display PCC EHR Queues
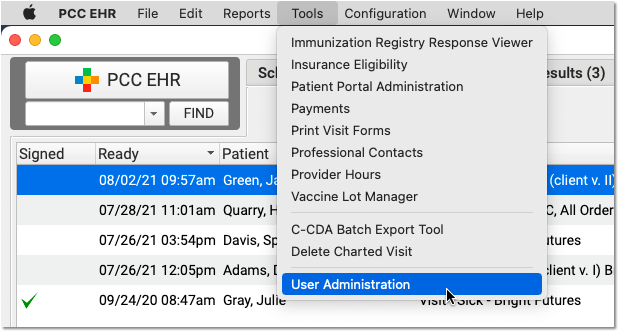
To adjust which queues are visible for each user at your practice, first open the User Administration tool and edit a user role.
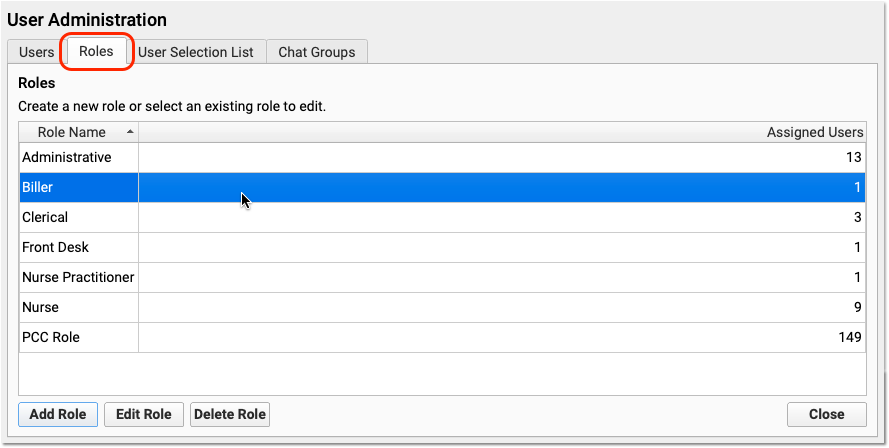
Use one of your existing roles or create a new one. Double-click on the role to adjust permission settings.
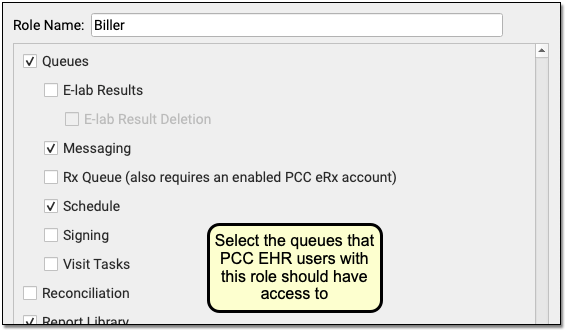
First, select “Queues” to make queues visible to the user role. Then select each queue that users with this role should have access to. Repeat this process for each role at your practice. If a user role should only have limited access, you can deselect all queues. Then the user will see a blank PCC EHR window.
As you design roles, remember that users can be assigned more than one. Each user will see all the queues available for any of their assigned roles. Also, note that the eRx Tasks queue only appears for users who have both a role with the queue permission and an enabled PCC eRx account.
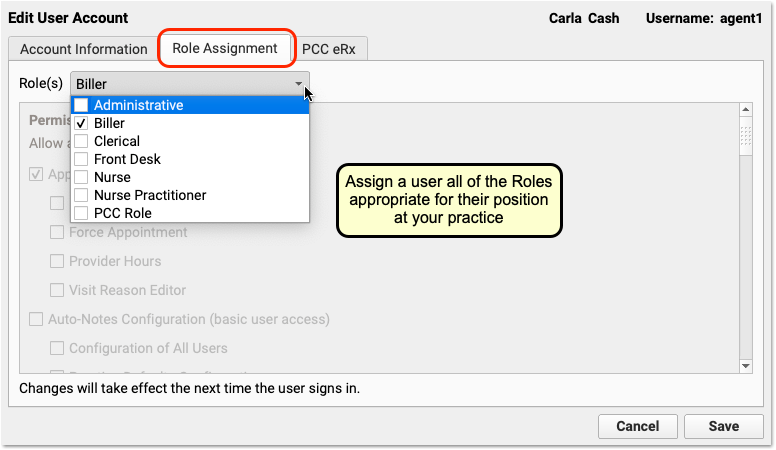
Next, edit each user’s account and adjust their assigned roles.
By fine-tuning which queues appear for each user role in your practice, you can make PCC EHR easier to use and you can control who has access to different functions in PCC EHR.
For a complete guide to defining and assigning Roles in the User Administration tool, read the main Set User Roles for Permissions and Security article.