Read Your PCC Email with Roundcube
You can access your PCC-provided email services with Roundcube, a Web-based email program. This manual contains an introduction to Roundcube, along with a guide for setting up two-factor authentication (2FA) for your PCC email using the Authy app.
Contents
Start Roundcube and Log In
Open a Web Browser
Open your web browser of choice. Roundcube will work in any browser. Note that browsers on mobile devices may display a more limited interface optimized for mobile devices.
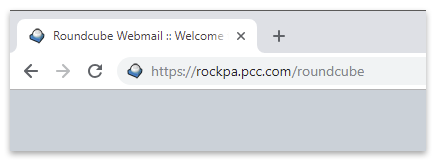
Enter Your Office’s Web Mail Address
In the browser address bar, enter your practice’s Web Mail address. Your address is your PCC acronym followed by pcc.com/roundcube. For example, if you work at Bedrock Pediatric Associates, your PCC acronym might be ROCKPA. Your Web Mail page would be https://rockpa.pcc.com/roundcube/.
You can bookmark this page or create a Web shortcut on your desktop for quick access to Roundcube.
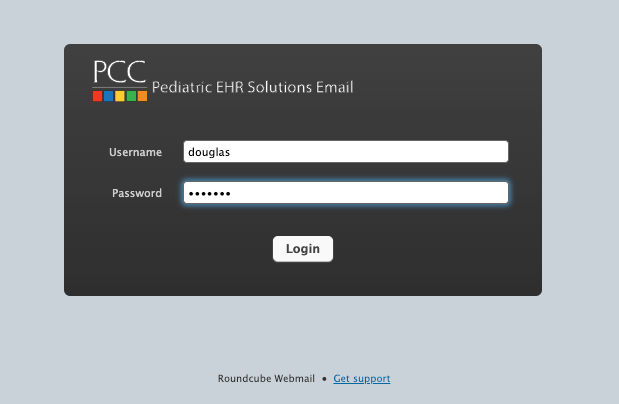
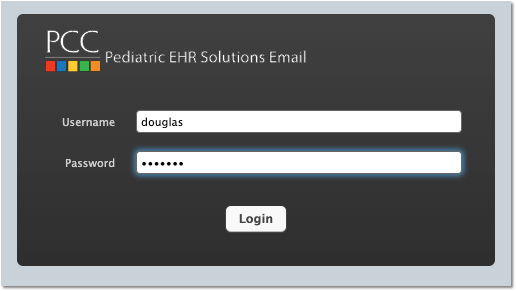
Type Your Name and Password
Your email name and password are the same as for PCC EHR. If you do not have a PCC login, contact your practice’s system administrator or office manager.
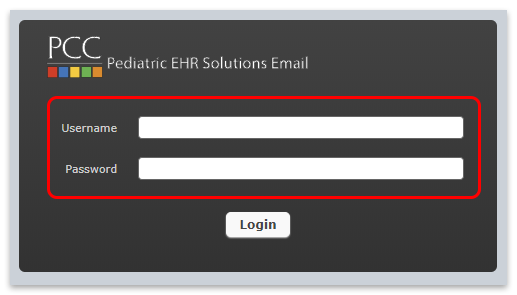
Click “Login”
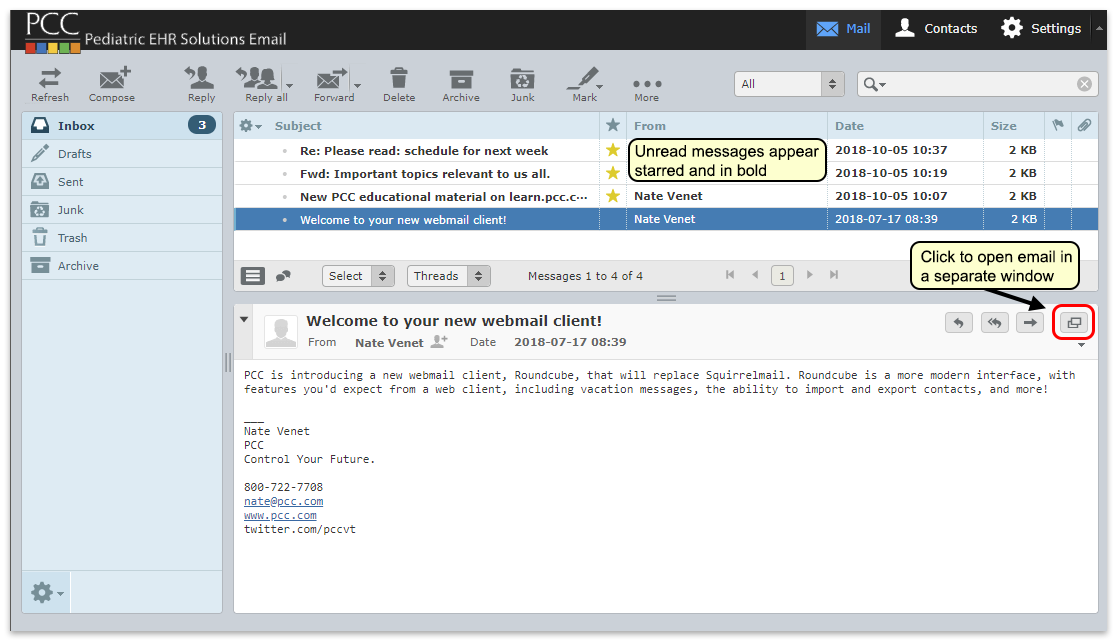
View Your Email
You can now use your Roundcube email. Roundcube opens to your inbox, where you can read, reply, and otherwise manage your messages.
Send an Email Message
Follow the procedure below to send an email message.
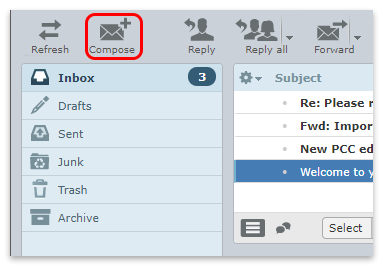
Click “Compose”
Click “Compose” to begin writing a new email message. Or, click “Reply” while viewing a message to compose a reply email to the sender. You can click “Reply all” to ensure that your message will also be sent to everyone who received the original message.
Compose Your Message
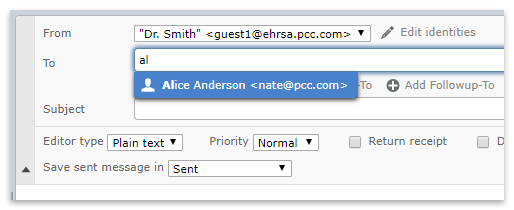
Enter the address of the recipient, subject, and message text in the fields provided. Press the Tab key to move from field to field.
Use the “Attach a file” button to browse your local computer or network for attachments, or simply drag the file onto the attachment area of the email, as shown below.
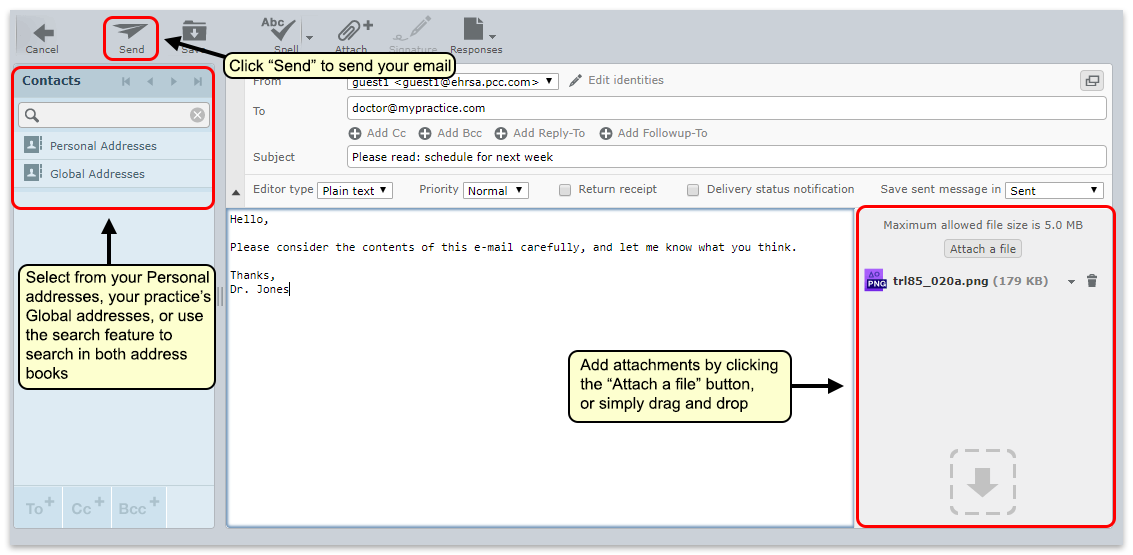
Multiple Recipients?: You can add several email addresses in the “To” field, separating each one with a comma. You can also use the “Add Cc” or “Add Bcc” features to send copies of your email to additional recipients. Recipients that you list in the “Bcc” field will not see the list of other recipients of the email.
HTML vs. Plain Text: Sometimes you might want to compose an email using fonts, formatting, bullets, and embedded images. By default Roundcube composes all emails in plain text, but you can switch to an HTML formatted version using the “Editor type” drop-down. You can change this default behavior in the “Settings” menu.
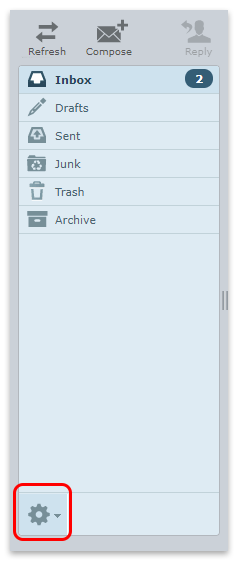
Manage Folders
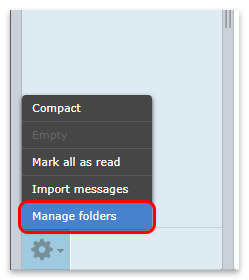
You may want to set up folders for your mail. You can do this using the “Manage folders” option under the gear icon.
Open Folder Settings
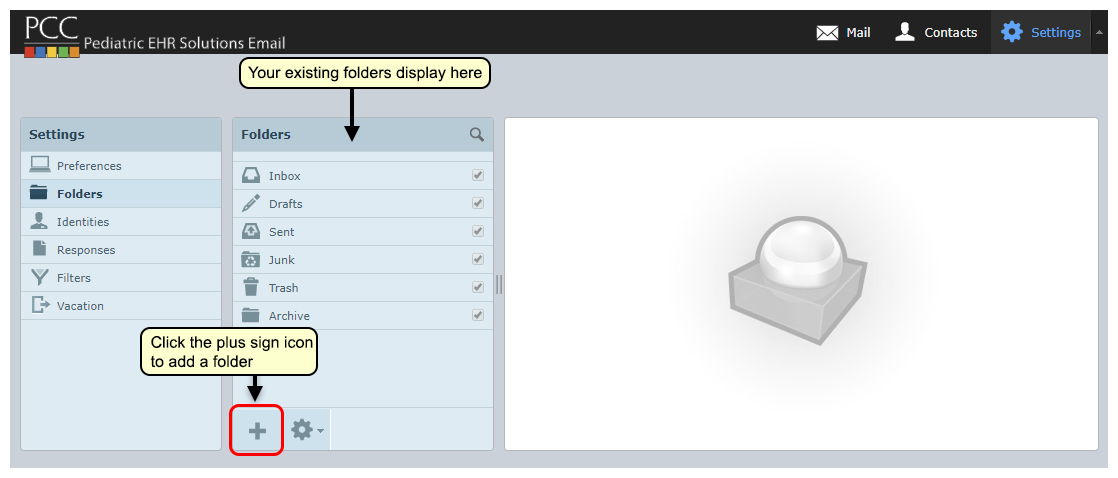
Settings Menu: You can also access this page through the “Settings” gear icon at the top of your Roundcube window.
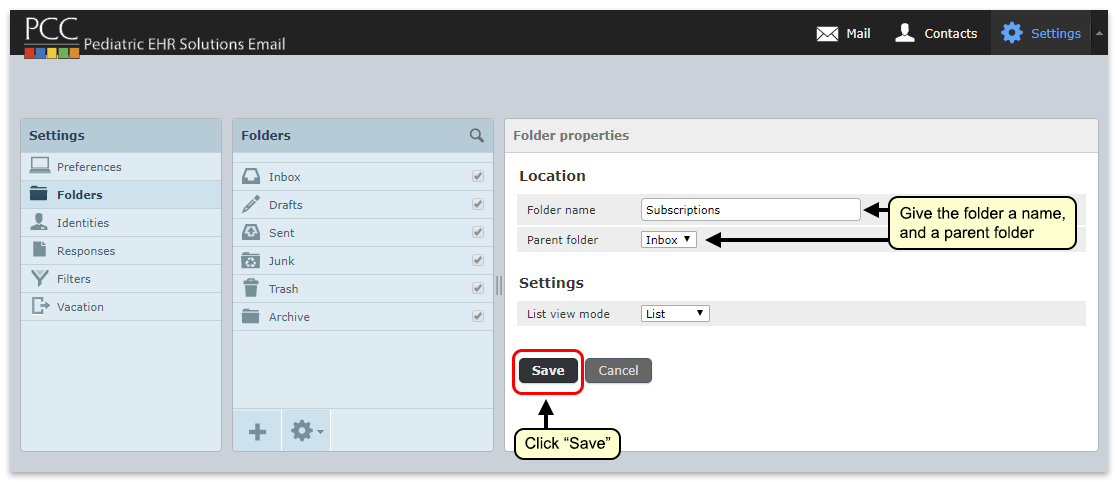
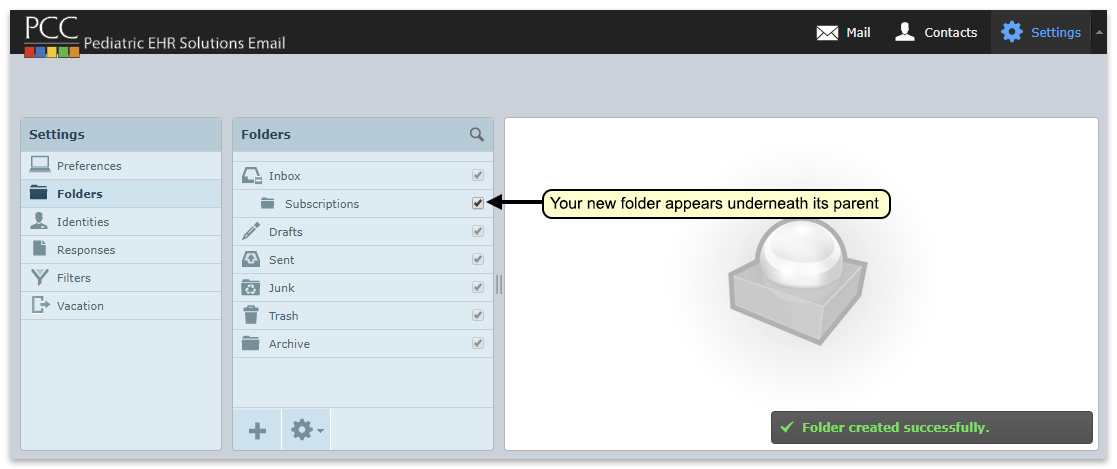
Add Folders
Here you can review, add and delete folders.
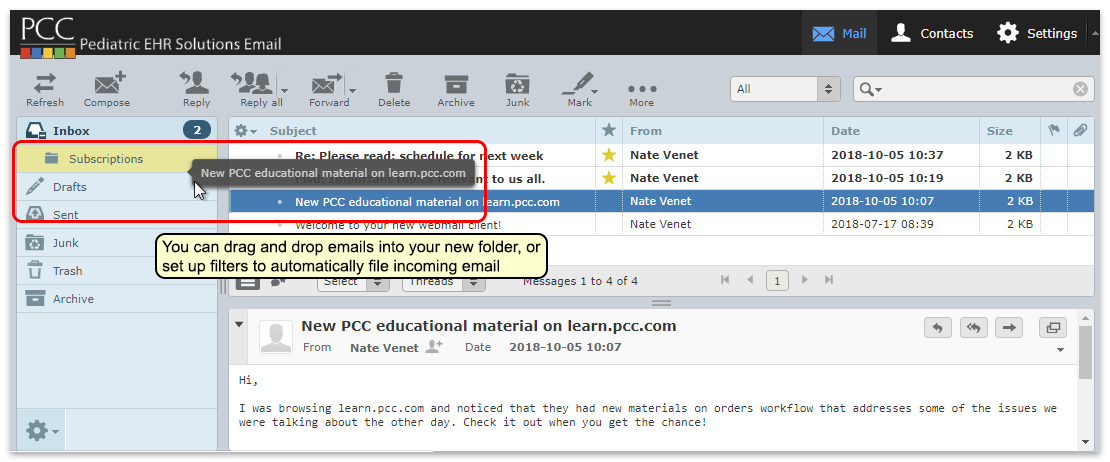
Back on your Mail screen, you will see your new folder. Drag and drop emails into the folder, or set up filters to automatically file incoming mail into various folders.
Flat File Structure: Roundcube uses a flat file structure for folders. This means that you cannot normally “nest” folders. You can only create folders at the top level or inside your Inbox. However, if you used nested folders with a different e-mail program, such as Squirrel Mail, Roundcube will recognize and preserve that folder structure.
Contacts
You can add email addresses to Roundcube’s address book, making it faster and easier to email your frequent contacts.
Access your address book by clicking on the “Contacts” button at the top of the page.

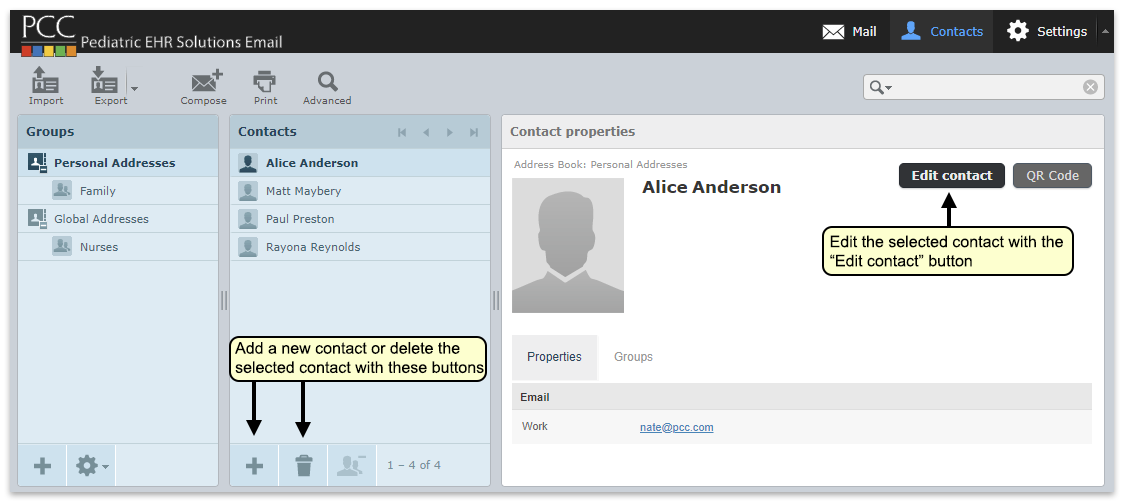
You can add, remove, and edit contacts from your address book. Contacts in your address book will auto fill in any of the “to” fields when you compose email.
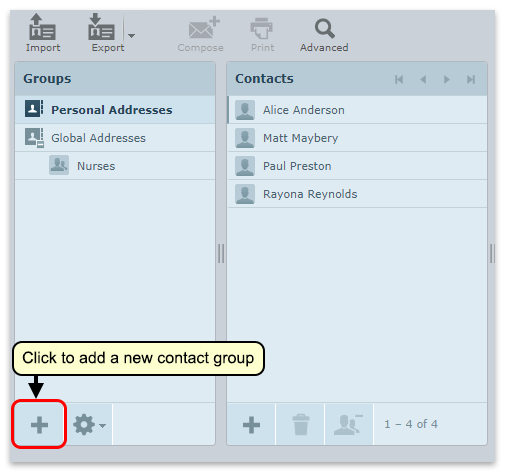
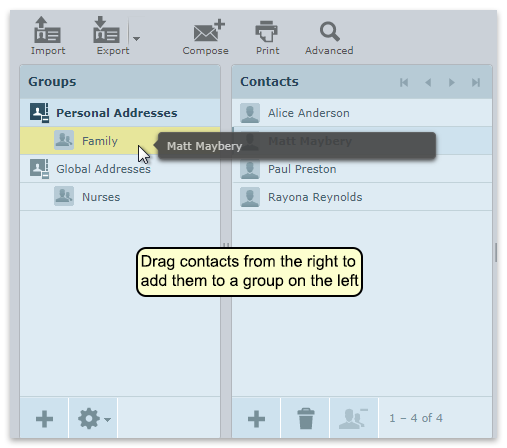
Contact Groups
You can add addresses to Contact Groups. You can then send an email to an entire group just by selecting the group, instead of manually adding each email.
On the Contacts Page, click the Plus icon to add a group.
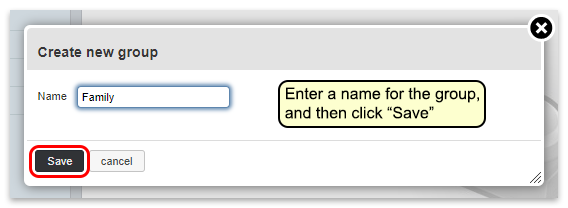
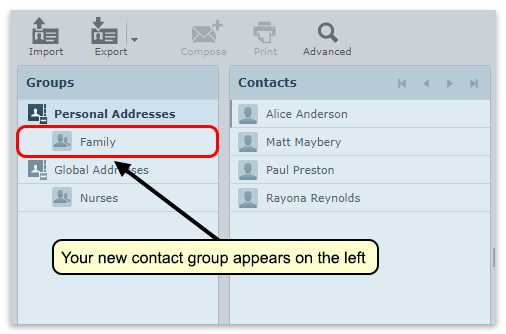
Then, drag contacts from your contact list into the group.
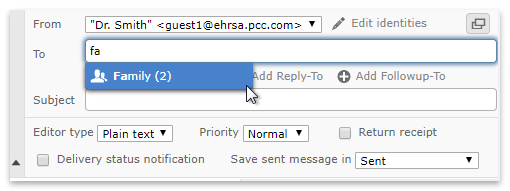
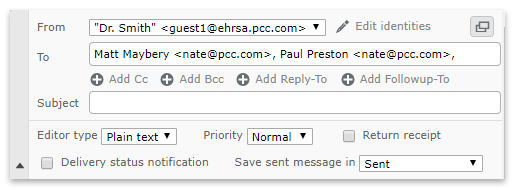
When composing an email, entering the group name into the to/cc/bcc fields will add all contacts in that group.
Your personal address book is only available to you, but your practice’s administrator can add contacts to a practice-wide, shared address book that is available to all email users. Contact PCC Support for help with your shared contacts.
To add or change an administrator, please contact PCC Support with the username(s) of the administrator(s) you wish to add or change.
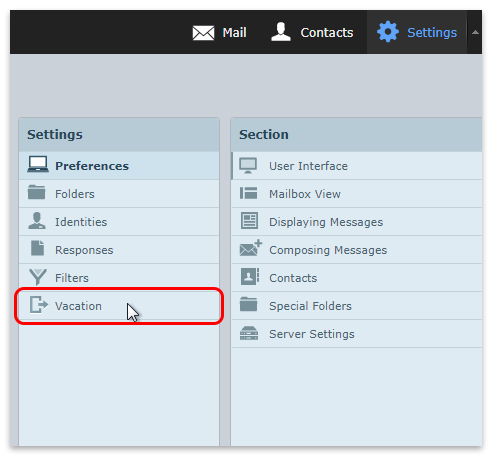
Out-of-Office Messages
Roundcube allows you set up an auto-reply away message. You can adjust and activate your away message on the “Out of Office” window under “Settings”.

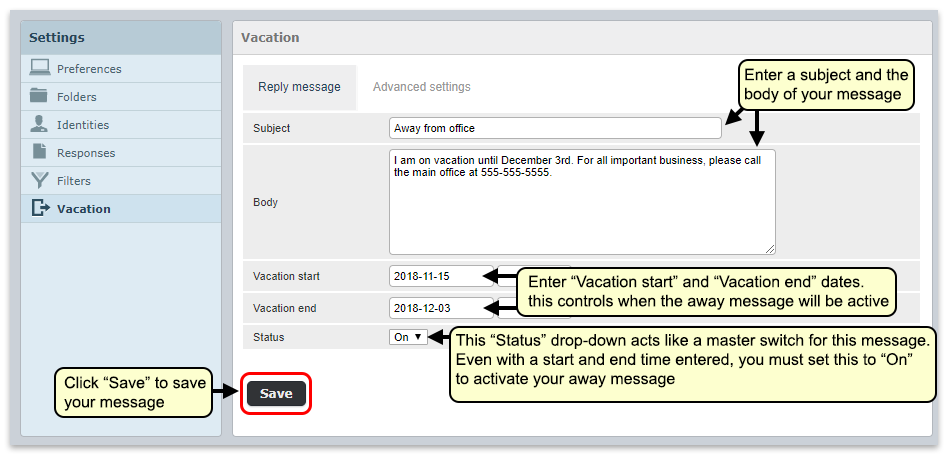
Start and End Dates vs. On/Off Status: You can set specific start and end dates for your away message so that it will automatically activate on a specific date and turn off on a subsequent date. You can also manually turn your message on and off by leaving the start and end times blank and using the Status drop-down to turn the message on and off. Note that if the Status is set to “Off”, your away message will not be sent, even if there are start and end dates set.
Use Two-Factor Authentication with Your PCC Email
You can use two-factor authentication with your PCC RoundCube e-mail. Two-factor authentication (“2FA”, “2-Factor Authentication”) improves the security of email services and is recommended for use in a medical setting or other environment where confidentiality is important.
Why Should I Use 2FA?: There are many reasons you should use two-factor authentication for your practice’s email. 2FA improves the security of your practice’s communication, which may include PHI, sensitive business data, contact information for patients and staff, and other data that should be secured. 2FA helps you comply with security rules that may affect your practice. Your practice’s cyber insurance may requires 2FA, or charge a higher rate if you do not use it. Additionally, PCC began requiring 2FA for all new client installations in 2022, if the practice opts to use PCC’s email service.
Activate Two-Factor Authentication for Your Practice
Your practice can use 2FA on a person-by-person basis, or you can require it for all staff that use PCC’s email service. Contact PCC Support for help.
PCC implements 2FA for all new clients by default. Your practice can decide to opt-out.
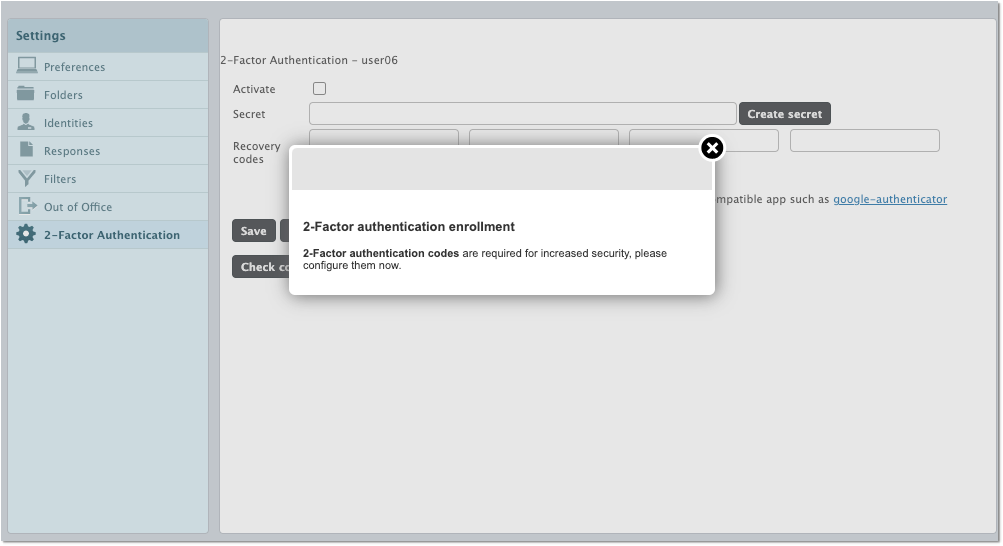
When 2FA is required by your practice’s configuration, users will see a warning message and be unable to read their PCC RoundCube email until they activate two-factor authentication.
At a future date, PCC may decide to make two-factor authentication a requirement for all practices that use PCC’s e-mail service.
Activate Two-Factor Authentication for Your Personal PCC Email Account
Whether your practice requires 2FA for PCC email or not, each individual user can enable it for themself.
Follow the procedure below to set up two-factor authentication for your PCC email.
Install Authy on Your Mobile Phone
Install the “Authy” application on your mobile phone or other mobile device you will use to generate tokens. You may already have Authy installed if you use Direct Secure Messaging, PCC eRx, or another service.
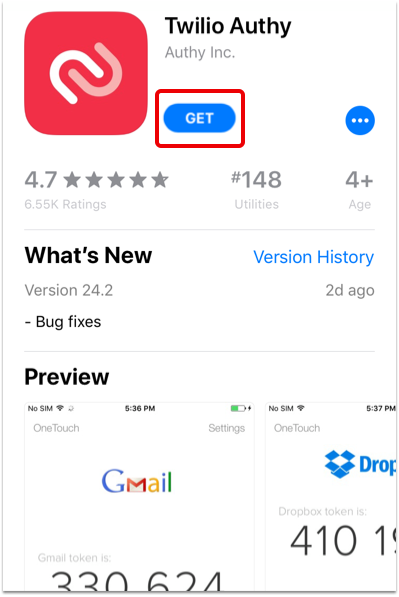
Why Does PCC Recommend Authy?: While you can use many different 2FA applications, PCC has experience with Authy and can provide basic support. Additionally, Authy allows the user to create a recovery backup password, which means you can transfer your tokens to a new phone should you lose or replace your current one.
Log In To Your PCC Email
Log in to your PCC RoundCube email account.
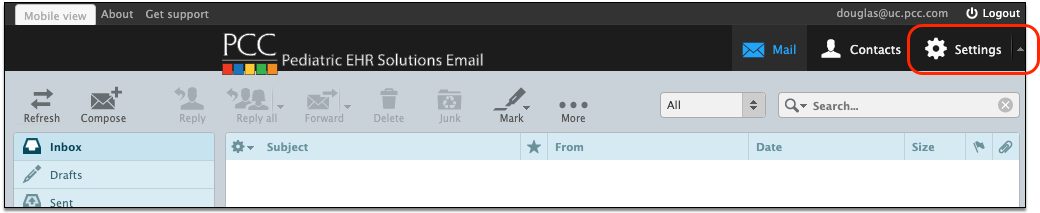
Click “Settings” and “Two-Factor Authentication”
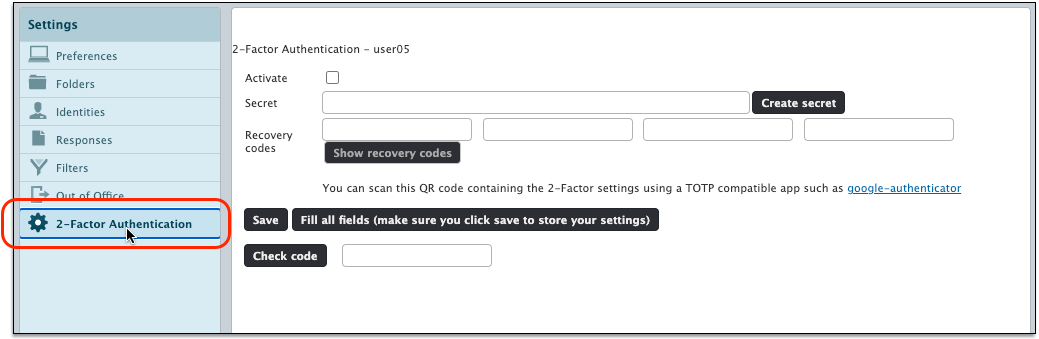
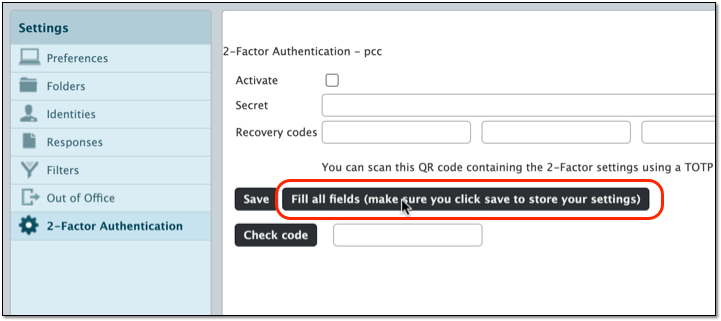
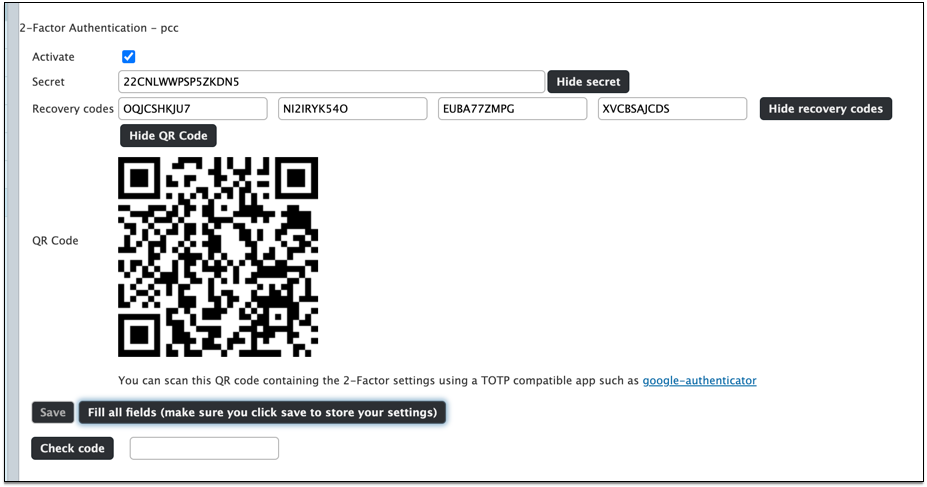
Click “Fill all fields…”
Click the “Fill all fields…” button to generate a unique secret, recovery codes, and a QR code that will make setup easy.
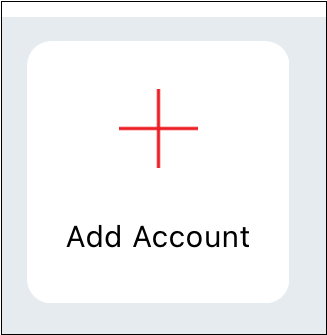
Use the Authy App to Create the Connection
Follow the onscreen prompts in Authy to create a new connection.
Create a New Connection, Can't Re-Use: You may already use Authy for other services (like PCC eRx or PCC SecureConnect). You can not reuse those connections, but must instead create a new connection in the Authy app, specifically for you PCC Roundcube email.
You will be prompted to name your connection, for easy reference later.
Create a Backup Password in Authy
When you use Authy to create a connection, you will be prompted to create a backup password. This optional step can help you later if your phone is lost, stolen, or replaced.
Backup Password is Highly Recommended: If you do not create a backup Authy password, you will be unable to access your e-mail if you lose your phone. PCC recommends you create a backup Authy password so you can reactivate your secure connections when you switch to a new phone.
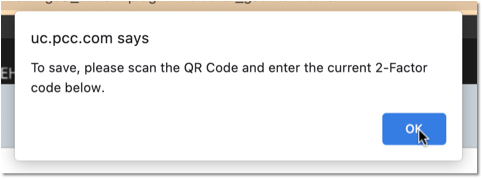
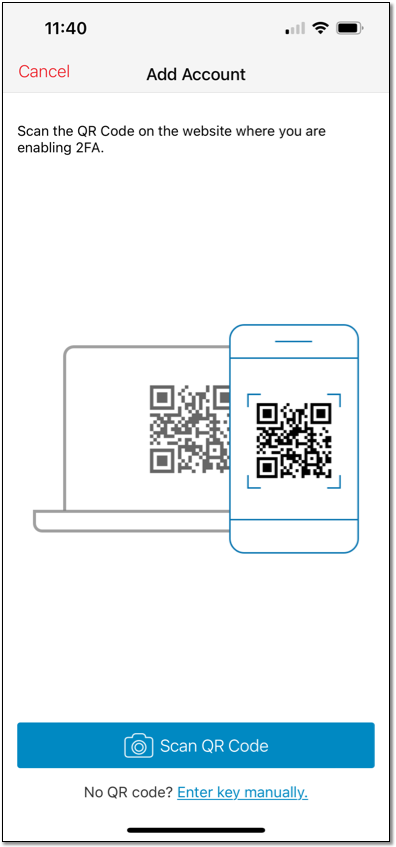
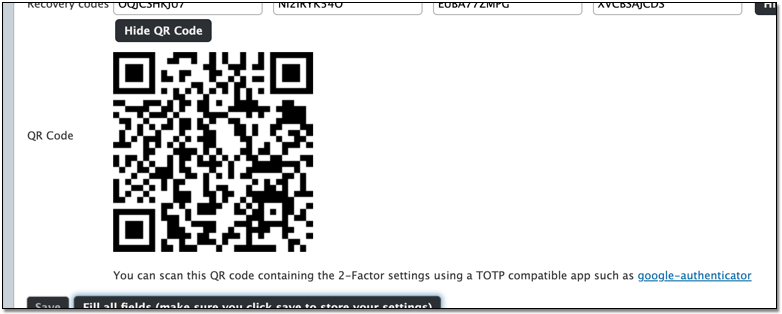
Scan the QR Code
During the process, Authy will prompt you to scan a QR code (or enter a text code manually). You can find the QR code in the Two-Factor Authentication panel in RoundCube. (You can also click “show secret” to view the code and enter it into your phone manually.)
Test a Token
The Authy app will now generate a new RoundCube PCC email token every 30 seconds.
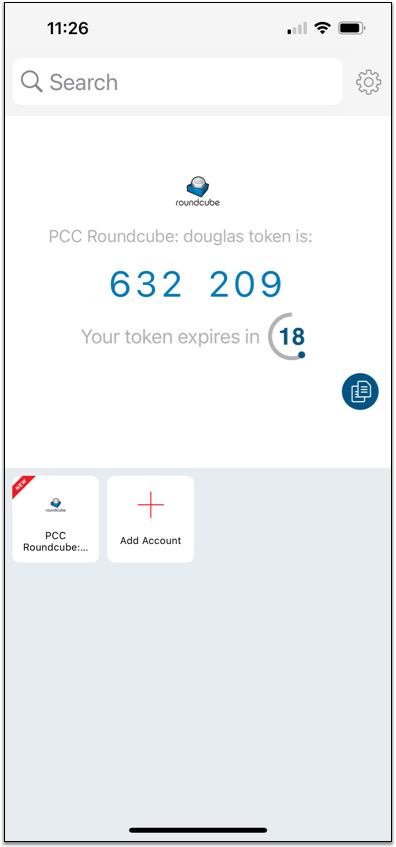
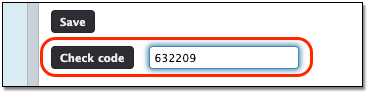
To test your two-factor authentication setup, enter the code from the Authy app into the “Check code” field in RoundCube and click “Check code”.
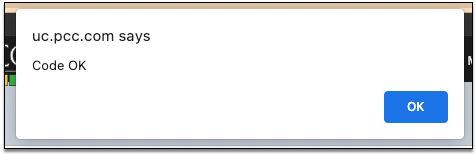
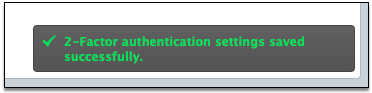
You will see a pop-up message letting you know that two-factor authentication is now working.
Review Recovery Codes, Screenshot or Print Your Screen
RoundCube has automatically generated a secret and a set of recovery codes. The recovery codes are temporary token passcodes that expire after they are used once.

Print or take a screenshot of this page so you can store your recovery codes. They will allow you to access your email, even if you’ve lost your phone.
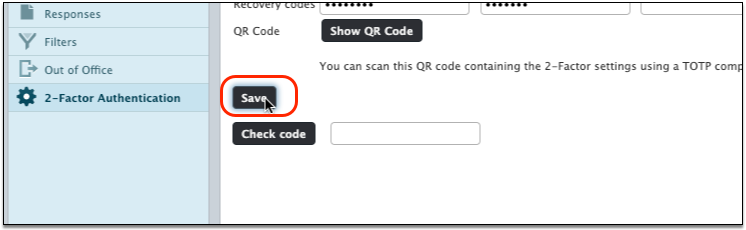
Click “Save”
Click “Save” to enable two-factor authentication whenever you log into your email account.
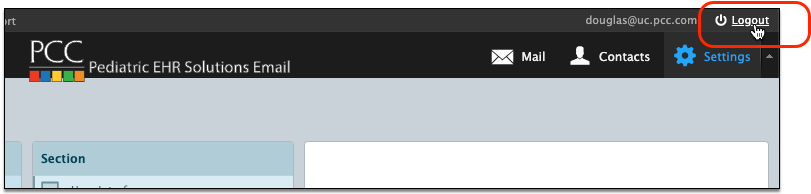
Test Your New 2FA Email Login
Log out of your email account and log back in.
After entering your username and password, you should be prompted to enter a 2FA token.
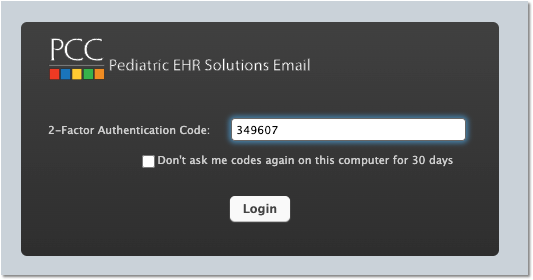
You can retrieve a token from the Authy app on your phone. Optionally, you can click “Don’t ask me codes again…” if you are working in a secure location that does not require two-factor authentication.
Turn Off Two-Factor Authentication, or Reset Your Token
If you need to disable 2FA for some reason, you can deselect the “Activate” checkbox and click “Save”.
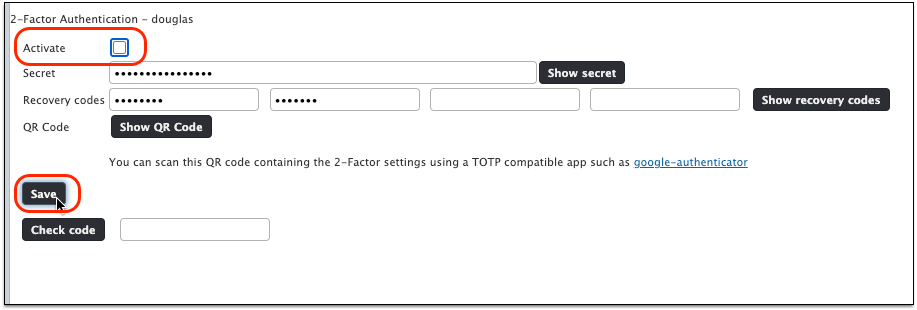
You can re-enable 2FA later.
Lose Access To Your Email: If you get stuck and can not access your email, contact PCC Support.