Exclude Patients from Recaller and Notify
Patients and families may request that you do not call them or send them e-mails with appointment reminders or recall reminders.
Your office can use status flags to keep track of patients and families that do not want to receive reminders. You can then configure the Patient Recaller (recaller) and the Patient Notification Center (notify) to automatically exclude them from recalls and notifications.
Read the procedure below to learn one way of ensuring that patients do not receive unwanted auto-calls or mailings.
Create “Do Not Contact” Status Flags
Use the Table Editor (ted) to create status flags for patients or accounts that do not wish to receive reminders.
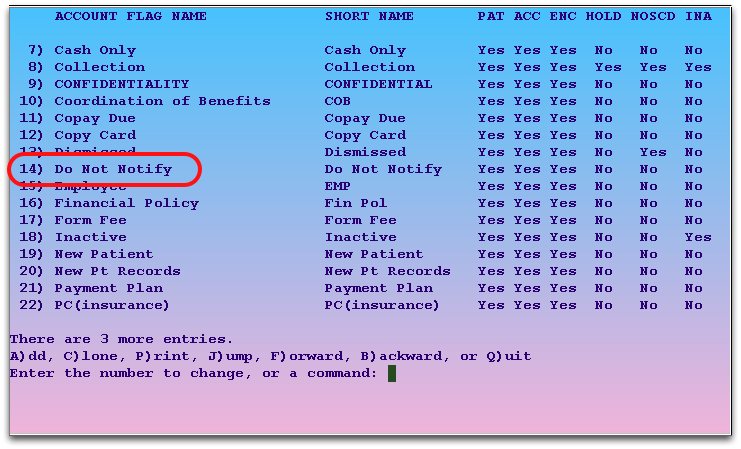
For example, you might create a “Do Not Notify” status flag in the Patient Flags and/or Account Flags tables. You could also create more specific, per-reason “Do Not Notify” or “Do Not Recall” status flags.
Add Flags to Patients and Accounts
Whenever a patient or family requests that they no longer receive notifications or recall announcements, add the appropriate flag in the Patient Editor (notjane) or Family Editor (fame). You can also update status flags during the checkin process.
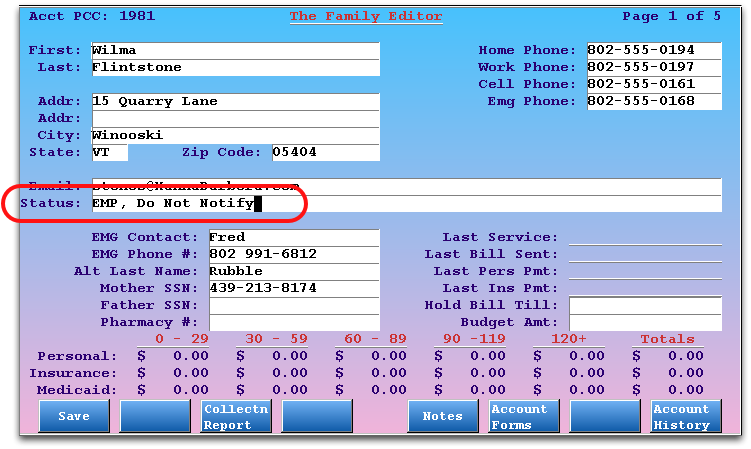
Tips: You can use the asterisk (*) in the status field to find the flags you need. If you need to add multiple status flags to a patient or account, separate them with commas (,).
Add Status Flags to Your Recaller and Notification Criteria
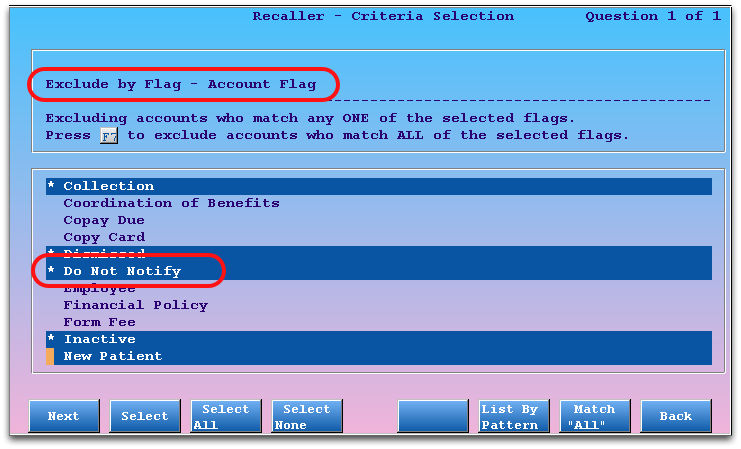
In recaller or notify, use the “Exclude by Flag – Patient Flag” and “Exclude by Flag – Account Flag” criteria to exclude your Do Not Notify or other status flags.