Create a “Due for a Visit” Notification
Follow the procedure below to edit or create a “Due for a Visit” notification in the Patient Notification Center.
Before You Start: Before working with notifications, read the overview help article about the Patient Notification Center. The notify program requires registration and configuration, and researching your notification options before you begin will make the tool more useful to your practice.
Then, follow these steps:
Run notify
You can run the Patient Notification Center by typing notify at a command prompt. PCC Support can also add the program to your Partner windows.
Review Your Notifications
The first screen of notify displays all of your current, active notifications.

You can see each notification’s name, a summary of the notification type, when the contact will go out next, whether the notification is recurring or one-time, and when the notification will expire.
Old Notifications?: Press [fkey title=’F4′ subtitle=’Make Inactive’ display=’inline’ /] to expire a notification and turn it off. You can also press [fkey title=’F6′ subtitle=’View Inactive’ display=’inline’ /] to jump to a list of inactive, or past notifications. You could then edit an inactive notification, change details using the tools described below, and make it active again.
Press [F1 – Add Notification]
Press F1 to create a new notification.
If you wish to edit an existing notification, select it and press F2.
Select a “Due for a Visit” Message Type
Enter an asterisk (*) and choose a message type from the pull-down menu.
You can choose to deliver “Due for a Visit” notifications with or without the recall reason (well visit, etc.).
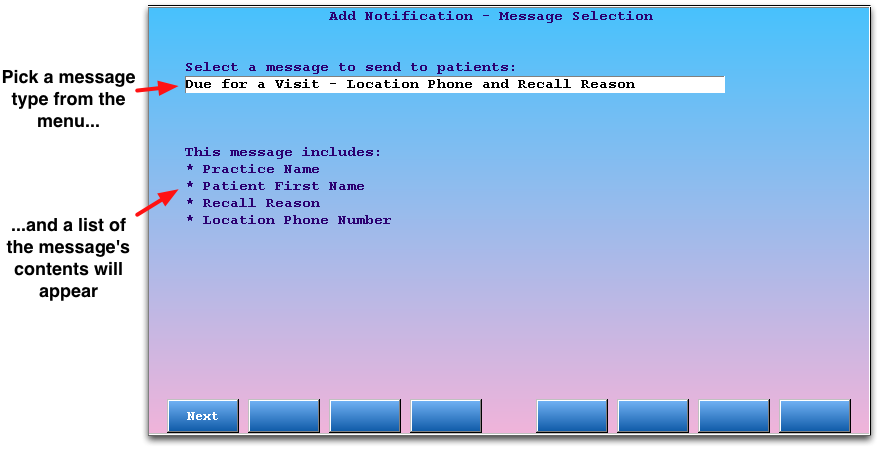
After selecting a message type, you will see a summary of the message’s contents.
Press F1 to continue.
Select Location Phone and Recall Reason
Choose an office phone number and a recall reason from the two pull-down menus.
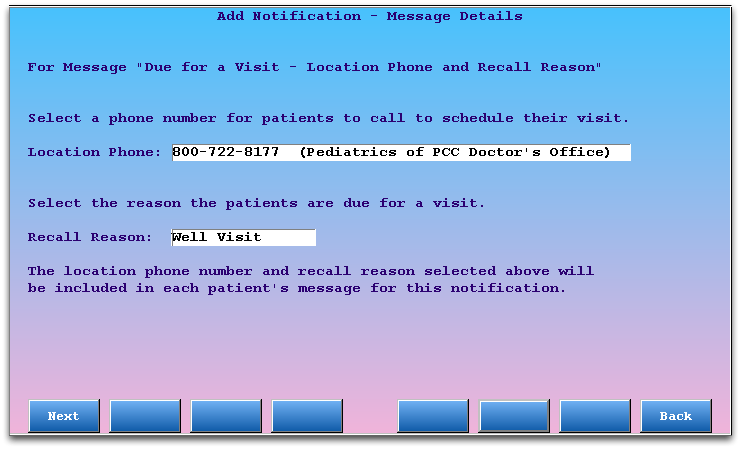
Press F1 to continue.
Scheduling Locations, Recall Reasons: Available location phone numbers are based on your practice’s place-of-service configuration in the Table Editor (ted). The recall reasons are a pre-defined list of available reason types, as designed by PCC and TeleVox to preserve patient confidentiality:
- Well Visit
- Follow Up Visit
- Medication Check
- Vaccination
- Flu Vaccination
Exclude by Patient Status Flag
Select any patient flags that should block this “Due for a Visit” reminder from being sent to the patient.
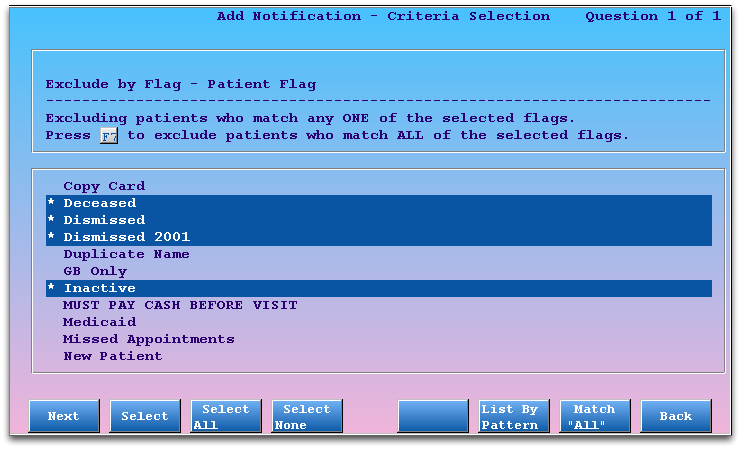
Any flags that are already configured to exclude patients from reports will already be selected for you. You can select or deselect any status flag to control who will not receive notification messages. Read Exclude Patients from Recaller and Notify to learn more.
Press F1 to continue.
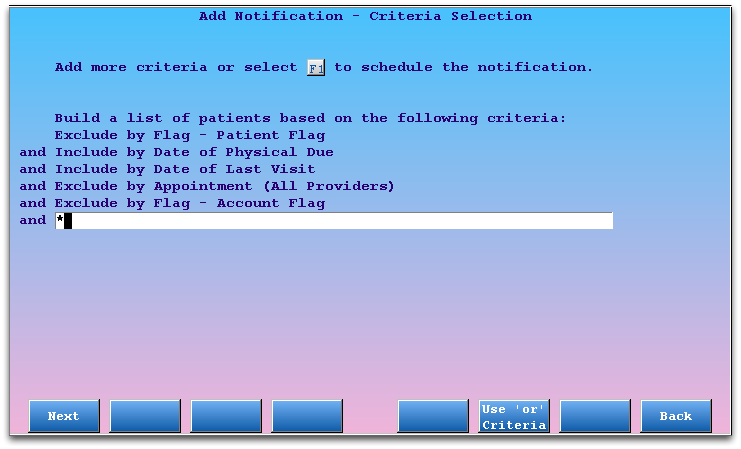
Add Additional Recall Criteria
Enter an asterisk and select additional criteria to shape the perfect patient recall for the recall reason you have selected.
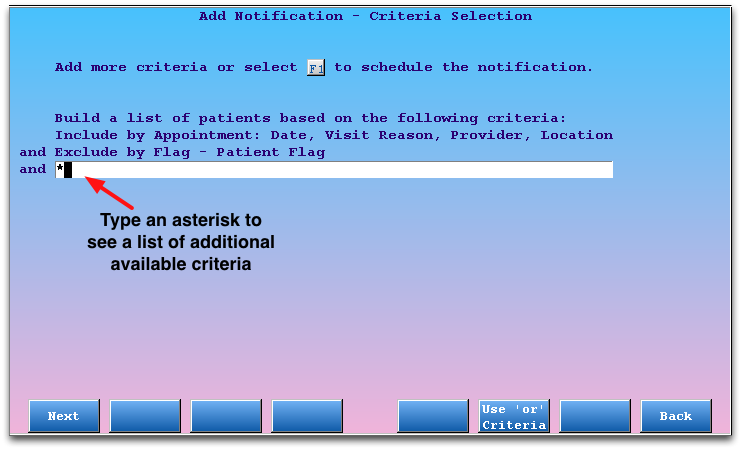
For each criteria you select, the Patient Notification Center will guide you through a series of questions. Make your selection and press F1 to step through each option.
PCC's Recommended Well Child Recall: Your office can work with the available criteria to create and save the perfect recurring “Due for a Well Child” notification. PCC typically recommends the following criteria.
-
Include by Date of Physical Due: By including all patients whose next physical is due in the next month, or was due in the past two years, your notification will go out to all patients who need a physical according to your records.
-
Include by Date of Last Visit: Including by date of last visit for the past three years is a handy way to leave out patients who have not visited your practice in a long time and should be considered inactive for the purposes of patient recall.
-
Exclude by Appointment (All Providers): If a patient has an upcoming appointment with any provider, you don’t want to auto-call them with a reminder to schedule an appointment.
-
Exclude by Flag - Account Flag: The Patient Notification Center automatically guides you through excluding by patient flags, but you may have account flags that should also cause the patients to be left off the contact list.
-
Your Custom Criteria: In addition to the ideas above, you may choose to limit this specific Due for a Visit notification to certain geographical locations (by zip code), primary care physician, or other criteria.
For help understanding how to enter these criteria, read the Recall Patients for Physicals article.
Indicate One-Time or Recurring Notification
Select whether this notification is a one-time notification or a recurring notification, and then choose related delivery options.
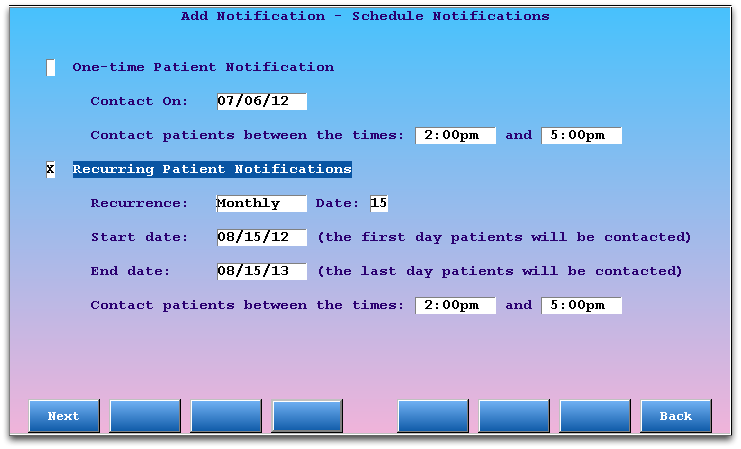
If you select a One-Time Patient Notification, enter an exact date and a time of day for the notification. Note that TeleVox needs at least a three-hour advance warning and a three-hour window for delivery. Therefore, create your notification early in the day if you wish to send it on the same date.
If you select Recurring Patient Notifications, you can set the notification to be daily, weekly, monthly, or yearly, and then enter start and end dates for activating the notification. In the example above, my practice has decided to send the notification monthly.
Recurring Due for a Visit Reminders vs. One-time: If your office only performs a major “Due for a Visit” recall once or twice a year for physicals, flu shots, or another visit reason, then the “One-time” option may meet your needs.
However, if you set up a monthly recurring reminder, you can be certain that all patients will receive a reminder to call and schedule a physical. If you use PCC’s recommended Well Child recall criteria and a monthly recurring reminder, for example, patients will receive a reminder once a month until they schedule a checkup or request they no longer be contacted. (You can remove patients from the notification contact list using a custom patient or account flag and including that flag in the exclude-by-flag criteria.)
Optional: Specify Delivery Method
Next, you can specify the preferred delivery method for the notification.
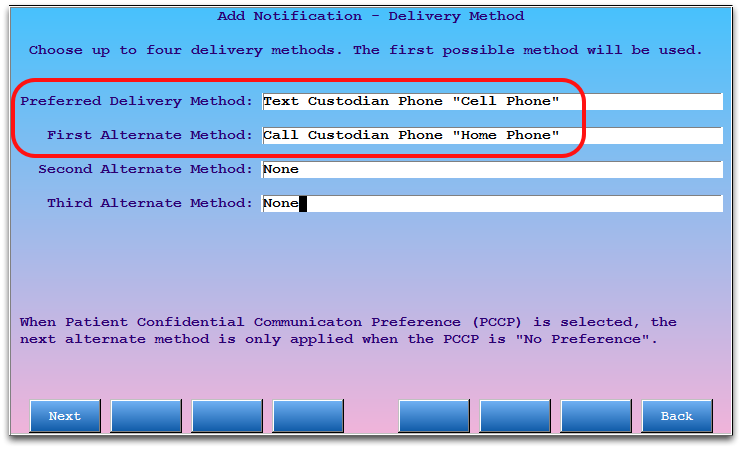
Enter up to four possible delivery methods. Partner will send the first valid method it finds to TeleVox.
By default, Partner looks for a patient confidential communication preference. If the patient’s preference is set to “No Preference”, then Partner will use the first available phone number in the Custodian account. This default delivery method behavior can be defined in the Patient Notification Center section of the Configuration Editor (ced).
Review Details
Review the details for your notification.
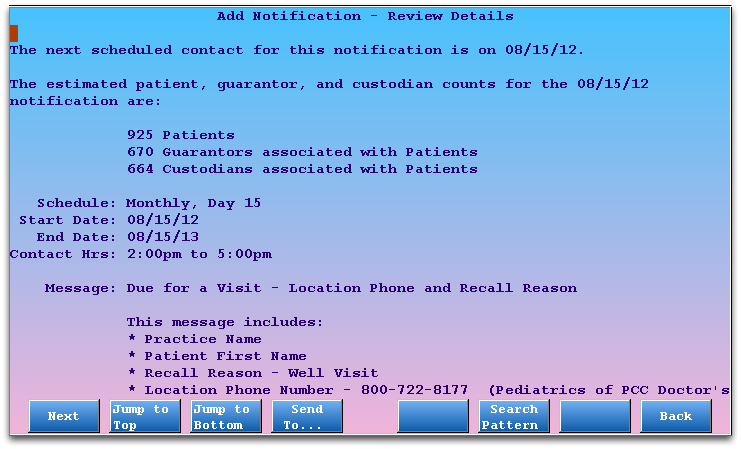
The details include an estimated number of patient and family contacts. This estimate may or may not be useful when you create recurring notifications, as unusual circumstances or your office’s schedule might make the numbers low.
Press F1 to continue, or F8 to step back through notification settings.
Name Your Notification
Give your notification a name.
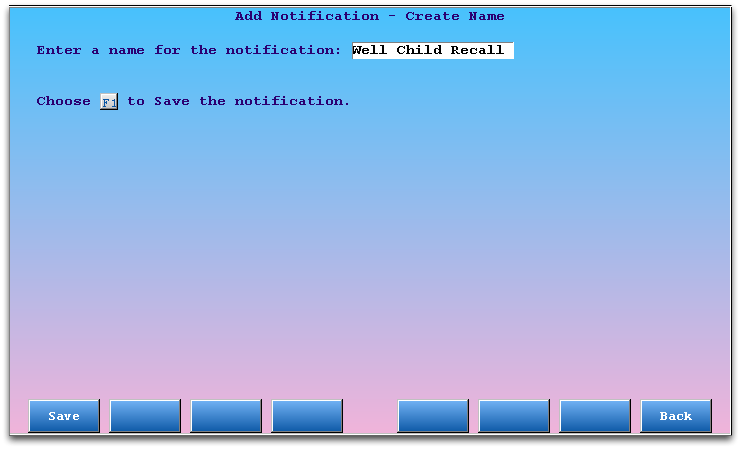
For ease of use later, you may want to name your notification based on its criteria. For example, your “Well Child” or “Fall Flu Clinic” recall.
Press F1 to save your new notification and return to the main screen.
Optional: Review and Edit Your Notification, or Make it Inactive
From the main screen, select your notification and press [fkey title=’F2′ subtitle=’Edit’ display=’inline’ /] to make changes.
You can also press [fkey title=’F4′ subtitle=’Make Inactive’ display=’inline’ /] to deactivate your reminder, or [fkey title=’F5′ subtitle=’Review Details’ display=’inline’ /] to look at the settings and options for a notification.