Reconcile Insurance Payments
When you are troubleshooting an insurance check or proving out and auditing payments on an ERA, you can use two Report Library reports to reconcile payment totals:
- The Payment Totals by Check Number report displays check totals by date.
- The Payment Details by Check Number report displays each individual payment on a particular check.
Check Number or EFT Trace Number?: “Check Number” is the conventional term for the number associated with the payment. Depending on how your practice received the funds, the check number may actually be an EFT trace number.
Contents
Reconcile Insurance Payment Totals
After posting insurance and other payments, run the Payment Totals by Check Number report in the Report Library to compare the posted payments with your ERA or EOB.
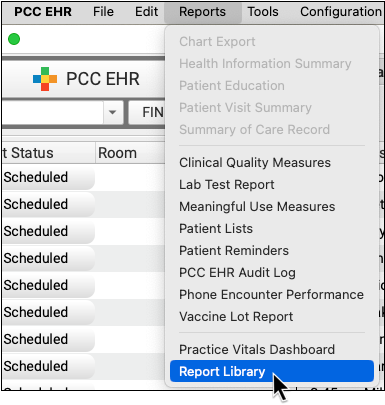
Open the Report Library
Open the Report Library from the Reports menu in PCC EHR.
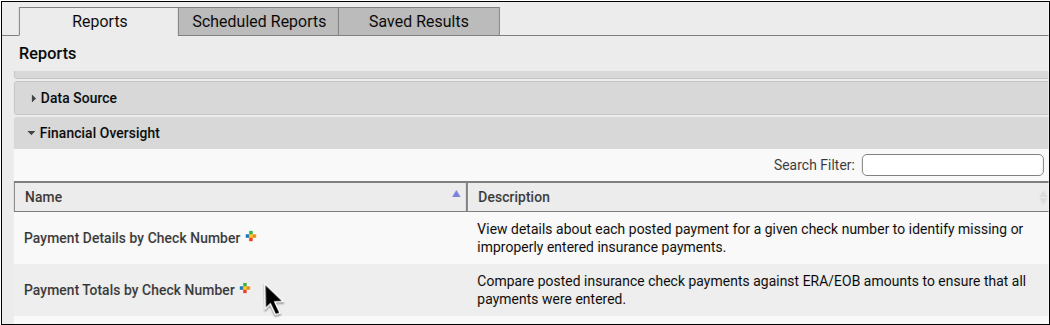
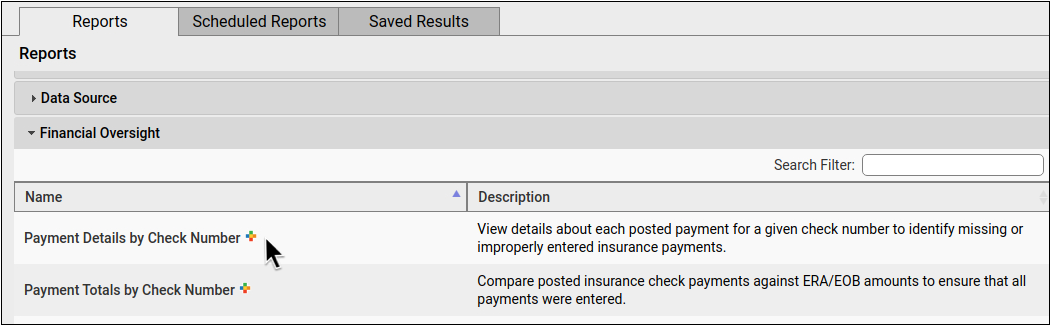
Select the Payment Totals by Check Number Report
Select the Payment Totals by Check Number report in the Financial Oversight category.
You can control which users have access to this report. To learn more, visit Restrict Access to Reports in the PCC EHR Report Library.
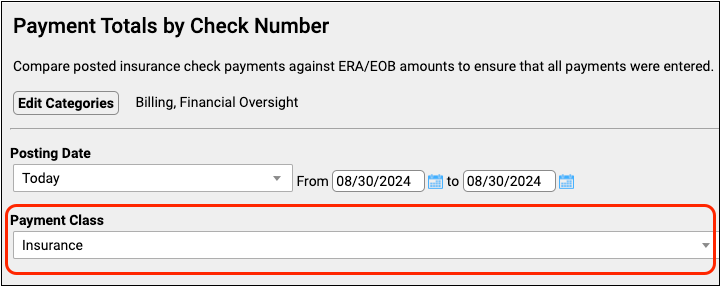
Choose Report Criteria
Choose the posting date and payment classes that you wish to report on.
View the Report Results
Click the “View Results” button to run the report.

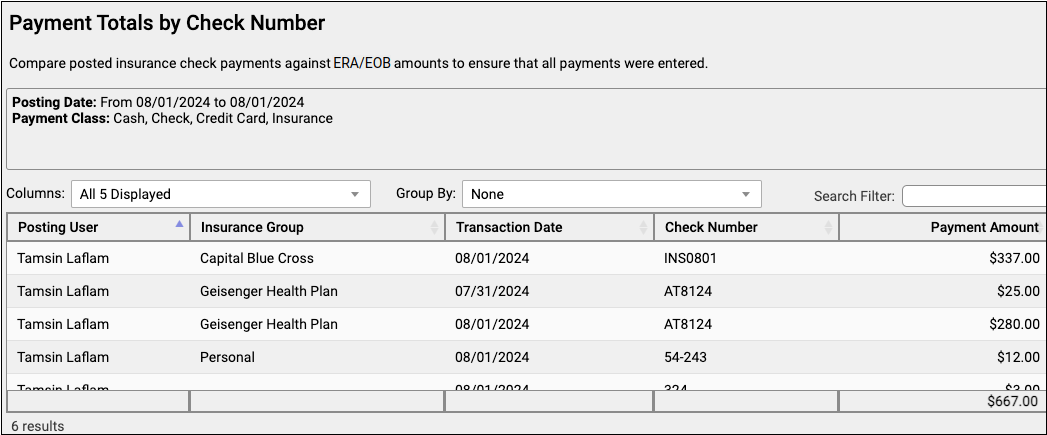
Review the Generated Report
Review your payment data by check number in the generated report.
You can group, sort, or hide columns in the report output. To learn more about working with generated reports, read Run Reports in the Report Library.
Reconcile Payments with the Generated Report
To ensure that all payments are present, compare the generated report with your ERA or EOB.
If the values do not match, make a note of the check number and total on this report, then run the Payment Details by Check Number report (as described in the Investigate Payment Details section below) to compare each individual entry and find the discrepancy.
Keep in mind that this report does not display adjustments. To learn about how to review adjustment trends, read Report on Adjustment Trends in PCC EHR
20,000 Row Limit: Exports from the report output (View Results screen) in the Report Library are currently limited to 20,000 rows. If your output appears to be exactly 20,000 rows long, it may not contain all of the information that you are looking for. If this occurs, return to the report configuration screen and click “Export Report” to get your full report. Read Export a Report to learn more.
Investigate Payment Details
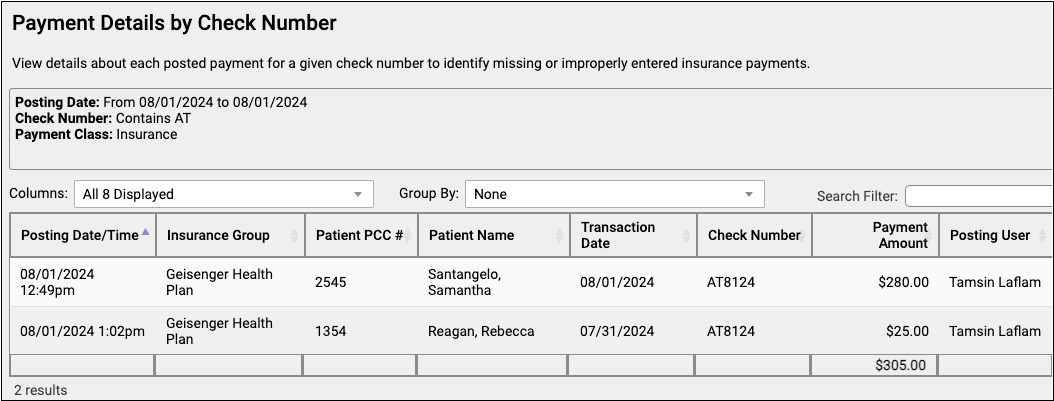
When entries in the Payment Totals by Check Number report do not match the numbers on your ERA or EOB, run the Payment Details by Check Number report to see the details for each payment entry.
Select the Payment Details by Check Number Report
Select the Payment Details by Check Number report in the Financial Oversight category.
You can control which users have access to this report. To learn more, visit Restrict Access to Reports in the PCC EHR Report Library.
Choose a Posting Date Range
Use the drop-down, date fields, or calendar icon to choose a posting date.
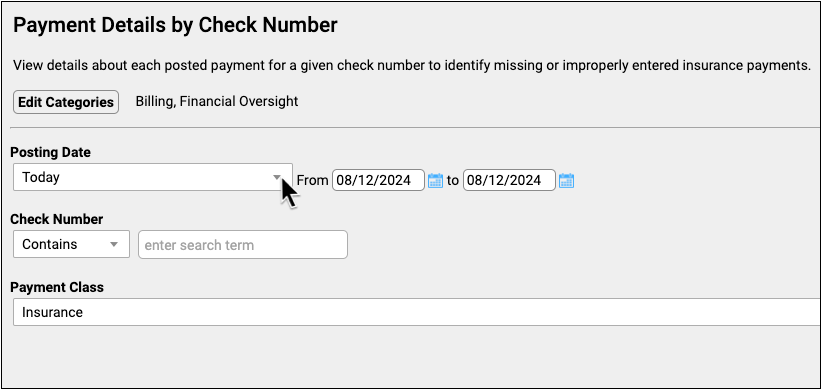
Posting Date is the date that the payment was entered into PCC.
Search for the Check Number
To search for your check number, choose a search method and enter some or all of your check number into the search field.
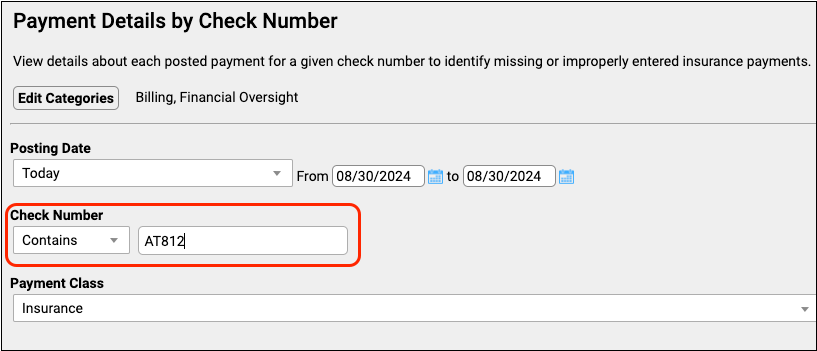
The search can be broadened or narrowed as needed.
Contains: searches for checks that contain your entry in any part of the check number.
Equals: searches for only an exact match with your entry.
Starts with: searches for check numbers that start with your entry.
Ends with: searches for check numbers that end with your entry.
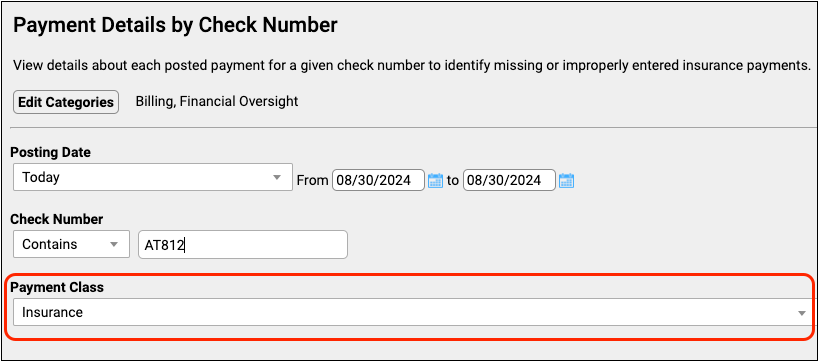
Set Payment Class
Set the payment classes that you want to include on your report.
View the Report Results
Click the “View Results” button to run the report.
Compare Posted Payments with the Generated Report
Locate the data that you need and compare the generated report with your ERA or EOB amounts to ensure that all payments and charges are present and correct.
You can group, sort, or hide columns in the report output. To learn more about working with generated reports, read Run Reports in the Report Library.
Unlinked Payments Display with No Patient Name: Patient and PCC number do not display on this report when a payment is unlinked, such as with insurance takebacks. Payments associated with a takeback or refund remain on the report after the refund is processed.
Fix Payments That Were Posted Incorrectly
As you review these reports, you may find payments that were posted incorrectly.
Use either the Payments tool or the Insurance Payments tool in PCC EHR to review and edit an individual account’s full payment history. For more information, read Review Payment History and Edit Personal Payments.
Prove Out Daily: If you catch and correct mistakes on the same day as they were posted, the dates on your proving out reports will match cleanly when you run by posting date.
Customize to Display Additional Criteria and Columns
You can further organize your output by customizing your report and altering criteria.
Add Transaction Date
Both of these reports run by posting date as the default. To add the transaction date to either of these reports, customize your report, click “Select Criteria”, then select “Transaction Date”.

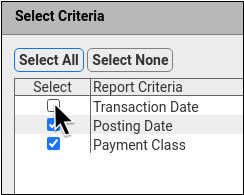
Once selected, the transaction date will display in the customization screen and on the generated report output.
Display Posting Date Column
To display the posting date column on the Payment Totals by Check Number report, customize your report, click “Edit”, then select “Posting Date”.
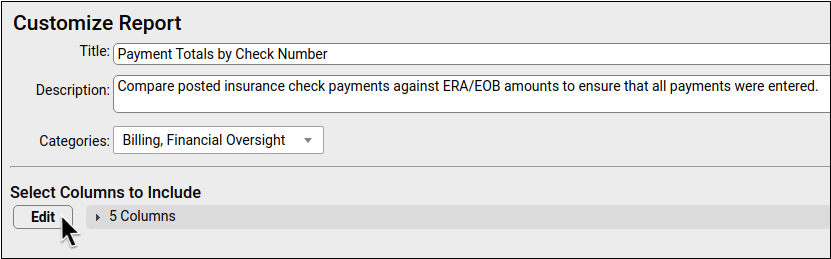

Once selected, the Posting Date column will display on the generated report output.
To learn more about creating a custom report, read Create a Custom Report.