Protocol Builder Reference
Use the Protocol Builder, inside the Protocol Configuration Tool in the tools menu, to customize the chart notes, phone notes, and other encounter-based ribbons that your clinical staff work with every day.
Contents
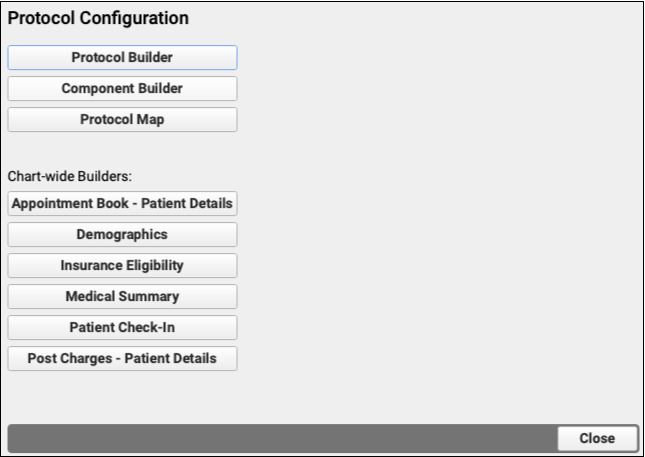
Open PCC EHR’s Configuration menu and select “Protocols” to open Protocol Configuration. Permission to open the Protocol Configuration tool is controlled through User Administration. Only one user may edit protocols at a time. If you are unable to open Protocol Configuration, another user at your practice may be using the tool.

Protocol Builder
Create protocols by adding and managing components.
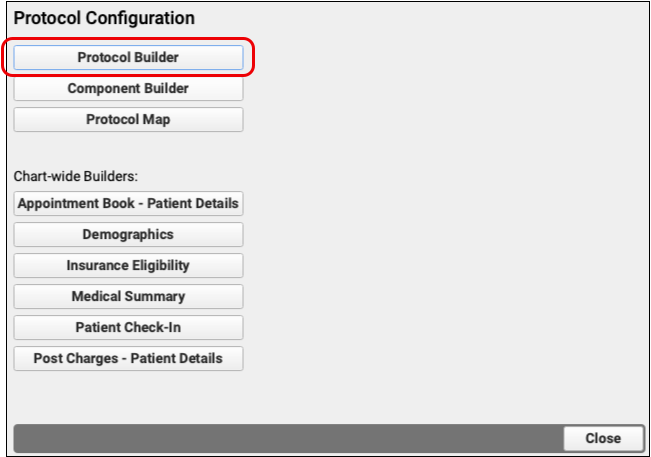
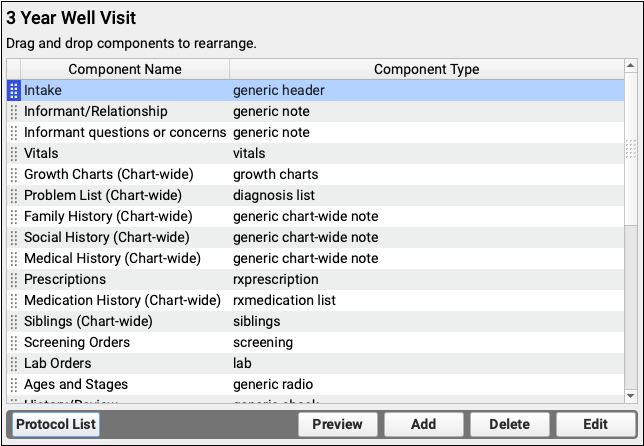
The Protocol Builder displays a list of all of your practice’s protocols.You can preview protocols, find out which providers use each protocol, and create, clone, and edit the contents of each protocol.
For step-by-step examples of editing, cloning, and managing protocols, see Create and Edit a New Protocol or Add Specific Imms to a Protocol.
Component Builder
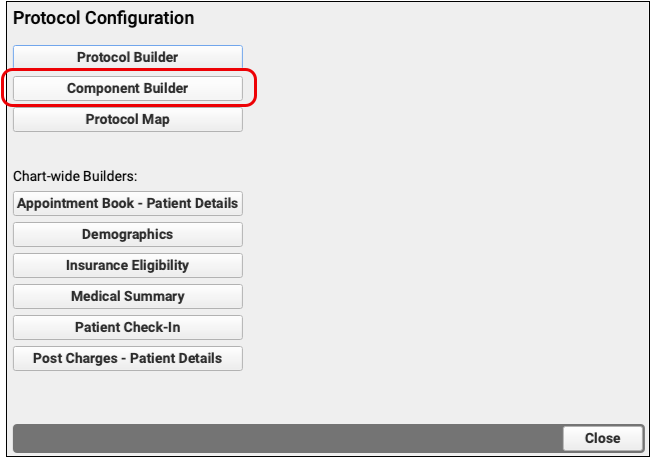
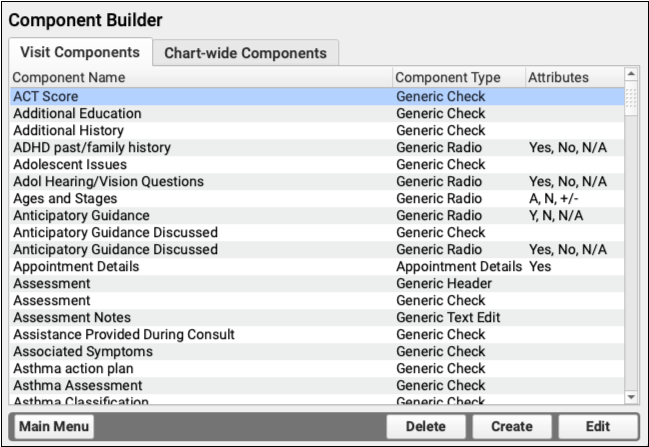
Component Builder contains all components available to be added to protocols. Here, you can view and create custom components to deal with your charting needs. You can also use the Component Builder to modify existing components, such as adding a new item to the History or Review of Systems components.
For detailed information on using the component builder, see The Component Builder.
Protocol Map
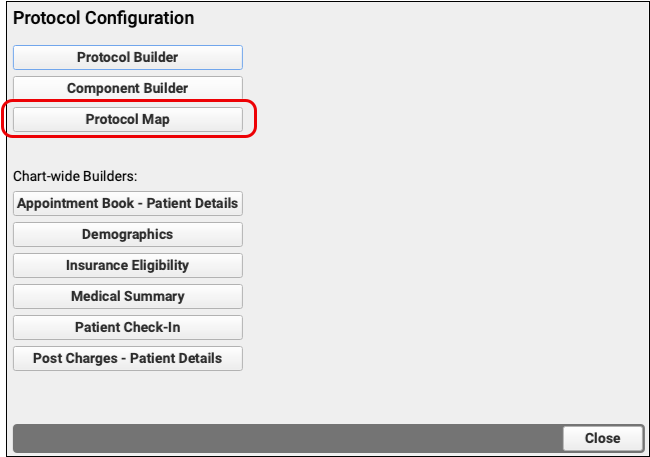
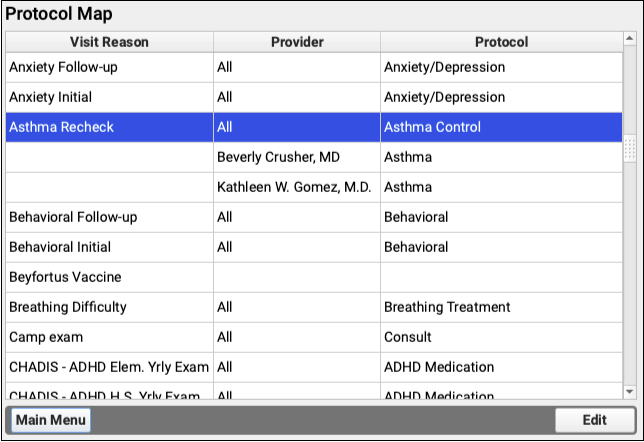
The Protocol Map links visit reasons to protocols. You can link a default protocol for each visit reason, and link custom protocols for one or more providers, if a provider in your practice prefers handling those visit types differently from others in your practice.
See Assign Protocols to Providers and Visit Reasons to learn more.
Appointment Book – Patient Details
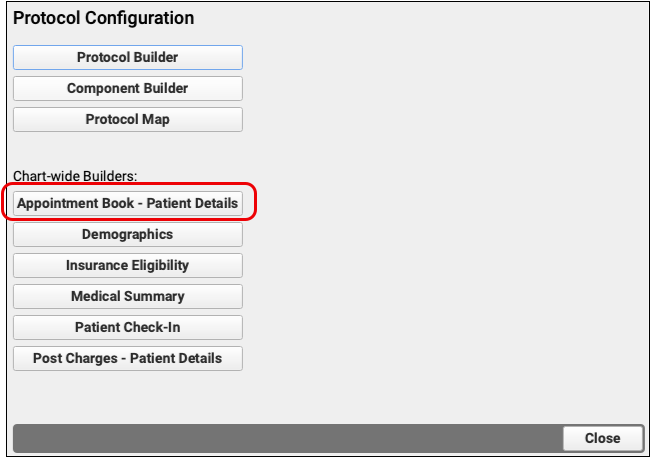
While scheduling in Appointment Book, information about the selected patient is available in the Patient Details window. Patient Details is configurable much like a Protocol. Add, remove, or rearrange the Patient Details compontent so your schedulers have exactly the information they need.
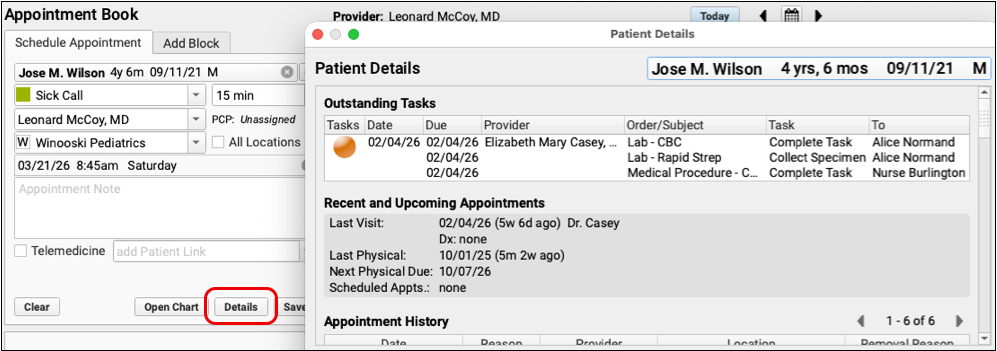
For for information see Configure Appointment Book.
Demographics
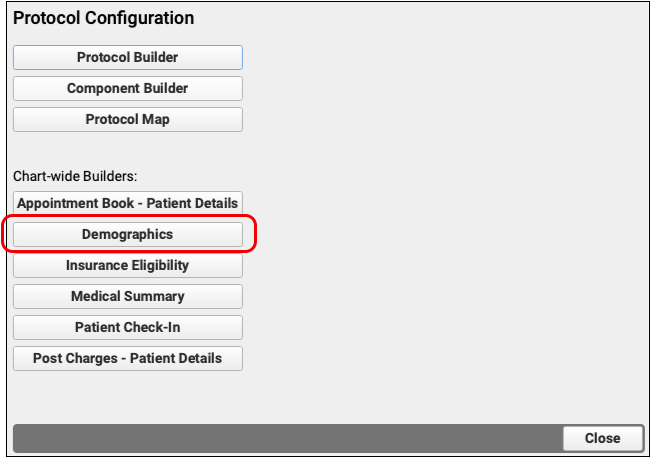
Demographics are unconnected to visit reasons, and appears on every chart. It can be managed like a protocol, by adding and editing components.
Learn about configuring demographics by reading Configure Demographics in PCC EHR.
Insurance Eligibility
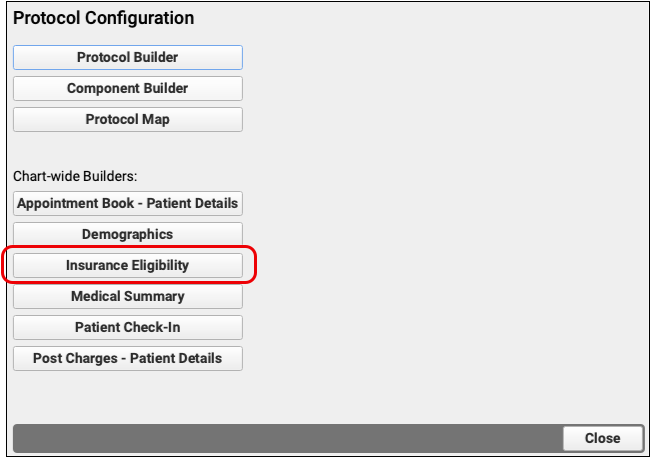
When the Insurance Eligibility component is added Patient Details, the Medical Summary, or another protocol that is not specific to an encounter, additional components can be made available through the Protocol Builder. What appears there is configurable like other Chart Wide Components.
See Insurance Eligibility for more.
Medical Summary
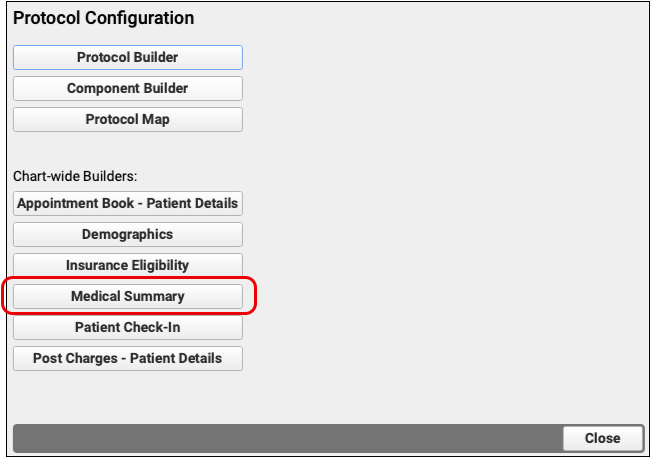
At the top of every patient’s chart is the Medical Summary. By default, it includes components like Appointment and Medication history, the Problem List, Account and Patient Forms, and other components helpful to have readily available for each patient. Depending on your practice’s needs, you can add and rearrange components to ensure the the proper data is easily accessible. Read more at Configure the Medical Summary.
Patient Check-In
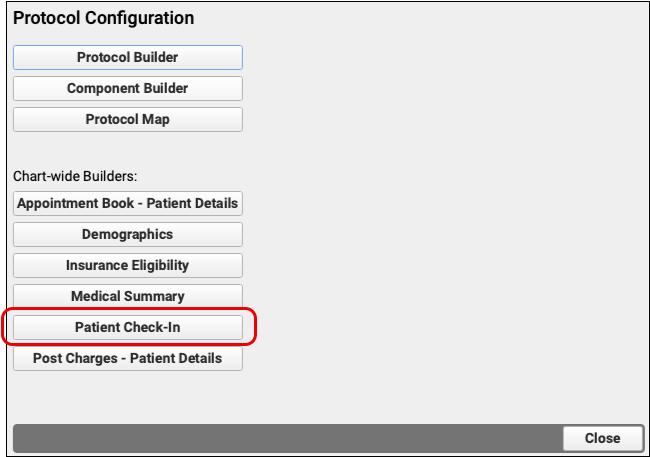
Decide exactly what should appear during Patient-Check-In. You may wish to add Forms, Care Plans or Personal Contacts and other components that may be useful while checking in patients and families. To get started, see Configure the Check-In Protocol.
Post Charges – Patient Details

As you post charges in PCC EHR, the patient details ribbon is customizable so you can include the components you need when posting chargees. See more at Configure Post Charges.