Create and Edit a Protocol
Follow the steps below to use the Protocol Configuration tool to clone or create a new protocol and add components to that protocol.
By reading this procedure, you can learn how to open the Protocol Builder, and how to add, configure, or remove the components in PCC EHR’s custom chart notes. For a simple example of editing a protocol, read Add Specific Imms to a Protocol. For more information, read the other Protocol Builder help articles.
Check Out Awesome Examples: PCC hosts a web site displaying protocols created by pediatric practices around the country. You can review these award-winning chart notes at protocols.pcc.com.
Open the Protocol Configuration Tool and Log In
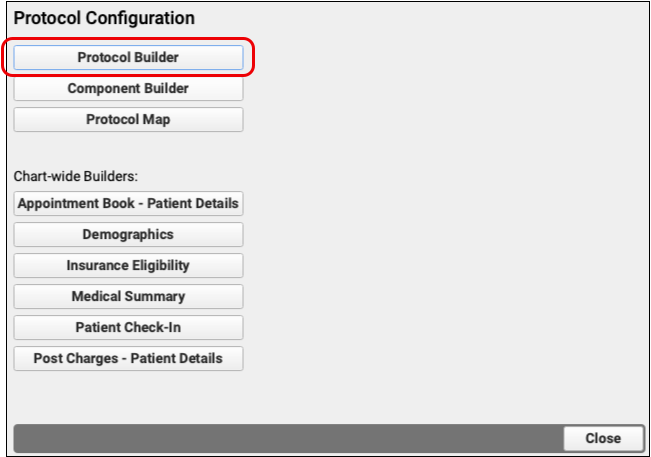
Open PCC EHR’s Configuration menu and select “Protocols” to open Protocol Configuration. Permission to open the Protocol Configuration tool is controlled through User Administration.

Click “Protocol Builder”
Clone or Create a Protocol
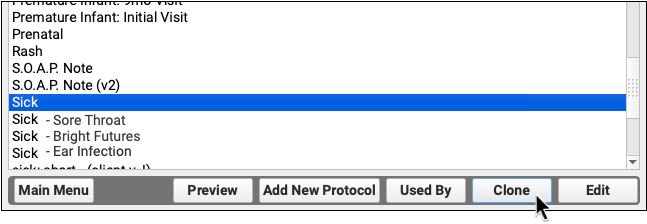
You can select an existing protocol and click “Clone” to make a copy for editing. Creating a new protocol from a blank page is a lot of work, so you may find it helpful to clone and then edit.
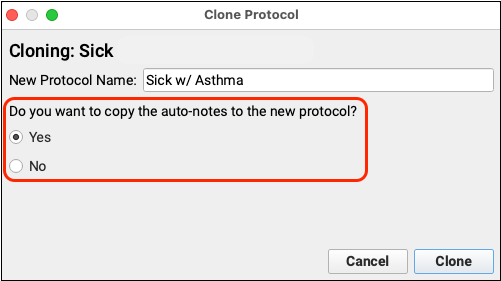
Copy Auto-Notes: Your practice or an individual clinician can create auto-notes, which make charting faster, easier, and more consistent. When cloning a protocol, you can decide whether to copy existing auto-notes into place or not. If you are not certain, answer “Yes” to this question so that users will have the option of continuing to use existing auto-notes.
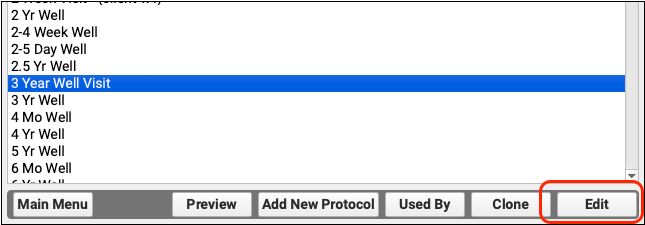
Click “Edit”
After cloning or creating a protocol, it will open for editing.
If you are returning to the Protocol Builder to continue working, select your new protocol and click “Edit”.
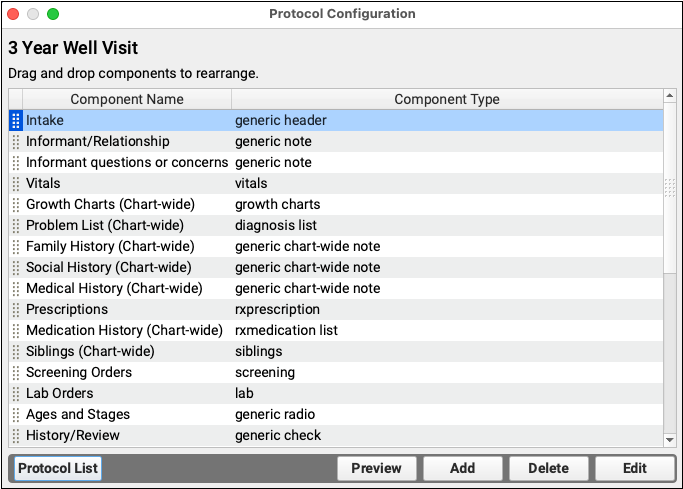
Add or Delete Components (Optional)
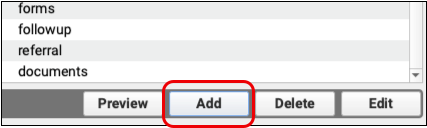
If you cloned an existing protocol, you may have exactly the sections and headers that you need. If you are starting from scratch or want to add a new section, click “Add Components”.
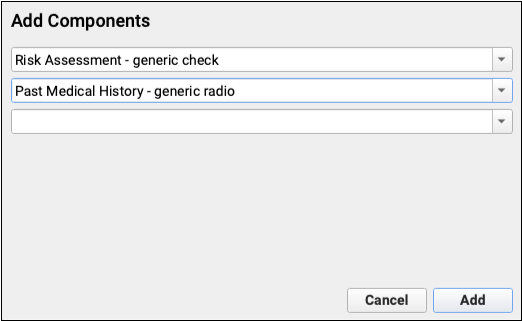
Use the pull down menu to select the component you need, and click “Add”.
What Am I Adding?: Next to each component name is the component type, which can give you some idea of how the component is used. For more information, read Component Reference.
Special Components: In addition to components for orders and entering chart notes, you can add a sibling list, a summary of a patient’s appointments, growth charts, and many other items to chart notes. Read Add Special Components to learn more.
Create a New Component: You can create custom components, with your own sets of questions or text fields, using the Component Builder.
Delete Components: Select any protocol component and click “Delete” to remove it from this protocol.
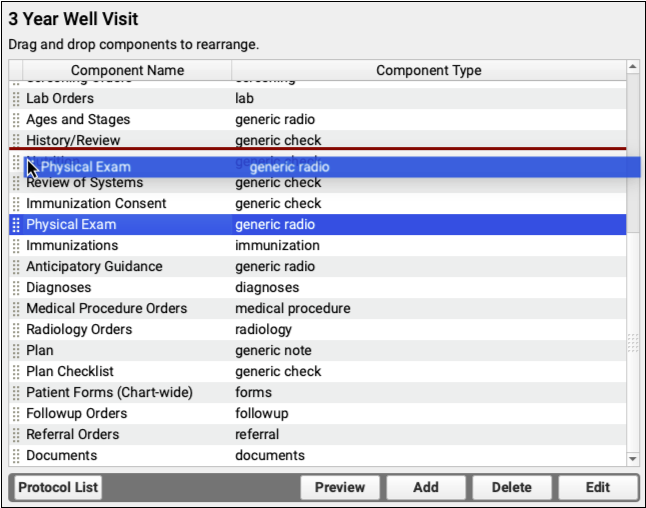
Rearrange Components (Optional)
You can change the order of your components by click and dragging them.
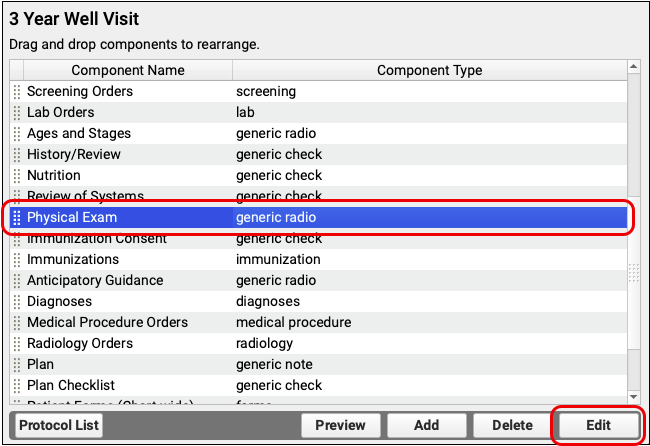
Configure Components
After adding a component, you should configure the correct title, the list of items or questions, and other options for this specific protocol. Select one of the components in your protocol and click “Edit” to configure that component for the particular chart note protocol.
What can you do while configuring a component in a protocol?
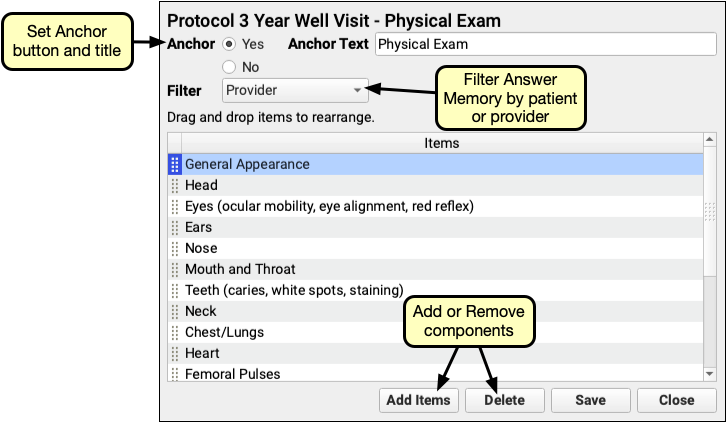
Set Anchor: Any component in a protocol may appear as one of the navigation buttons on the left hand side of the screen while charting. While editing a component, you can indicate that it should have an anchor navigation button.
Change Title: You can edit the title of the component, which also appears as the title of the anchor button, if applicable.
Set Filter for Answer Memory: The “Filter” setting controls which set of past answers (the Provider’s or Patient’s) will appear as pull-down options while charting. In most cases, this should be set to “Provider”. You may wish to change it to “Patient” for patient-specific social history questions.
Add (or Delete) Items: Most components have a list of items within them. The “History” and “Review of Systems” components will have different items in different protocols, and you can add different labs to the Labs component, if you wish. Click “Add Items” and select new items from a drop down list. If you need something that is not available at all, such as a brand new lab or question, first use the Component Builder to edit the component.
For more information about the different settings available for each kind of component, read Component Reference.
Configuring Orders for Billing: Whenever you add or modify a new order in the correct component in the component builder, you should consider whether that order should trigger procedure codes for billing on the electronic encounter form. Read the Billing Configuration help article to learn more.
Save and Preview your Protocol
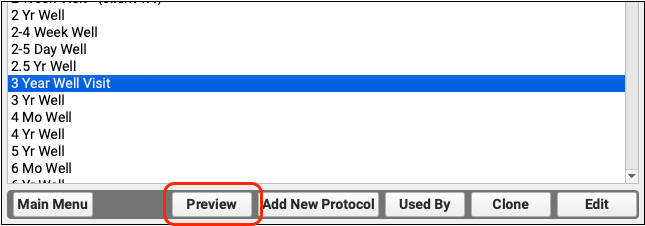
All changes to your protocol are committed as soon as they are made. Click “Protocol List” to return to the list of protocols, where you can preview your new protocol.
Select a protocol and click “Preview” to see an approximation of what a protocol will look like while charting a visit.


While previewing, you can cycle through your other protocols with the controls at the top of the screen. Click “Close” to return to the Protocol Builder menu.
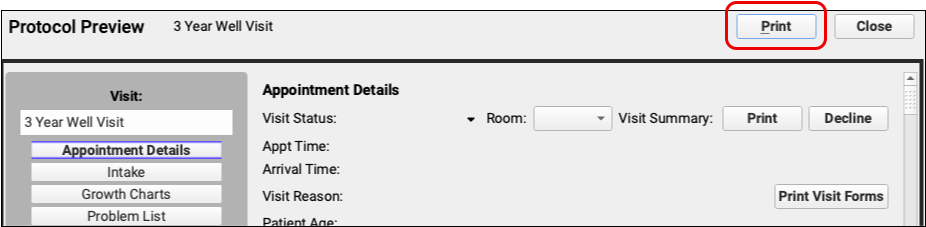
Print a Draft of Your Chart Notes: You can click “Print” while previewing a chart notes in the Protocol Configuration Tool to print a copy. If you are creating and revising protocols for your office, you can print hard copies and hand them to your providers for review.
Assign a Protocol
Creating a new protocol does not assign it to appear for a provider or visit reason. You must create and add components to your protocol and then use the Protocol Map tool to determine when it will appear for charting.
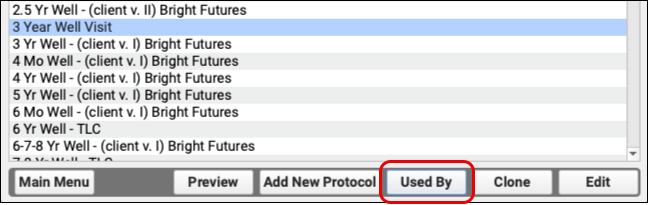
Select a protocol and click “Used By” to see all the providers who use this protocol, and which visit reasons use it. Protocols can be used for more than one visit reason.

For the visit reasons listed on the left, the selected protocol will be used to create the chart note for the providers on the right. You can use the Protocol Map to change which providers use which protocols.
Note: If a protocol is used for “All” providers for a particular visit reason, that indicates it is the default protocol. Other protocol settings for specific providers may override the “All” listing. Check the Protocol Map to be certain.