Configure Claim Holds and Claim Delay
When your practice needs to prevent certain claims from being submitted, you can create a claim hold. A claim hold prevents claims from going out for specific dates of service, billing providers, places of service, and insurance plans.
You can also configure your practice’s claim delay, which prevents any claim from going out until a certain number of days after the date of service.
Watch a Video: You can watch a video to learn about Claim Holds and Claim Delay.
Contents
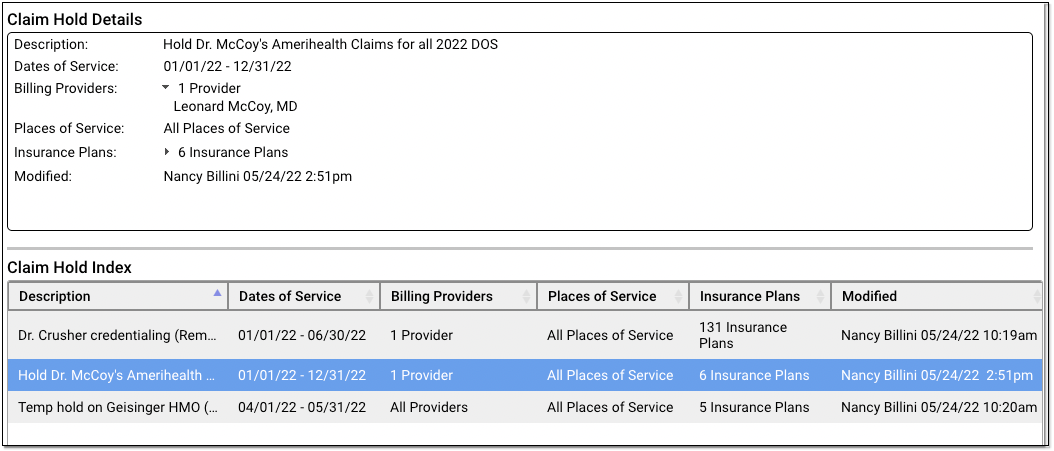
Review Claim Holds
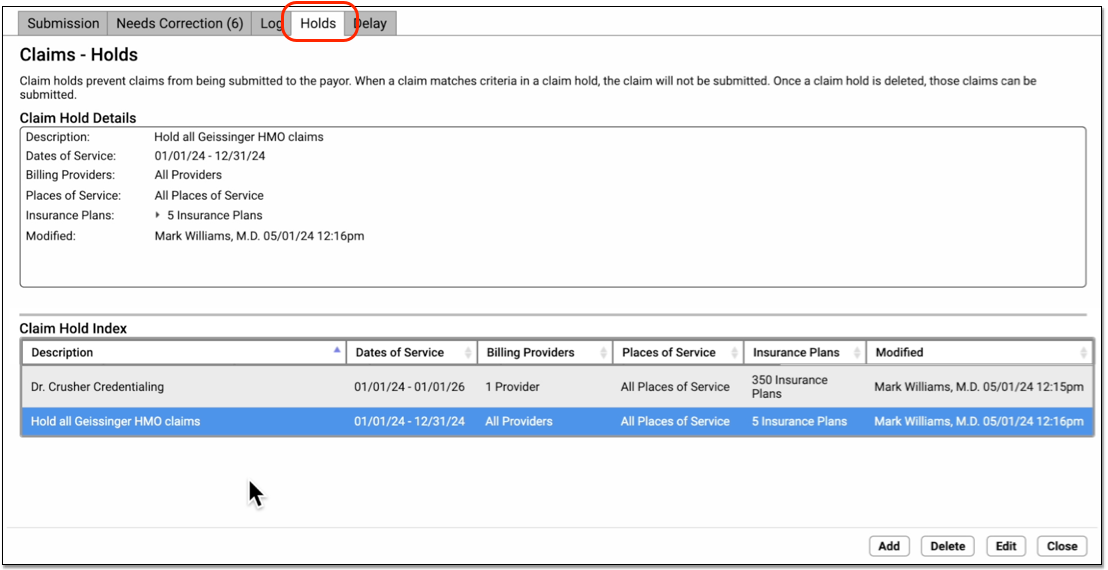
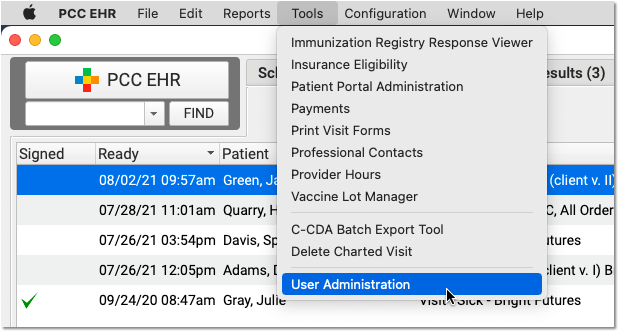
Open the Claims tool from the Tools menu in PCC EHR and visit the “Holds” tab.

Your practice can use User Roles to specify which users can open the tool. (See Set User Roles for Permissions and Security)
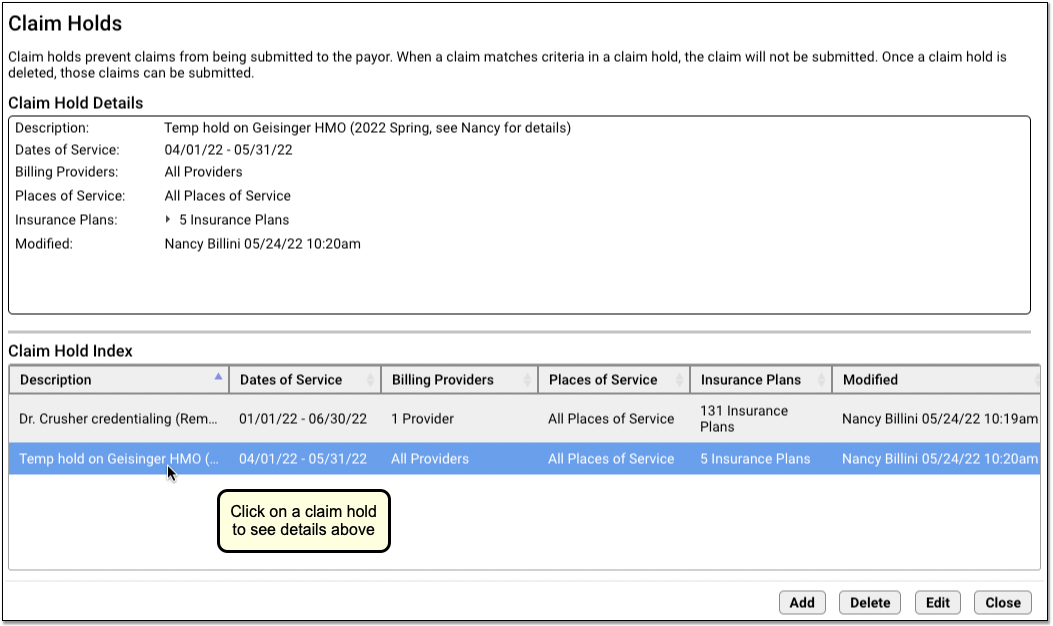
Click on an existing claim hold in the Claim Hold Index to view details.
Create a New Claim Hold
Follow the procedure below to create a new claim hold.
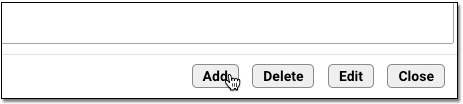
Click “Add”
To create a new claim hold, click “Add”.
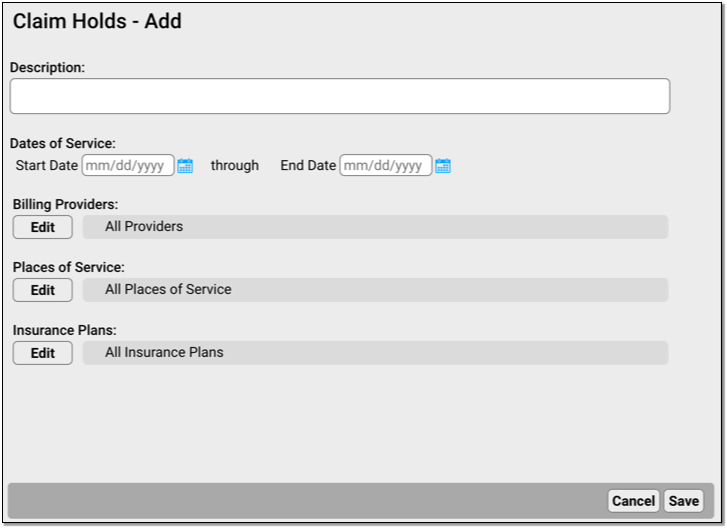
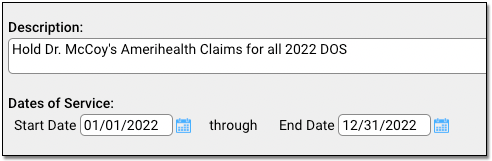
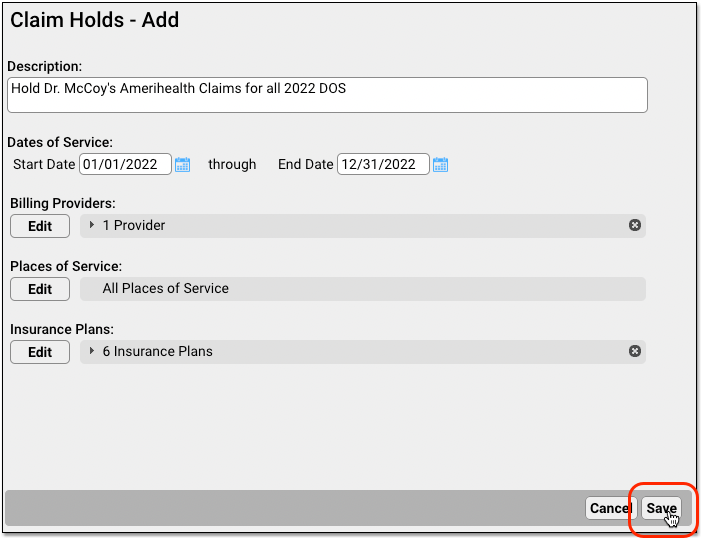
Enter a Description and Dates of Service
A claim hold requires a description and a date range for dates of service.
-
Description: You can include a lengthy description indicating the purpose of the claim hold.
-
Dates of Service: Enter the claim hold date range. Claims for these dates of service, including the start and end date, will be held until the hold is deleted or changed.
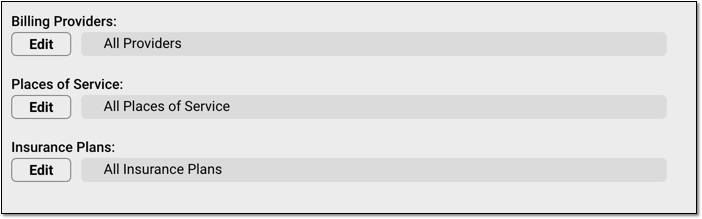
Select Billing Providers, Places of Service, and Insurance Plans
Select additional optional criteria for the new claim hold. You can restrict a claim hold to specific billing providers, places of service, and/or a subset of insurance plans to which your practice bills.
-
Billing Providers: Click “Edit” to select which providers’ claims will be held. When processing claims, PCC will hold claims with a Billing Provider that matches one of the providers listed in the claim hold.
-
Places of Service: Click “Edit” to select which locations’ claims will be held. You can select one or more places of service. When processing claims, PCC will hold claims with a Billing Location that matches places of service listed in the claim hold.
-
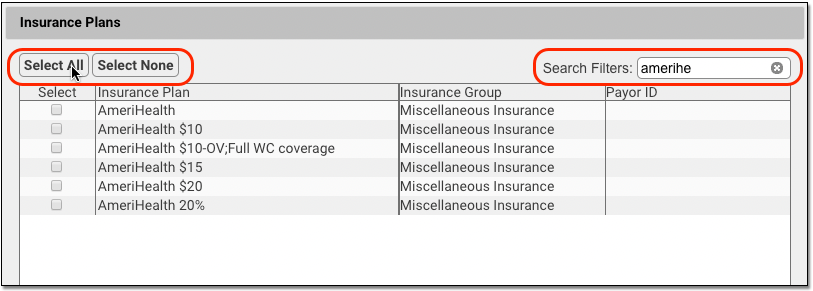
Insurance Plans: Click “Edit” to select which insurance plans’ claims will be held. You can search and sort by plan name, plan group, or the payor id used for electronic submission.
When making a selection, you can search a list and use “Select All” and “Select None” to quickly pick groups of providers, locations, or plans.

Click “Save”
Click “Save” to finish creating the claim hold.
Holds are immediately active. After you create a hold, any claims that match the specified dates of service, providers, locations, and insurance plans will not be sent out when you process claims.
When Does a Claim Hold Expire? Never: Claim holds are based on dates of service, so they never expire. Any claims that match the indicated dates of service and the other criteria for the hold will never be sent. In order to release held claims, you must either delete the hold or edit the dates of service or other criteria to change which claims are held.
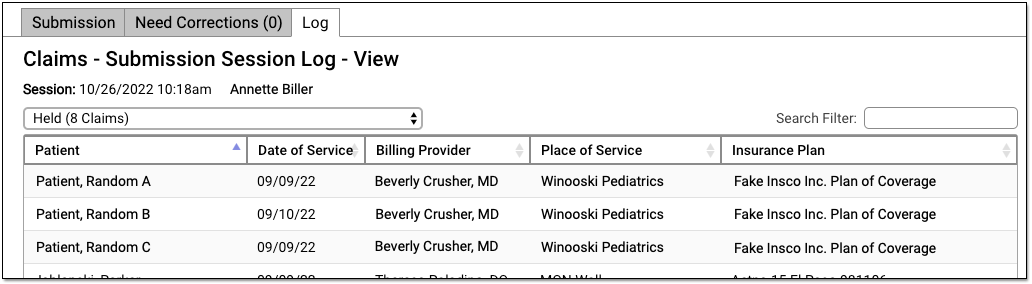
View Which Claims Were Held
Your practice’s claim holds stop claims when they are processed for submission.
You can review which claims were held in the Log tab of the Claims tool in PCC EHR.

To learn more read Submit Claims.
If your practice submits claims with PCC’s previous claims tool, Prepare/Submit Electronic Claims (preptags/ECS), then no log is created of which claims were held.
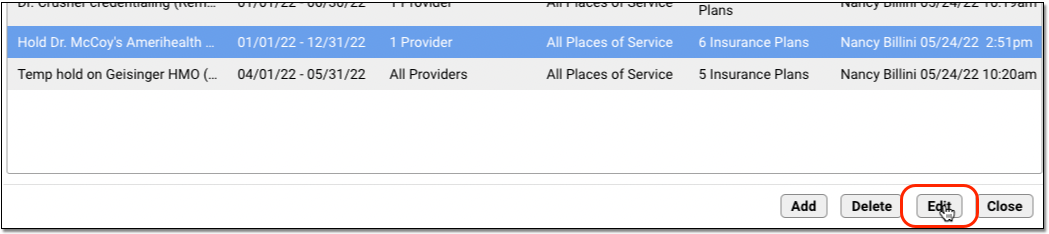
Edit or Delete a Claim Hold
Select a claim hold and click “Edit” to make changes.
For example, you may have a claim hold for a new clinician which holds claims for all insurance plans. As they become credentialed with each payor, you can edit the claim hold and make changes to the insurance plan criteria. Doing so will release claims that do not match the new criteria.
Select a claim hold and click “Delete” to delete a claim hold.
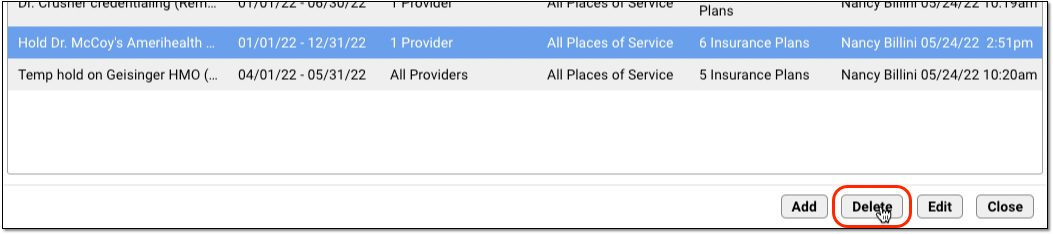
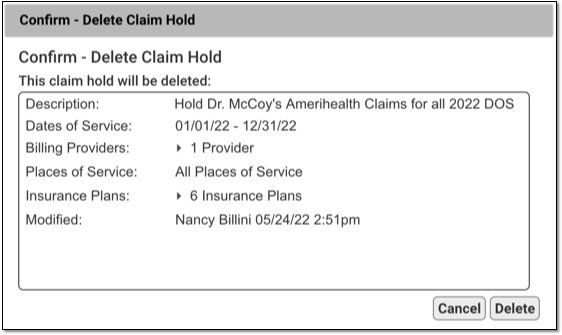
The next time you process and submit claims, any claims held by the deleted hold will be processed and sent.
Configure Your Practice’s Claim Delay
Your practice may want to prevent all claims from going out until a day or two after the date of service. This gives billers extra time to complete charge posting or review encounters to make sure all procedures were billed correctly.
When you want to adjust your practice-wide claim delay, open the Claims tool and visit the Delay tab.

Enter your practice’s desired number of days and click “Save”.
Whenever you process and submit claims, the Claims tool will check each date of service and delay any claim that is younger than your claim delay.
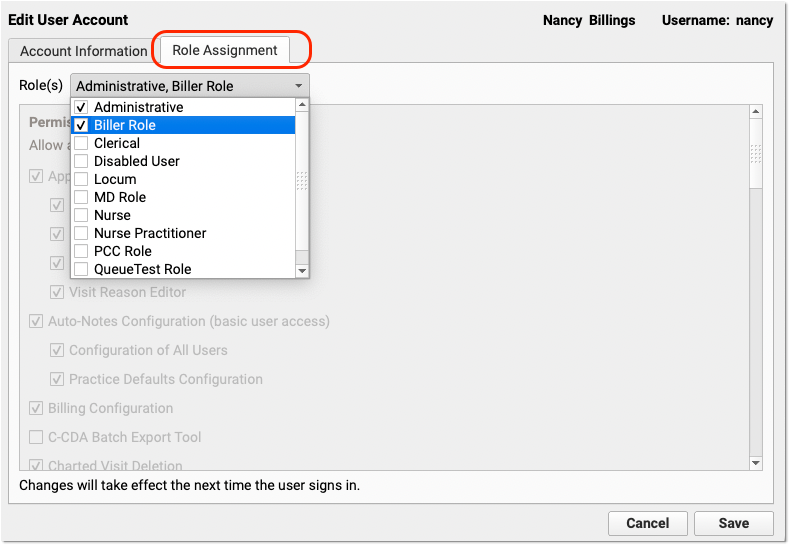
Grant User Access to the Claim Holds and Claim Delay Configuration
Your practice can designate which user roles will have access to claim configuration tools.
User the Roles tab on the User Administration tool to edit an appropriate role.
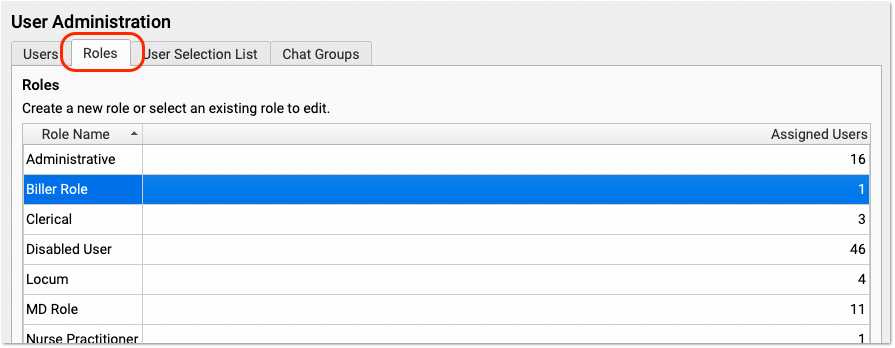
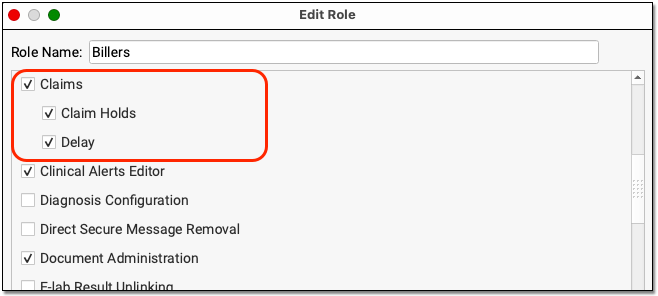
Next, review that appropriate users are assigned that role.