Import and Attach a Document to a Patient’s Chart
© Copyright 2010-2025, PCC
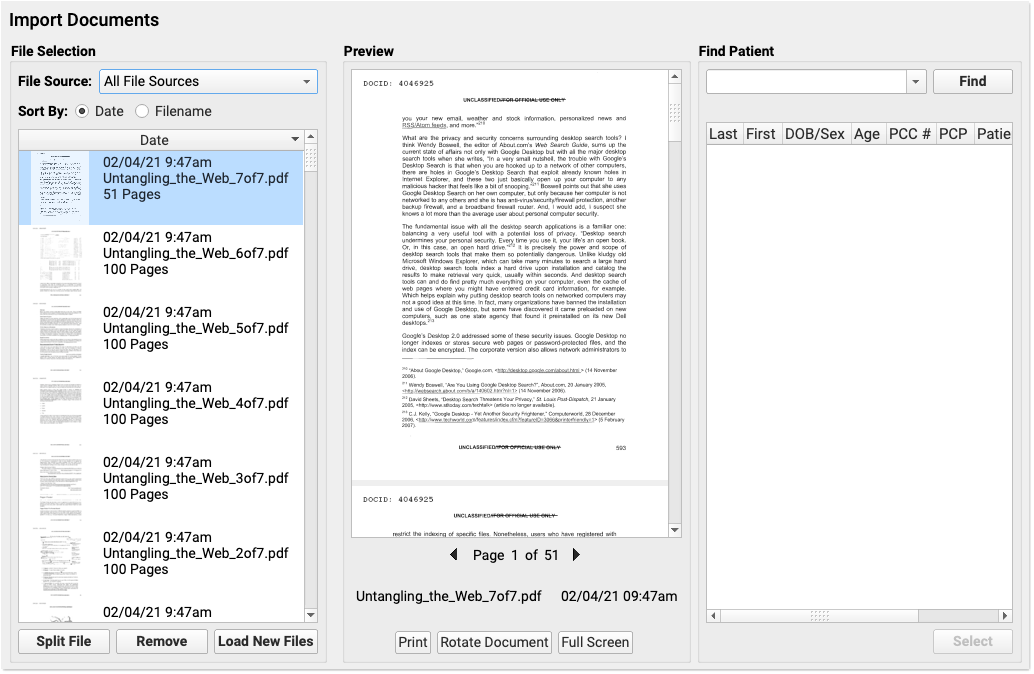
After you have scanned or printed a file into PCC EHR, you can use the Import Documents screen to review the document and place it into a patient’s chart.
Along the way, you can title and tag the document, create tasks for later, attach the document to a specific visit, and even make it available to the patient families in the patient portal.
Step 1: Open the Import Documents Tool
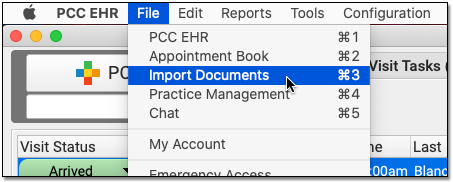
From any screen in PCC EHR, click on the Import Documents icon at the bottom of your EHR window.

Or select “Import Documents” from the File menu.
Step 2: Optional: Set Which File Sources Appear For You
PCC EHR sends scanned documents and files to one or more “buckets”, or file sources. You can use the file source drop-down to set which buckets will appear for you.
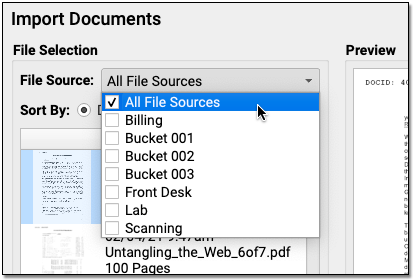
For example, if you regularly work with Lab results and your office has a Lab scanner, you should add the Lab file source to your list.
Step 3: Select One Document or Multiple Documents
Click on a document you wish to link to a patient. If there are multiple pages for a single document, hold the Shift key in order to select all pages.
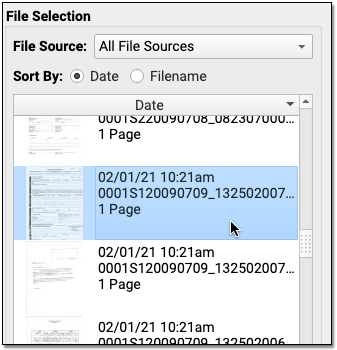
By default, documents appear in reverse-chronological order, so a document you just scanned will appear at the top. You can also sort by file name.
Can't Find My Document?: If your Import Documents window has been open for a long time, you may not see the most recently scanned files. You can refresh the list of scanned documents at any time by clicking “Load New Files”.
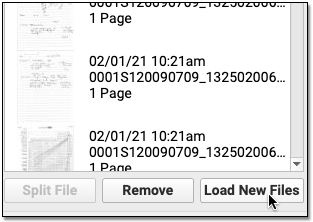
You might also need to check other file sources in the File Source menu, as described in the optional step above.
Step 4: Review the Document in the Central Panel
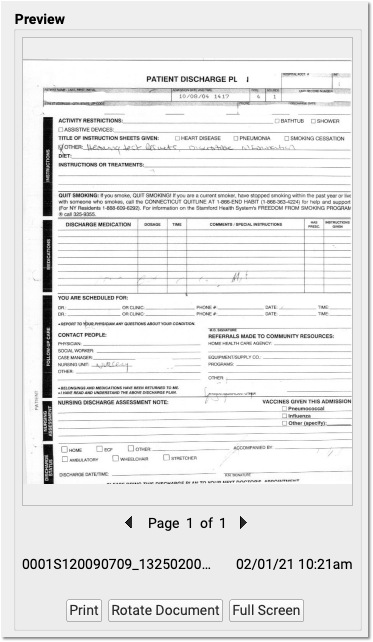
While sorting through multiple documents, you can review a document’s content in the Preview panel.
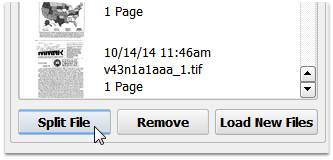
Step 5: Optionally Split a Scanned File into Pages
If a single scanned document should be broken into multiple files, click “Split File”. You can then give each page of a document a different category, and/or attach it to different encounters or orders.
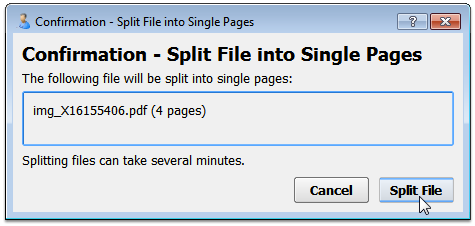
After you click Split File, small files will split quickly. Large scans of dozens or hundreds of pages may take several seconds or minutes to divide into single pages.
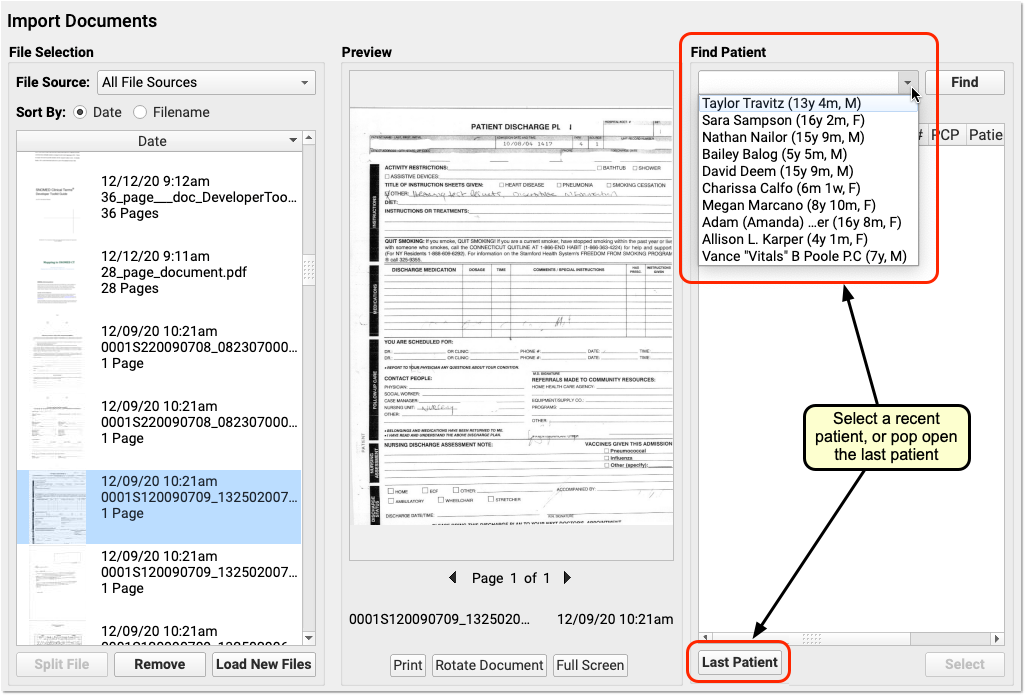
Step 6: Find a Patient
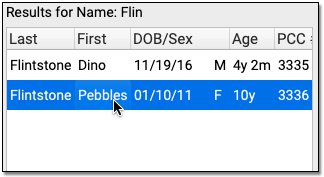
Use the Find field to find a patient. Double click on the patient to select them.
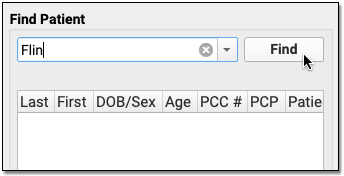
You may search by patient name, date of birth, or use any of your office’s custom search keys as described in the Open a Chart help article.
Open Recent Patient, One-Click 'Last Patient': Click on the patient find field’s drop-down menu to pick from any of the last ten patients you worked with. You can also click “Last Patient”, which can save time when you are importing a series of scanned documents to the same patient’s chart.
Step 7: Add a Title, Select a Category, and Attach the Document to an Encounter
After you select a patient, enter a title and then choose a document category. To associate a document with an encounter (a visit, phone note, or portal message) or a care plan, select it from the drop-down menu. If you select an encounter with orders, you can optionally attach the document to a specific order within that encounter.

Click “File as Unattached Document” to simply import the document to the chart. You can then optionally enter a date for the document and indicate whether or not the document should appear in the Visit History Index for the patient.

Default: When you choose to file a document as unattached, PCC EHR assumes that you wish to add the document to the patient’s Documents section, but not to the Visit History. If you wish it to appear in the visit history, enter a date.
Categories: If you wish to edit the document categories your office uses, read Edit Document Categories.
Step 8: Optional: Require Clinician Signature, Enter Notes, Share in My Kids Chart
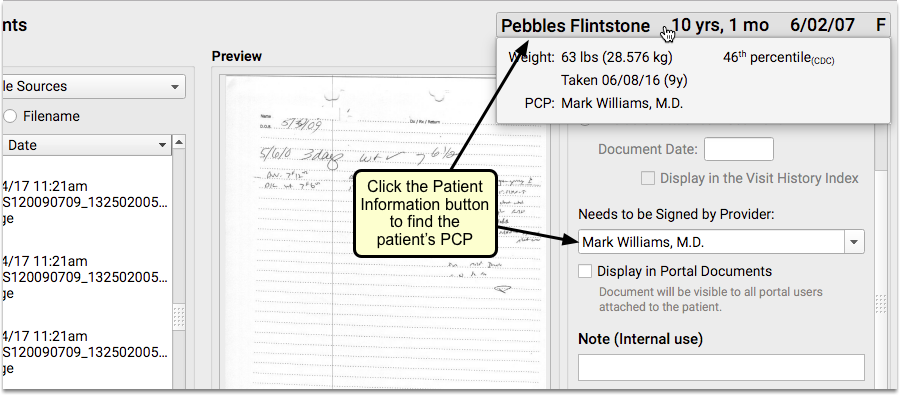
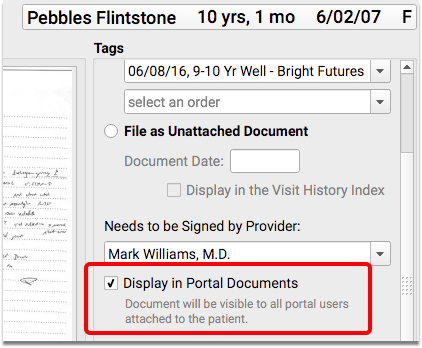
At the bottom of the panel, you can indicate whether the document needs to be signed by a clinician and enter notes. Documents that require a signature will appear on the Signing queue.
Who is the PCP?: When choosing which pediatrician should review the document, you can click the Patient Information button to see the patient’s PCP.
Share in My Kids Chart: To share with My Kid’s Chart users, click the box to make the document available in the patient portal.
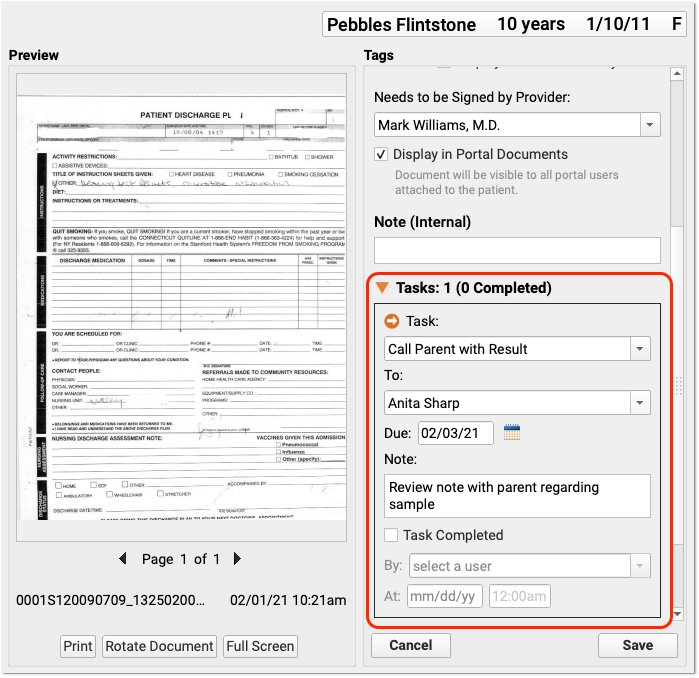
Step 9: Optional: Create a Document Task
For each document you can add new tasks, select who the task is for, and add a note. You can add more than one task if many different users need to respond to the content of a document.
Step 10: Click Save
Click the “Save” button at the bottom of the screen to finish importing the document.