Print, Export, and Import Files While Working Remotely
If you connect remotely to your PCC system using SecureConnect, you can print, export, and even import files.
For more information about getting set up with SecureConnect, read Connect to Your PCC System from Home.
Contents
Print out of PCC EHR in SecureConnect
Learn how to print out of PCC EHR while working in SecureConnect.
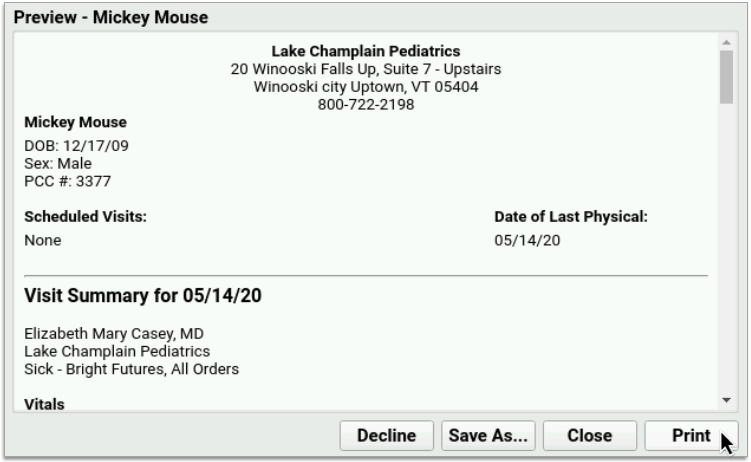
In PCC EHR, Click “Print”
While working in PCC EHR in SecureConnect, navigate to the item you wish to print and click the Print button.
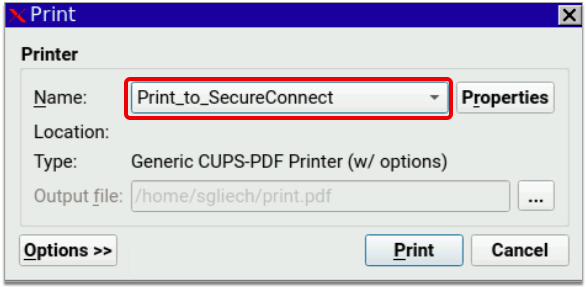
Select the Printer Named “Print_to_SecureConnect”
In the print options, select the printer named “Print_to_SecureConnect”.
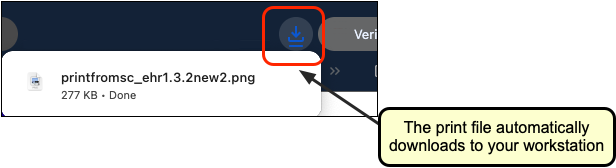
Finish Printing out of PCC EHR
In the PCC EHR print dialogue, click “Print”. The print file will automatically download to your workstation.

Unsuccessful? Try Again: The very first time you try printing out of SecureConnect, your web browser might not be successful in printing the document. Don’t panic! Exit SecureConnect, sign back in, and try again. If you continue to experience issues printing out of SecureConnect, contact PCC Support.
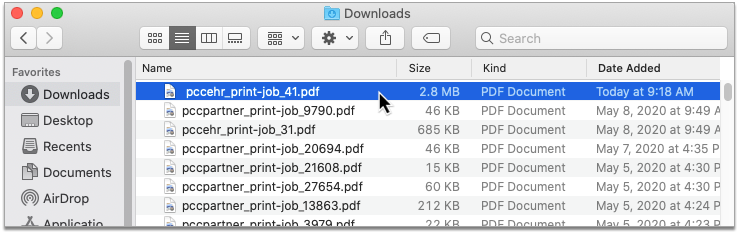
Open the Print File in a Document Viewer Window
Find the print file in your internet browser or computer’s downloads folder. Double-click the file to open it in a document viewer on your local workstation.

Files Might Open Automatically: Some workstations and web browsers are configured to open files automatically upon download, saving you the step of having to find the documents in your downloads folder.
Print the File to Your Local Printer
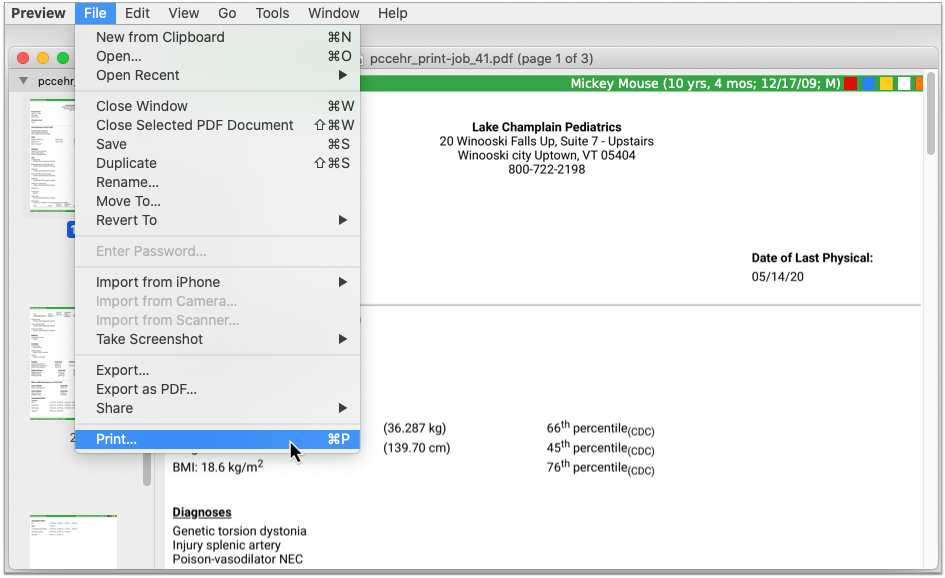
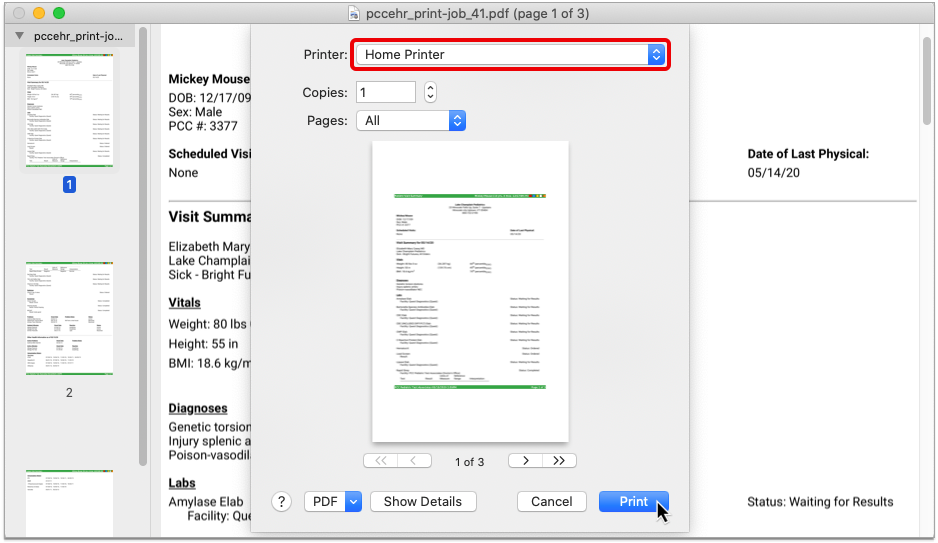
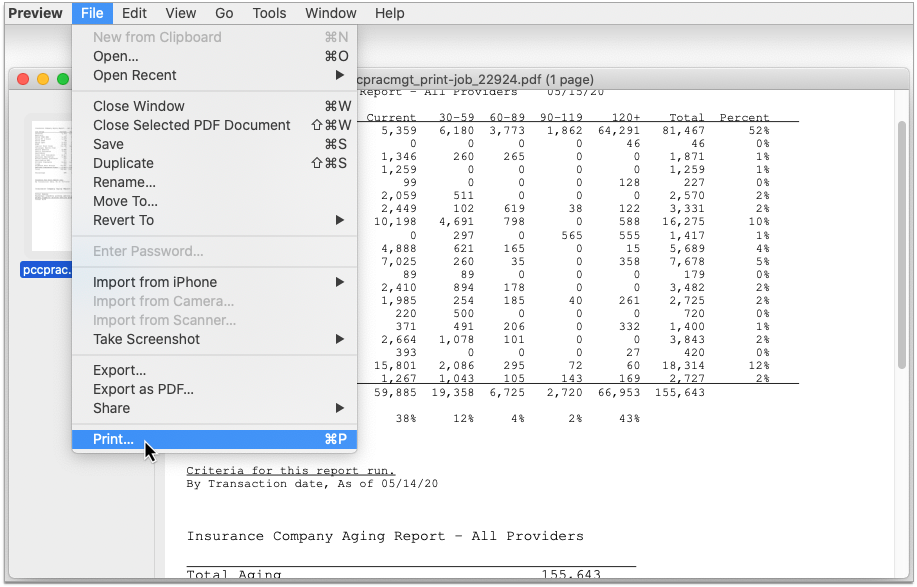
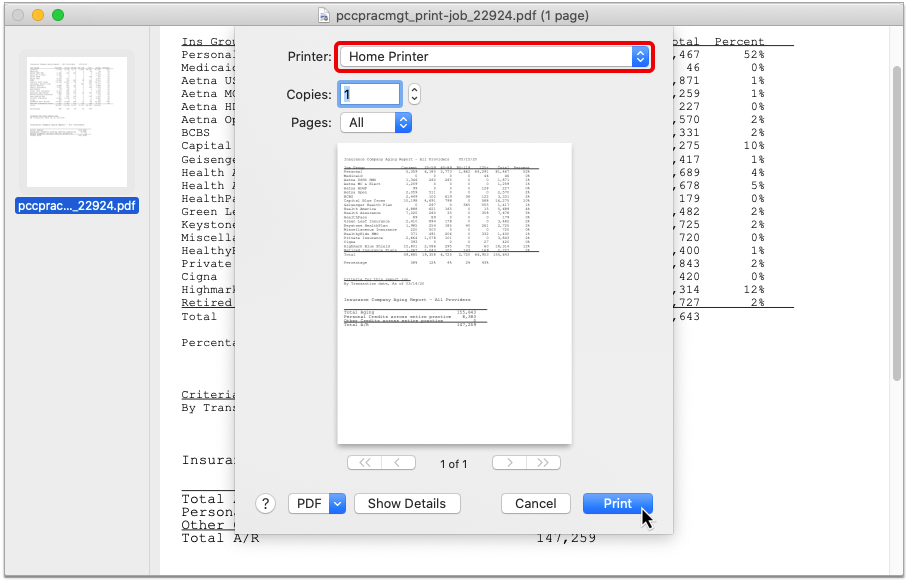
In the document viewer window, open the File menu and click “Print”. Select your local printer as the destination and print the file.
Log Out of PCC EHR Every Time You Use SecureConnect: Please make sure to sign out of PCC EHR before closing your Secure Connect tab or window to avoid multiple login instances.
Import Files While Working Remotely
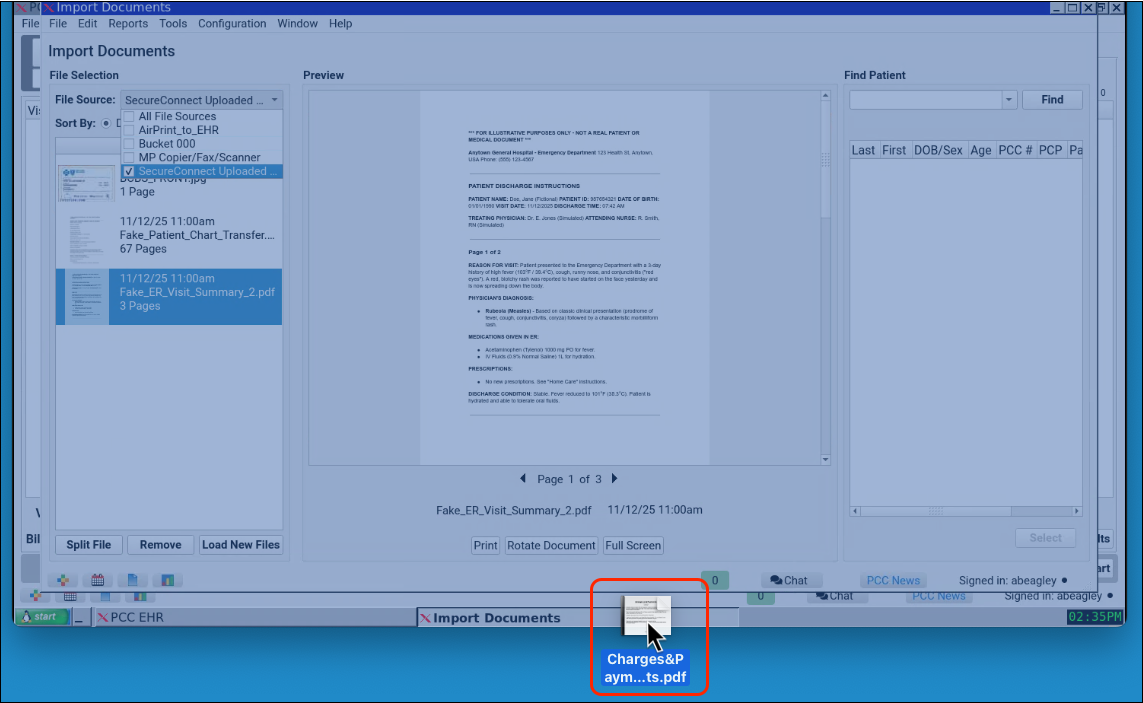
When you are logged in remotely via SecureConnect and you need to get a file from your workstation into PCC EHR, simply drag your file over the SecureConnect window. Locate and manage the document as usual in the Import Documents window.
Export Reports to Your Browser While Working Remotely
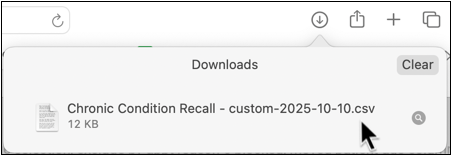
When you are working remotely through SecureConnect and you need to export a report, click any “Export” button in the Report Library, choose your file type, and export as usual. The exported file will display in your browser’s downloads area, and in your downloads folder.

To export a PDF from the Report Library, use the Print to SecureConnect functionality.
Print out of Practice Management in SecureConnect
Learn how to print out of Practice Management while working in SecureConnect.
Open a Practice Management Window
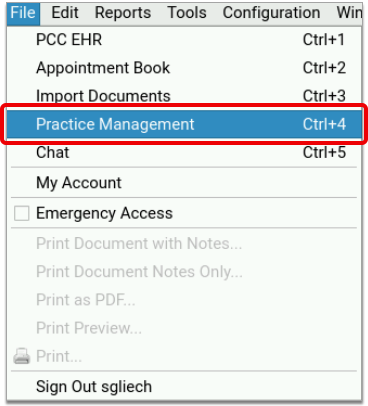
In SecureConnect, open a new Practice Management window.
Set Your Default Printer
Most users will automatically be prompted to choose a default printer when they open Practice Management. In this case, type ‘X’ next to the printer named “Print_to_SecureConnect”, then press F1 to save your selection.

Some users will not be prompted to choose a default printer when they open Practice Management and will instead be directed to the main menu screen.
To set your default printer from the main menu screen in Practice Management, select Pick a Default Printer (pickaprinter), then choose “Print_to_SecureConnect” as your default.
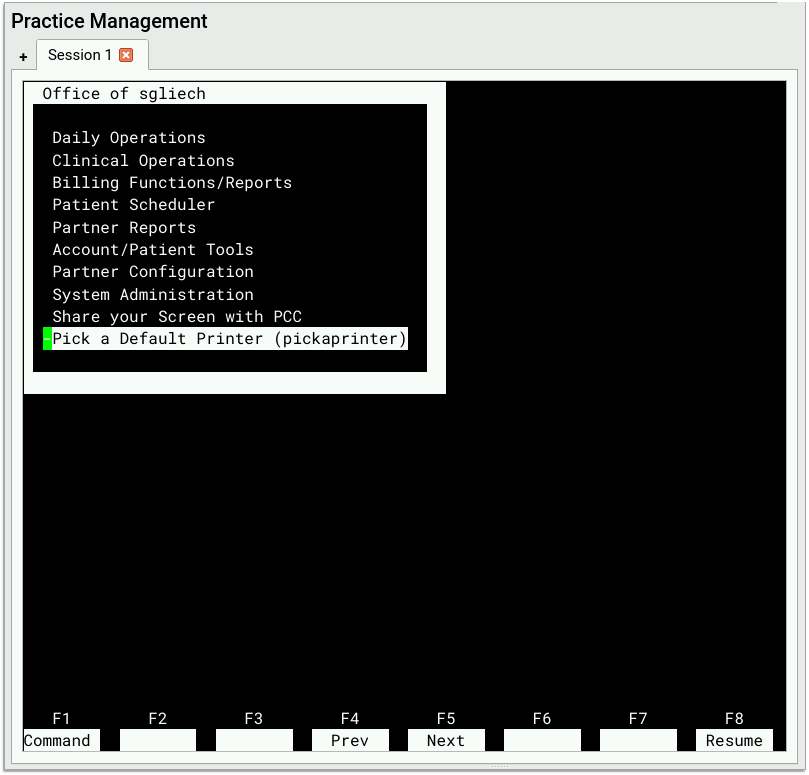
If you do not see Pick a Default Printer (pickaprinter) in your main menu in Practice Management, call PCC Support to have the option added.
Find Something to Print and Set a Destination Printer
Navigate to the item you wish to print. Follow the screen prompts to print the file. If you are given the option to define a destination printer, use your default or type in “Print_to_SecureConnect”.
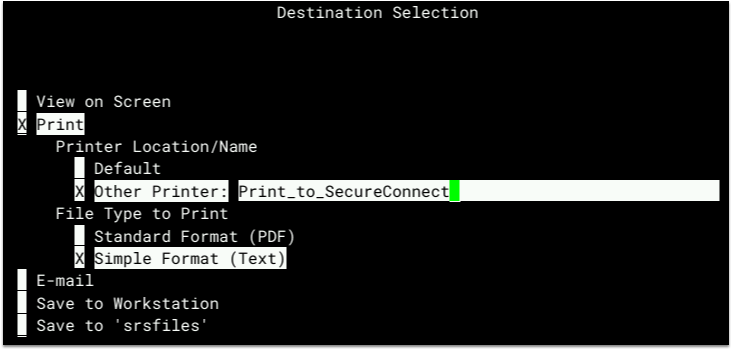
If you are not given the option to define a destination printer, Practice Management will automatically use your default printer setting, which is now “Print_to_SecureConnect”.
Not All Practice Management Jobs Can Be Printed from SecureConnect: Certain kinds of print jobs, such as paper HCFA forms, are configured at the practice level and do not pay attention to users’ personal printer settings. Contact PCC Support if you are having difficulty printing one particular type of job while working in SecureConnect.
Finish Printing out of Practice Management
After you set the destination printer, follow the screen prompts wherever you are working to finish printing the file. The print file will automatically download to your workstation.

Unsuccessful? Try Again: The very first time you try printing out of SecureConnect, your web browser might not be successful in printing the document. Don’t panic! Exit SecureConnect, sign back in, and try again. If you continue to experience issues printing out of SecureConnect, contact PCC Support.
Open the File in a Document Viewer Window
Find the print file in your internet browser or computer’s downloads folder. Double-click the file to open it in a document viewer on your local workstation.

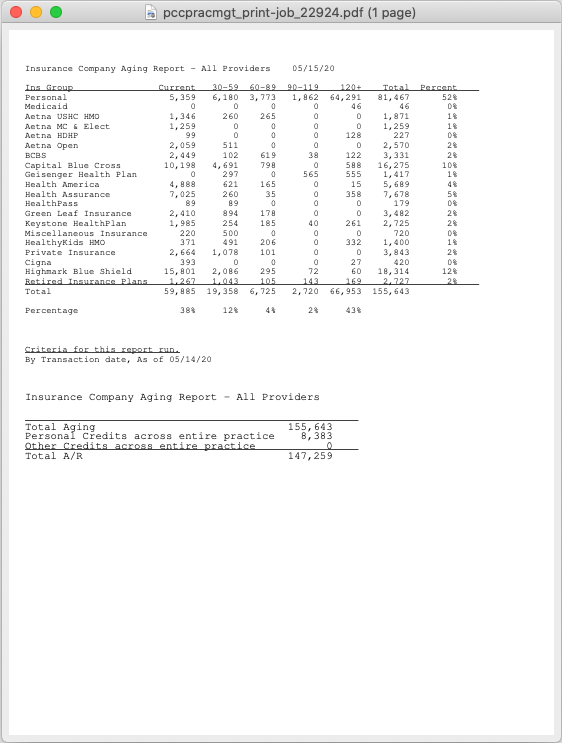
Files Might Open Automatically: Some workstations and web browsers are configured to open files automatically upon download, saving you the step of having to find the documents in your downloads folder.
Print the File to Your Local Printer
In the document viewer window, open the File menu and click “Print”. Select your local printer as the destination and print the file.
Log Out of PCC EHR Every Time You Use SecureConnect: Please make sure to sign out of PCC EHR before closing your Secure Connect tab or window to avoid multiple login instances.
For information about how to call up your local workstation’s printer options from Practice Management while working at the office, read Choose Your Practice Management Printer.