Autopost Procedure in 10.4
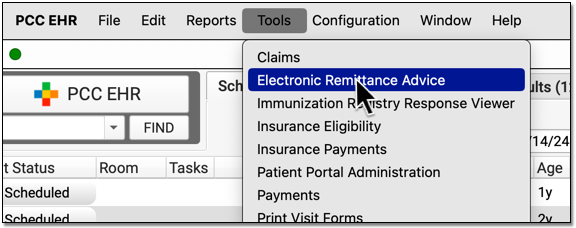
Open the Electronic Remittance Advice Tool
Open the ERA tool from the Tools menu.
Select an ERA
Click on an any unprocessed ERA in the list. You can sort by a column, search, or use the Status filter at the bottom of the window to find unprocessed ERAs.
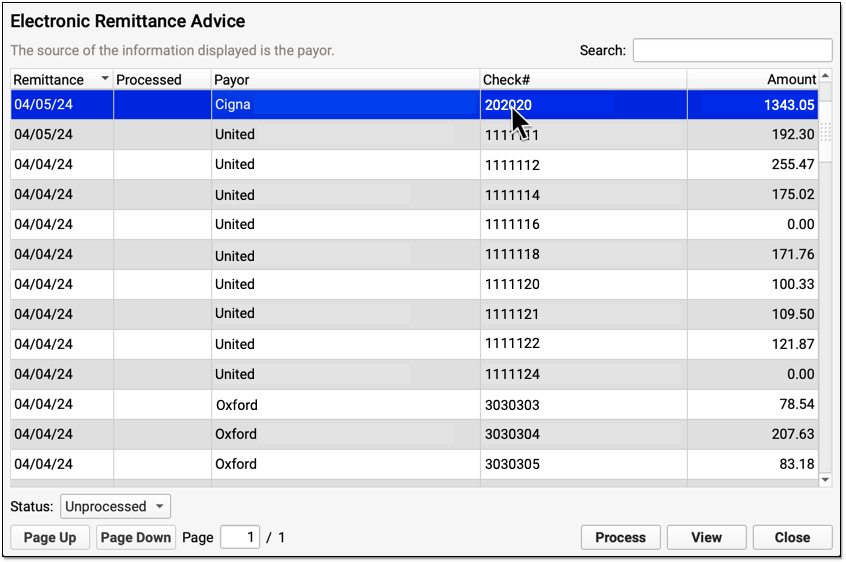
Click “Process”
Click “Process” to begin processing the ERA.
Optional: Enter a Transaction Date
When you autopost an ERA in PCC EHR, you can optionally override the payor’s remittance date and enter a different transaction date.
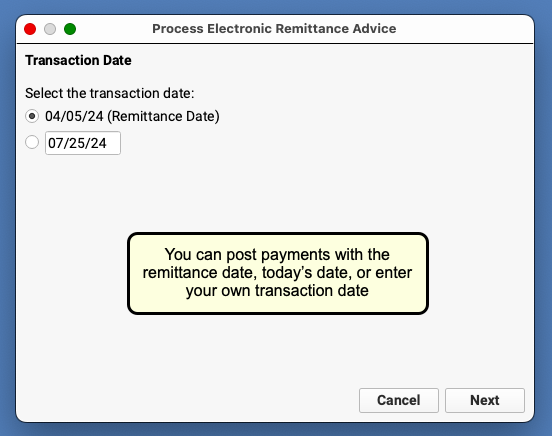
You can accept the default (the Remittance Date found on the ERA), select today’s date, or enter a custom date.
Click “Next” to set the transaction date and continue. When PCC EHR enters the payments and adjustments from the ERA into your system, it will use the transaction date that you indicated.
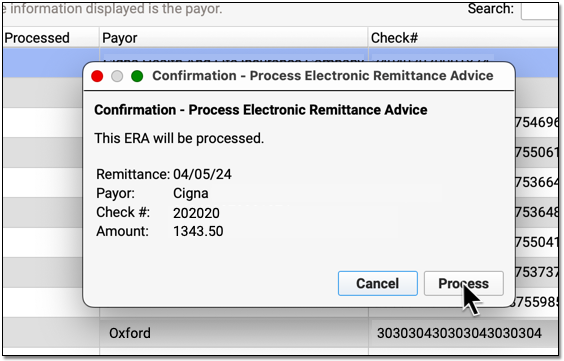
Review Your Selections and Click “Process”
Double-check that you have selected the correct ERA and indicated the correct transaction date for payments and adjustments. Then click “Process”.
Review Posting Results and Special Cases
After processing is complete, PCC EHR will open the ERA for you to review.
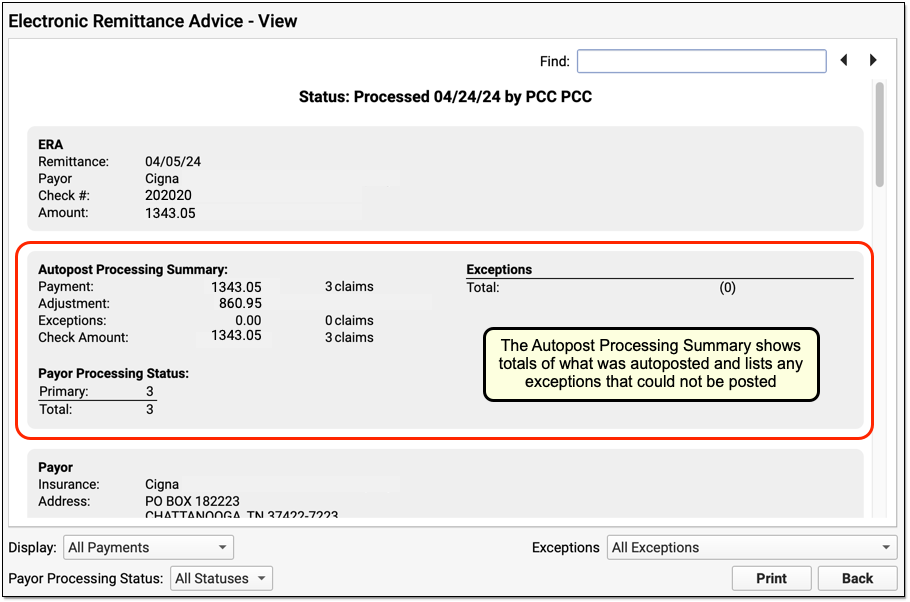
You can use the Autopost Processing Summary section to see totals, payor processing status, posting exceptions, and special cases. For most ERAs, there will be no (0) posting exceptions, as shown above. However, there may be items that PCC EHR did not post automatically.
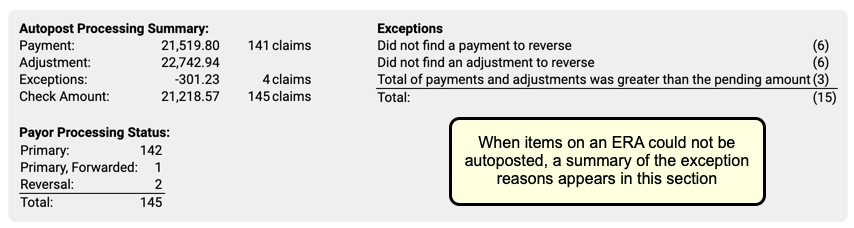
Use the Posting Exceptions worklist tab to address all payor responses that did not autopost. You may also need to address denials, unusual adjustments, and other special cases. Review your processed ERA and identify any situation that may require manual posting, an appeal, or other action.