Recall Patients for Physicals
Reminding patients and families about their physicals is good for your patients and good for your practice. The Recaller can produce phone lists, form letters, and mailing labels for patients who are overdue for a physical or have a physical due date coming up soon. For more information on using the Recaller, read the Recaller Quickstart.
Read the steps below to learn how an office could recall for physicals.
Add Physical Due Date Criteria
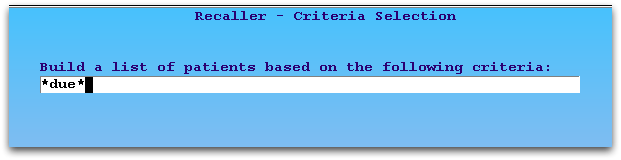
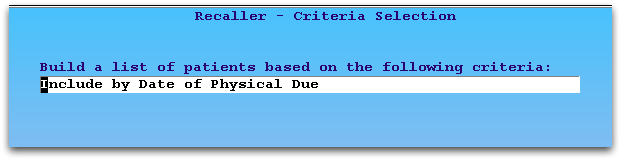
After running the Recaller, select the “Include by Date of Physical Due” for a physical criteria. You can search for it by entering “*due*”, as shown.
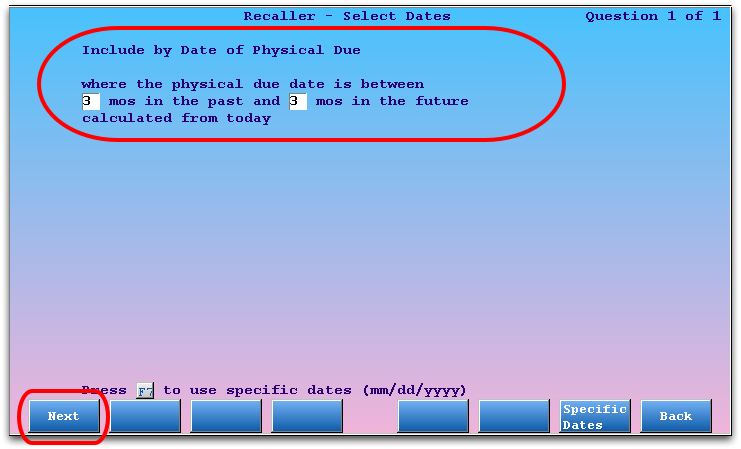
Enter a date range that will include patients who have recently missed their physical due date and/or those for whom the time for a physical is approaching.
Note: A patient’s next-due physical date is set, based on your office’s custom physical schedule, whenever they are billed for a Well Child procedure. You can also change a patient’s physical due date in the Patient Editor (notjane).
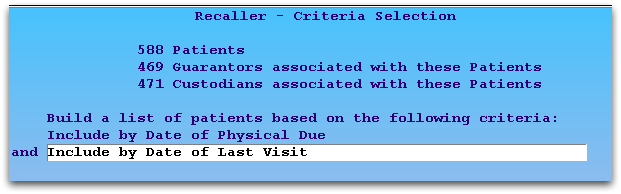
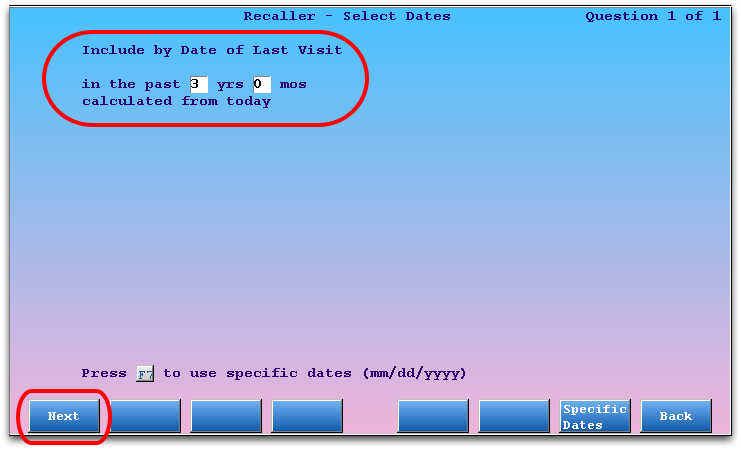
Add Last Visit Date Criteria to Find Active Patients
Use the Last Visit criteria to limit your recall to active patients, those who have visited your practice in the past three years or so.
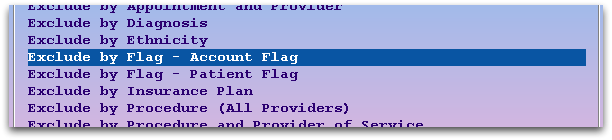
Add Account and Patient Flag Criteria to Exclude Removed Patients
Use the two “Exclude by Flag” criteria to remove Inactive, Dismissed, Deceased, or other sets of patients or accounts that you do not want to include in your recall.
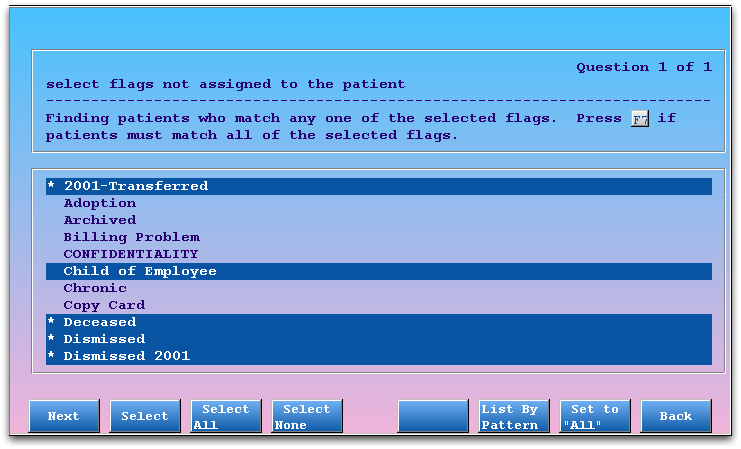
You can also use the Exclude by Flag criteria to remove patients and families who have asked not to be contacted. Read Exclude Patients From Recaller and Notify to learn more.
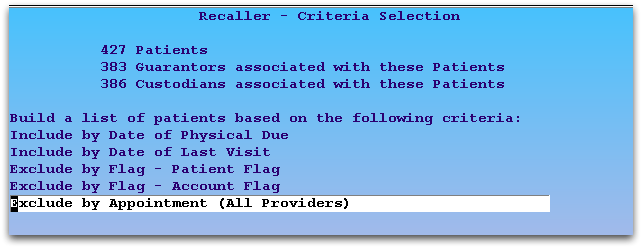
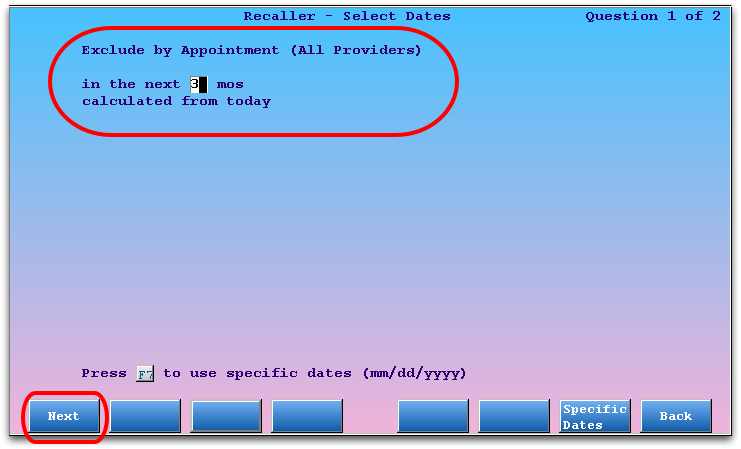
Add Exclude by Appointment Criteria to Avoid Patients with Upcoming Appointments
Since you don’t want your Recaller output to include patients who already scheduled an upcoming physical, select the “Exclude by Appointment” criteria. Then enter a date range and select all physical visits.

Optional: Add Additional Criteria
You may also choose to limit your well child recall to certain geographical locations (by zip code), primary care physician, or other criteria.
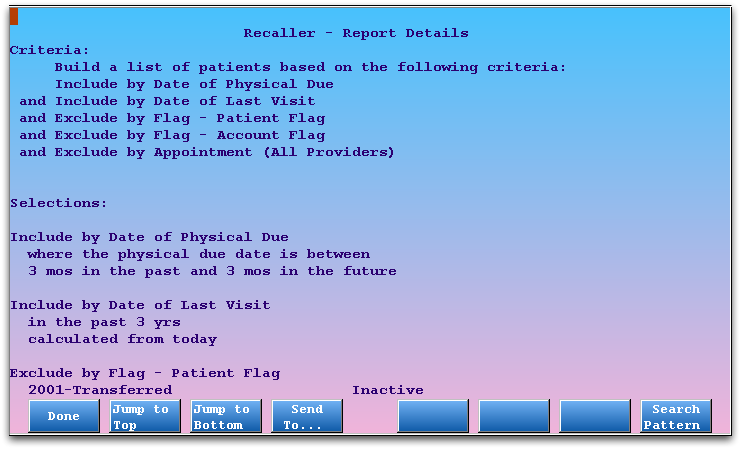
Optional: Review Criteria
At any time, press [fkey title=’F5′ subtitle=’Report Info’ display=’inline’ /] to review the specific details you have entered for each criteria in your recall.
Press [fkey title=’F1′ subtitle=’Done’ display=’inline’ /] to continue.
Optional: Save Your Physical Recall for Later Use
You can save and restore your criteria settings for a report so you will not have to rebuild them whenever you run a physical recall. Press [fkey title=’F4′ subtitle=’Save Criteria’ display=’inline’ /] from the criteria screen, enter a name, and press F1.
For a complete guide to re-using Recaller report sets, read Saving and Restoring Recaller Settings.
Select Output, Finish Recall
Press [fkey title=’F2′ subtitle=’Output’ display=’inline’ /] and select your output. You can produce custom form letters, mailing labels, or a simple contact list. For a complete guide to Recaller output, read the Recaller Output Reference.