SRS: Partner’s Report Engine
When you need to create a custom report for a front desk, clinical, or administrative need, use the PCC EHR Report Library.
In addition, PCC’s Practice Management windows include PCC’s previous report library tool, the Smart Report Suite (srs).
Read below to learn how to operate srs and run reports, create custom reports based on thousands of different criteria combinations, and export your reports for use in a spreadsheet program.
Video: Watch Run SRS Reports to learn more.
Customize and Customize Again: One of the most powerful features of srs is report creation and modification. If you need a personalized report with particular columns and subtotals, PCC can create that report for you. If you want more freedom and control in reporting, PCC can teach you how to use srsgen, a program for creating and modifying srs reports. With srsgen and srs‘s built-in criteria options, nearly any report you imagine is possible.
Contents
Run an SRS Report
Follow these steps to run any srs report.
Run srs
You can run the Smart Report Suite from the Practice Management window.
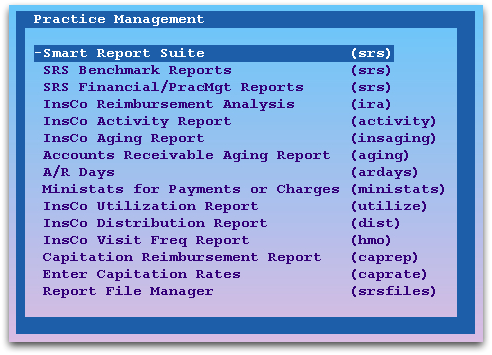
Select a Report Category
For your convenience, srs reports are sorted into several categories. Choose a category and press F1 – Select Category to see a list of reports on the subject you have chosen:
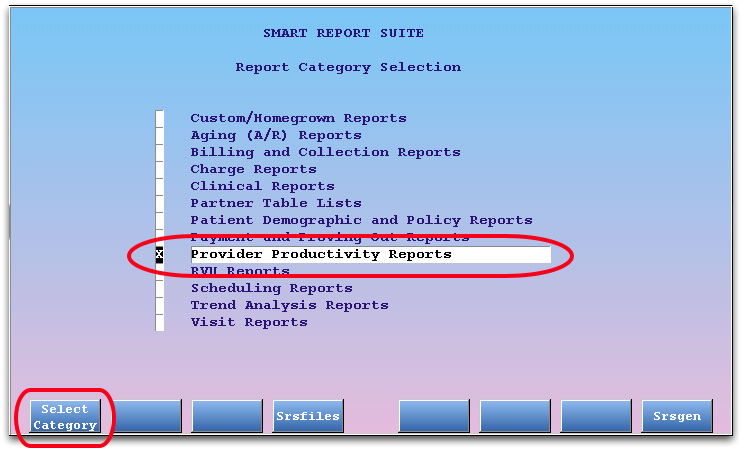
Choose a Report and Press
F1 – Select Report
Use the arrow keys to pick from the list of reports and press F1 to run the report. Press Page Down to see the rest of the list if there are too many report to fit on one screen. Reports are sorted alphabetically by name.

Enter a Date Range
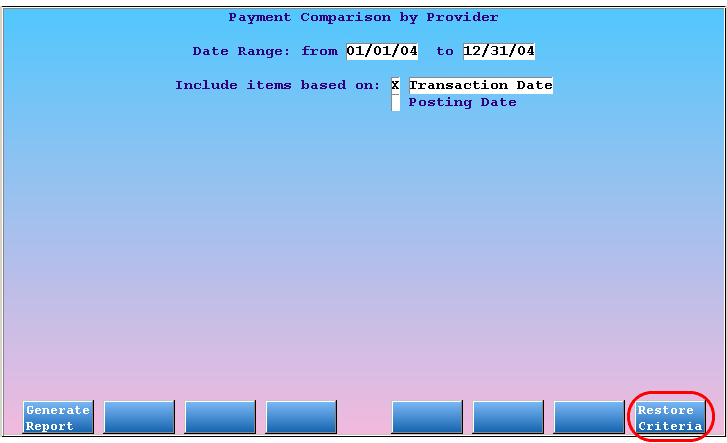
The report will only include data from within the specified date range. After entering “from” and “to” dates, press F1 – Generate Report to continue.
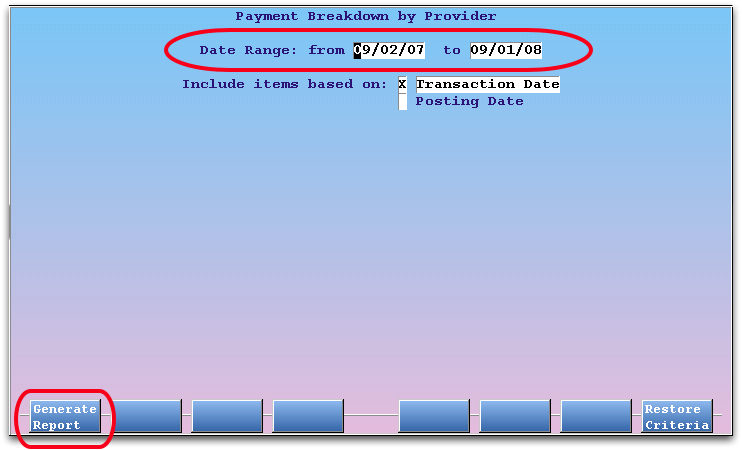
Some reports may ask additional questions about the date range. In the example above, srs needs to know if the dates entered should limit the output based on the date of the transaction (Transaction Date) or based on the date the information was entered into PCC (Posting Date).
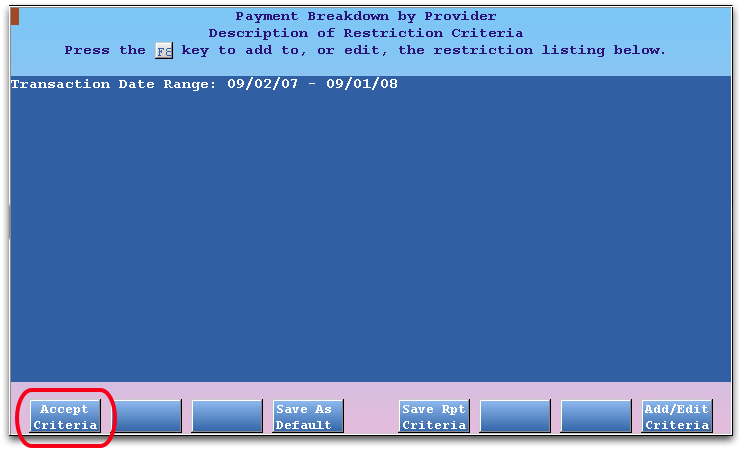
Optionally Adjust Report Criteria, and Then Press
F1 – Process
Read the sections below to learn more about criteria options. To use the default settings, simply double-check the dates you entered and press F1 – Accept Criteria.
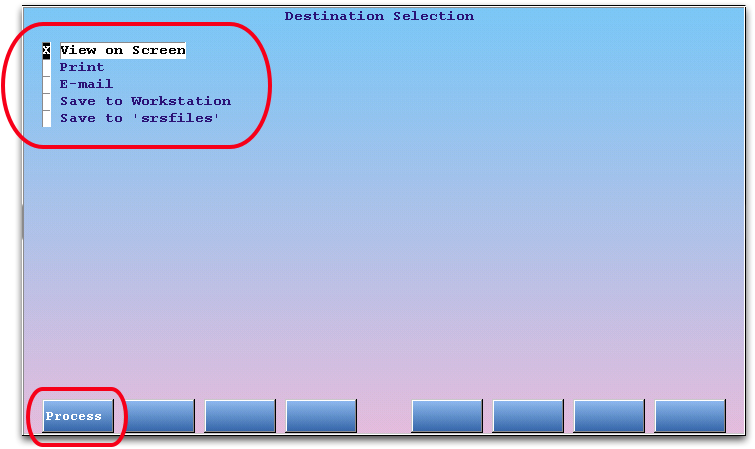
Choose the Output Destination and Press
F1 – Process
You can send srs output to the screen, a printer, your e-mail inbox, or to a workstation or PCC server account. You can also change the format so it will work in a spreadsheet, such as Microsoft Excel or OpenOffice. Read below to learn more about these output destination options.
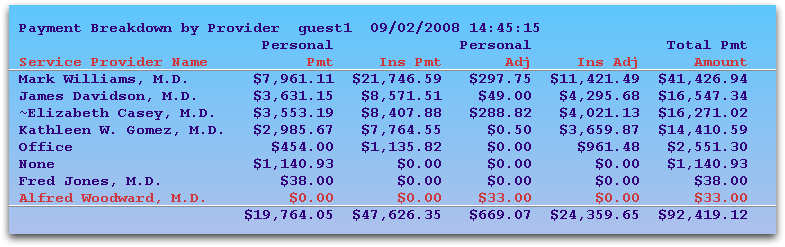
Review Results
When the results appear on your screen, you can press Page Down or the space bar to scroll through them. Use the right and left arrow keys if the report extends off the side of the screen. Read the Reporting in Partner manual for a complete guide to your options while viewing a report.
When you are finished reading the report, press F12 or Q to quit the report. srs will ask you if you want a printed copy, and then return you to the report’s date selection screen.
Work with SRS Report Criteria
You may wish to run an srs report for only one provider, one procedure group (such as “Well Visits”), or a combination of restrictions. srs allows you to restrict by a wide variety of criteria. Once you have configured a set of criteria for a report, you can save and restore that criteria at a later date.
Add a Criteria to an SRS Report
Follow the steps below to learn how to add criteria restrictions to an srs report.
Select and Run the Report
Find and begin running the desired report in srs. Enter a date range for the report.
Press
F8 – Add Criteria
On the “Confirm Criteria” screen, press F8 to add criteria.
Enter or Search For the Criteria Categories
Enter each of the criteria categories you want to use to restrict the report.
You can enter an asterisk (*) to view a list of all available criteria and select the one you want to use as a restriction.
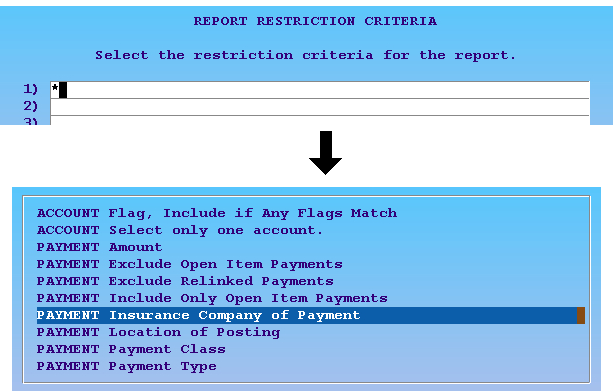
As with other look-up fields, you can also use the asterisk to search for a particular word or phrase. For example, enter “*insurance*” to see a list of restriction items containing “insurance.”
Press F1 – Proceed to Continue
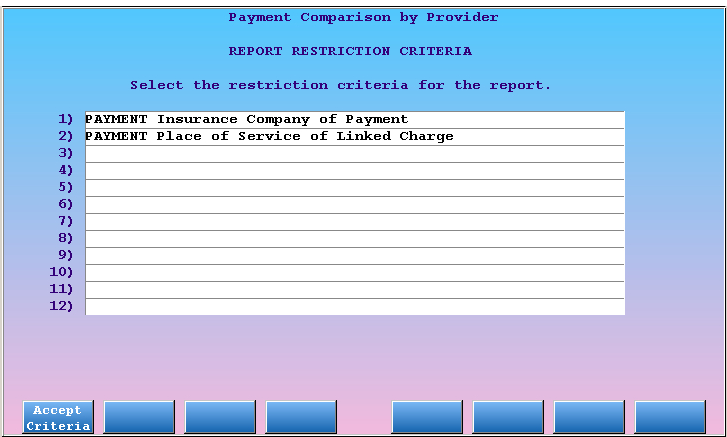
For Each Criteria You Chose, Make a Selection
For every criteria category you selected, srs will show you a screen with a list of possible restrictions. Select each item (or group) you wish to include on your report and press F1 – Process.
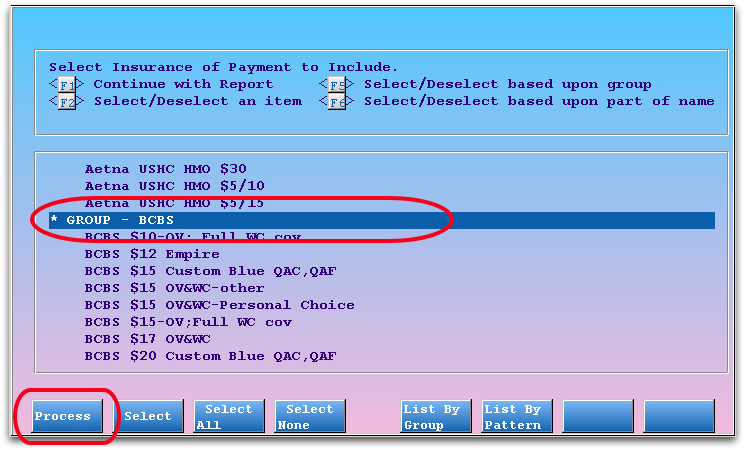
As with the restriction lists in other reports, you can use the F5 – List By Group and F6 – List By Pattern functions to make selecting the desired criteria faster.
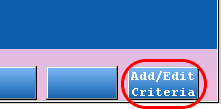
Review Criteria Selections, Run the Report
When you are finished with each of the restriction list pages, srs will return you to the Review Criteria page. Check your work and press F8 – Add/Edit Criteria again if you need to make changes. Press F1 – Confirm to run the report.
Save and Retrieve SRS Report Criteria Sets
On the Review Criteria page, you will see two options for saving your criteria selections:
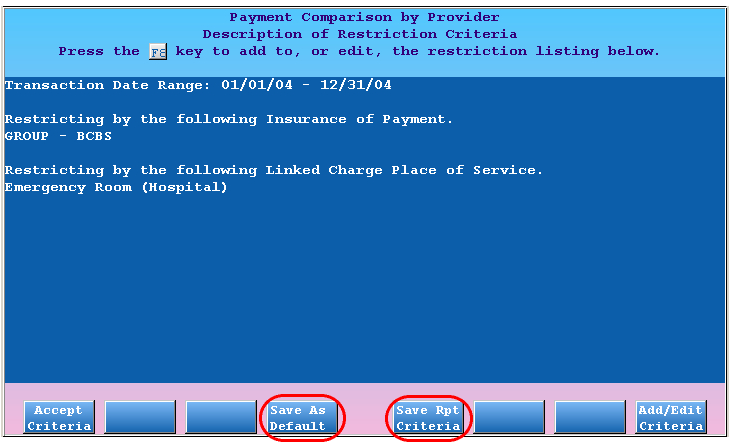
F4 – Save As Default
Press F4 to save the current report criteria as your personal default. Whenever you log in and run this report, the criteria you have assigned and the restrictions you selected will be used automatically.

F5 – Save Rpt Criteria
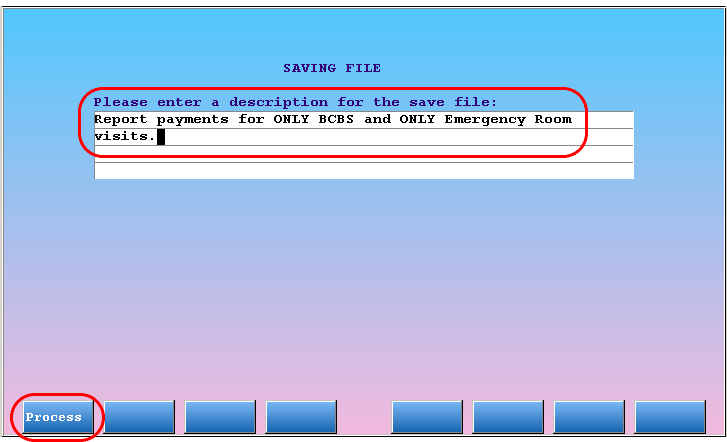
Press F5 to save the current report criteria to a file that can be restored later. You will see a screen asking you to name and describe the criteria you have selected. Be as clear and detailed as possible.
You can save multiple sets of criteria and then retrieve them from the date selection screen whenever you run the report.
When you wish to retrieve a saved criteria file, press F8 – Restore Criteria from the Date selection screen:

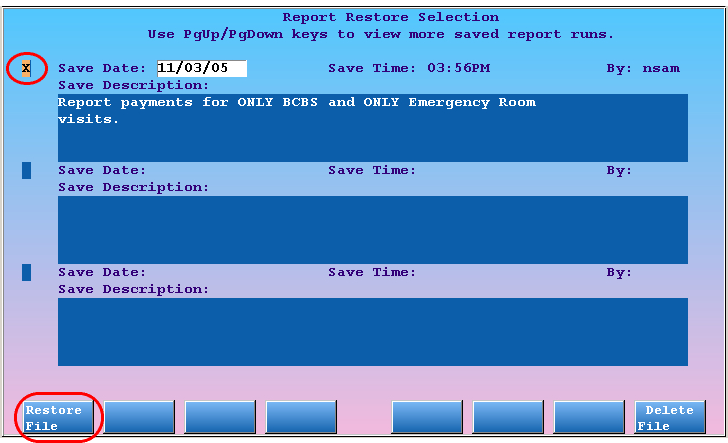
Select the criteria set that you wish to retrieve, and press F1 – Restore File to load it into the report.
Share with a Colleague: If you want to share your custom criteria with someone else in your office, save it as a set as described above. Then show your coworker how to retrieve your saved report criteria. They can then press F4 – Save As Default and they will never need to open the criteria file again.
Export SRS Results to a Spreadsheet
You can export any SRS report as a spreadsheet, and then open it in spreadsheet software, such as Microsoft Excel or OpenOffice.
Read Export SRS Results to a Spreadsheet to learn more.