Charting Overview
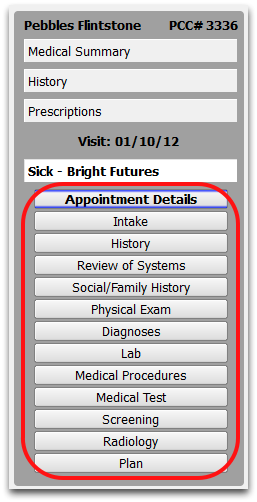
If a patient has an appointment today, or a provider has opened a chart note using the Visit History chart section, visit-related buttons for charting appear under the “Visit” headline in the lower- left navigation of the chart.
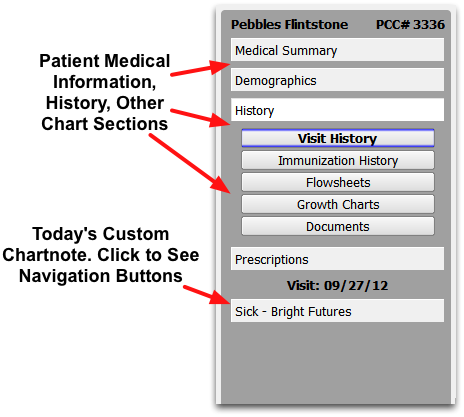
Click on a chart note title to open it. You will see the chart note’s custom navigation buttons.
Use the chart note navigation buttons to browse the chart note and begin entering information about the exam.
Chart note protocols are made up of different components, and you can create different protocols for different visit types and (optionally) for each provider. A typical chart note protocols might contain vitals, history, SOAP sections, and sections for creating orders.
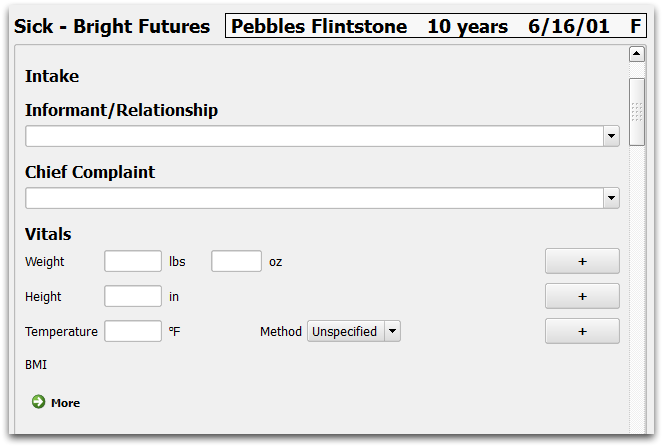
As clinicians enter vitals, select diagnoses and procedures, or enter and fulfill labs, orders, and prescriptions, the PCC EHR automatically adds that information to the patient’s historical record. Any information you mark in a chart note will later appear on the Visit History screen.
When finished, providers click “Save” to save their work and click “Schedule” to return to the schedule.
Multiple nurses and other clinicians may open, edit, close, and reopen a patient’s chart and contribute to the details of a visit.
When the visit is complete, a user can click “Bill” to review billed diagnoses, add additional procedures, and send billing information to the Partner practice management system.
Refresh and Conflicts: If multiple users in your office open and make changes to a patient chart, then the “Save + Refresh” button will turn yellow. Click the button to save your own changes and display any changes made by other users. PCC EHR records changes to a patient chart independently, by user; multiple changes can not conflict.
Chart Note Navigation
When charting a visit, each button on the left corresponds with an anchor point on the chart note. You can navigate through a chart note in three ways:
-
Click the anchor buttons to jump to particular sections of the chart note.

-
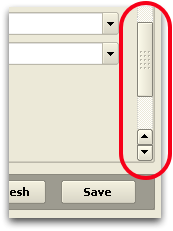
Scroll up and down using the scroll bar.
-
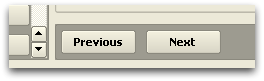
Use the “Next” and “Previous” buttons to step through each section of the chart note.