Chart a Visit in PCC EHR
Read the procedure below to learn about each step of a typical visit in PCC EHR.
Watch a Video: Want to watch a 5-Minute Charting video? CLICK HERE.
Contents
- 1 Open PCC EHR and Log In
- 2 Open a Patient Chart
- 3 Optional: Review Patient Chart
- 4 Start Visit
- 5 Optional: Pre-Collect Vitals or Other Patient Prep Information
- 6 Optional: Review Problem List and Other Chart-Wide Information
- 7 Examine Patient, Enter Chart Notes
- 8 Optional: Add Photo or File Using Your Mobile Device
- 9 Enter Diagnoses, Update Patient’s Problem List
- 10 Optional: Order a Lab, Immunization, Medical Procedure, or Other Order
- 11 Optional: Enter a Prescription or a Refill
- 12 Optional: Fulfill Labs, Procedures, or Other Orders
- 13 Optional: Generate a Visit Summary Report
- 14 Optional: Click “Bill Visit” and Make Diagnoses and Procedures Ready For Billing
- 15 Save Changes, and/or Sign the Visit
- 16 What Happens Next?
In order to introduce you to many PCC EHR features, this is a long and detailed procedure, with many optional steps. You can learn more at https://learn.pcc.com/PCCEHR. Contact PCC Sales for a complete demonstration, or call PCC Support for help with any feature.
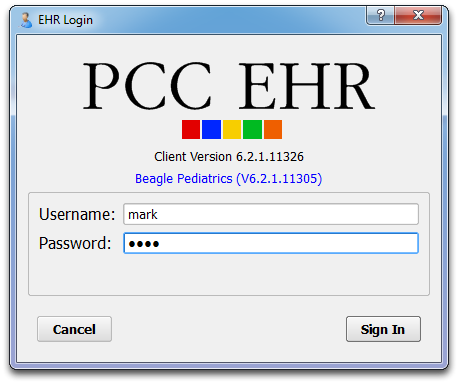
Open PCC EHR and Log In
Double-click on the PCC EHR icon and enter your username and password.
Open a Patient Chart
Find a patient on your schedule and double-click on the patient name. Or select them and click “Open Chart”.
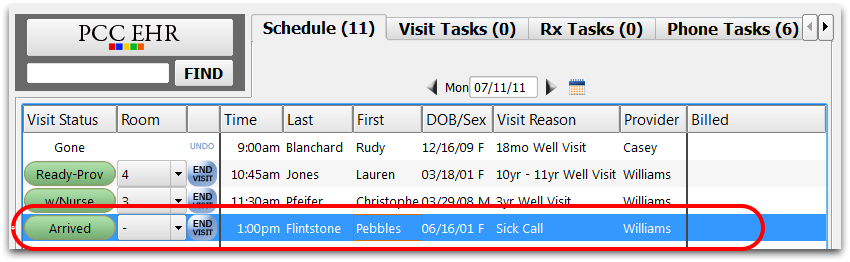
Optionally, Find Any Patient: Instead of selecting a patient from the Schedule, you could enter a name, birth date, or PCC number in the Find search field.

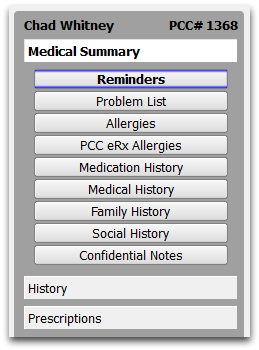
Optional: Review Patient Chart
You can use the chart navigation buttons to review the Medical Summary.
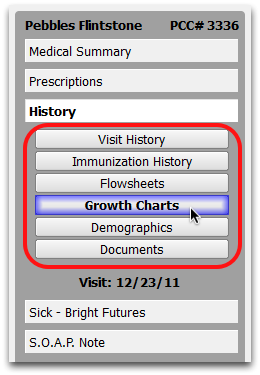
You can also review other parts of the patient’s chart, like their growth charts or immunizations record.
Start Visit
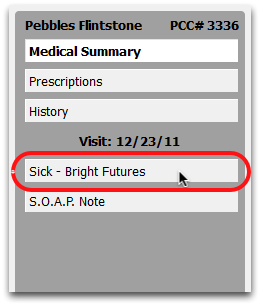
Click on today’s chart note navigation buttons to begin charting the visit.
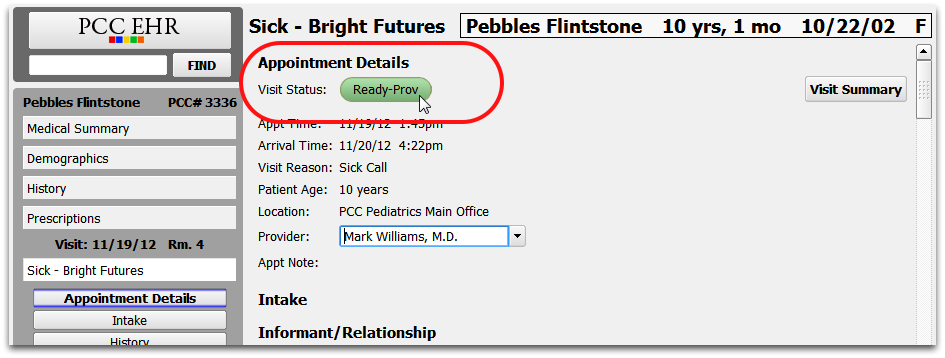
Patient Management: If the patient was not already checked in, you can click “Arrive Patient” to gain full access to all charting tools. If the patient has no scheduled visit for today, you can create a walk-in visit. Finally, you can control patient visit status at the top of the chart note.
Optional: Pre-Collect Vitals or Other Patient Prep Information
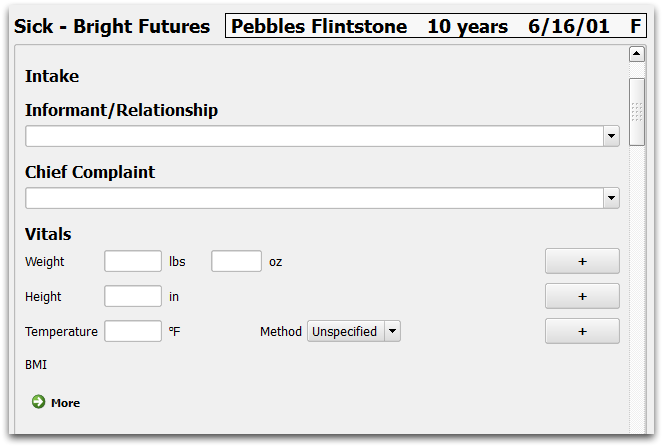
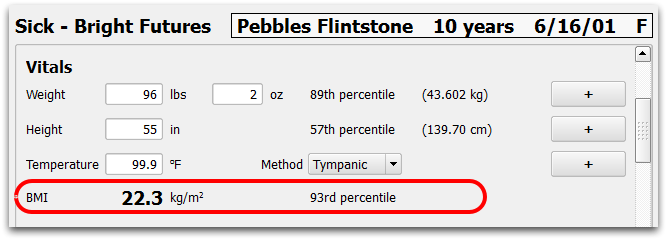
On a typical chart note, the first set of items relate to intake. A nurse or other clinician may collect the vitals, record them in the chart note, and then save and close the chart.
As you enter vitals, PCC EHR’s customizable components can give you feedback, such as BMI and growth percentile for the patient.
Review Who Entered Vitals: Move your mouse cursor over vitals on a chart note to see who entered the data.
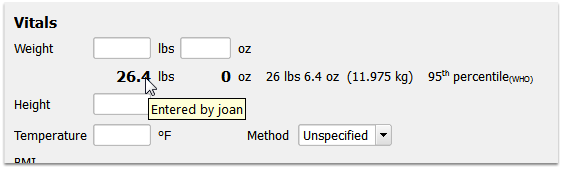
Hover over any vitals measurement (not entered by yourself) to reveal attribution.
Change the Clinician?: If you need to change the assigned clinician for an encounter, you can double-click on the chart note to open it and change the provider field at the top of the screen.

Optional: Review Problem List and Other Chart-Wide Information
The Problem List and other chart-wide components may also appear on your chart note. You can review the information and click “Edit” to make changes.
Record That You Reviewed The Information: For the Problem List, Allergies list, and generic chart-wide text components, you can click “Mark as Reviewed” to document that you reviewed the information.
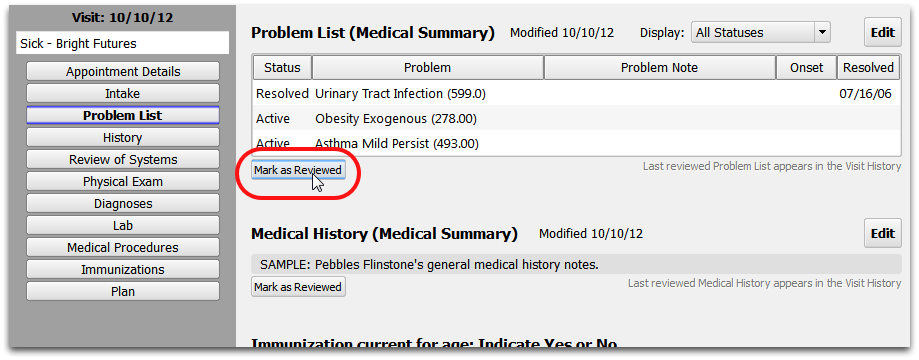
When you click “Mark as Reviewed”, the contents of a component as it appears on the screen will be saved as part of the encounter. You can later review it in the Visit History.
Examine Patient, Enter Chart Notes
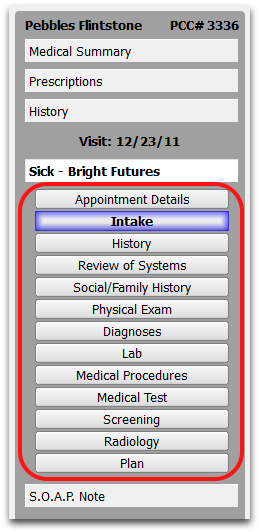
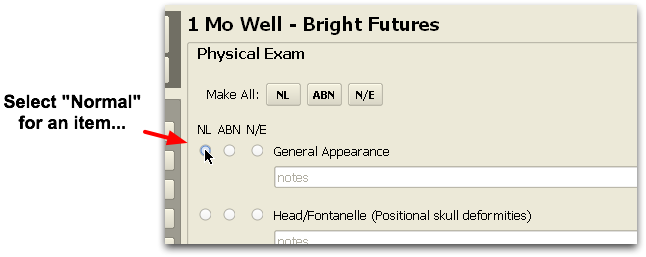
Click on any of the chart note navigation buttons to jump to sections of the chart note. You may also use the scroll bar or the “Next ” and “Previous” buttons to move down through the chart. Chart notes consist of components that provide patient information or provide tools for taking notes, creating orders, or other charting needs.
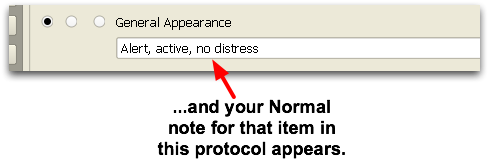
Answer Memory, Last Saved Answer, Configurable Defaults, and Auto-Notes Help You Chart: PCC EHR remembers your common notes and can help you speed up charting. You can configure your practice defaults for many fields, such as blood pressure and temperature method. Many fields can provide a pull-down menu of previous responses and/or display the patient’s last saved answer.

PCC EHR’s Auto-Notes can store and enter your notes quickly for you, based on your selection. Learn more in the Auto-Notes help article.
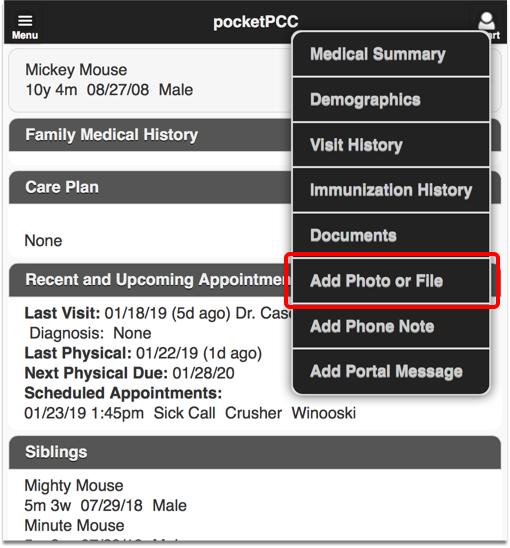
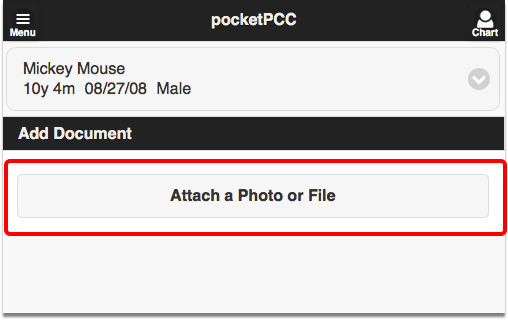
Optional: Add Photo or File Using Your Mobile Device
You can use pocketPCC on your phone or mobile device to add a photo to the chart note.
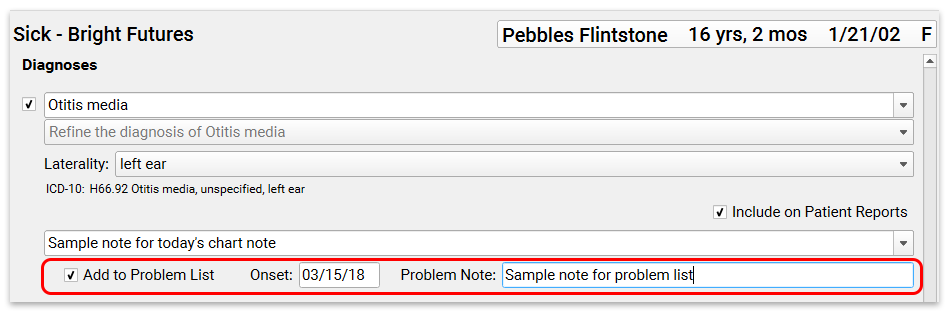
Enter Diagnoses, Update Patient’s Problem List
In the Diagnoses section of a chart note, select or enter diagnoses.
If a diagnosis should be added to the patient’s Problem List or Allergies list, you can do so while charting, as shown below. If a diagnosis is already on the patient’s Problem List, it will be listed first in the drop-down of available diagnoses.
If an item is already on the patient’s Problem List or Allergies list, PCC EHR will indicate that.
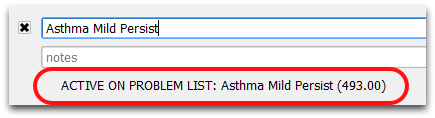
The Problem List and Allergies list appear on the Medical Summary.
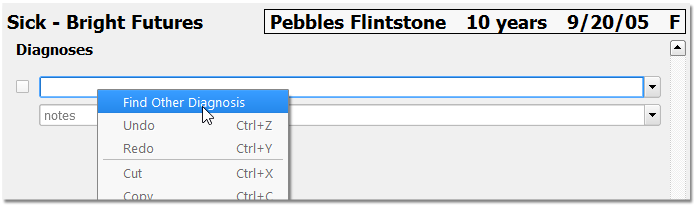
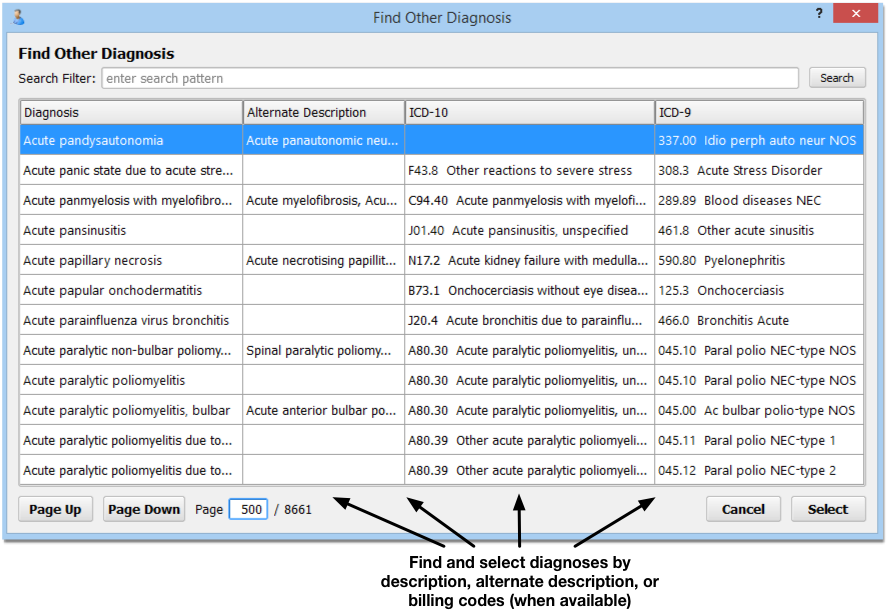
Unusual Diagnosis?: If you can not find a diagnosis by typing, you can right-click to search the entire SNOMED-CT diagnosis list by description or by associated ICD-10 billing code.
Optional: Order a Lab, Immunization, Medical Procedure, or Other Order
Click “Order” next to a lab or other order to create it.
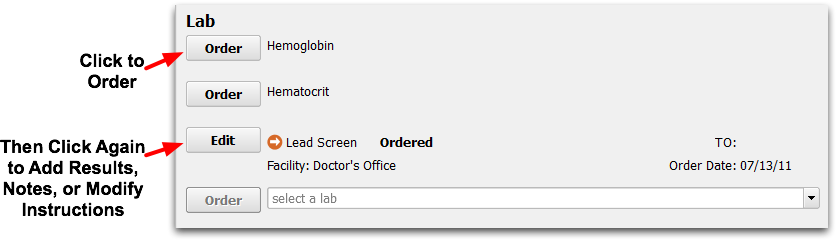
Use the blank entry to find and create an order that is not a default on the chart note.
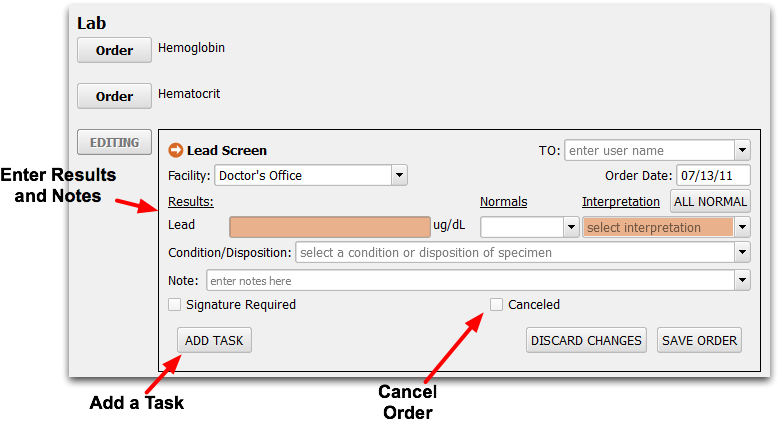
After you click Order, you can click “Edit” and enter notes or modify the tasks that go along with that order (if any). The order’s tasks will appear on the Visit Tasks queue.
PCC EHR remembers how each provider likes each order performed and offers the last task and other settings you used. The notes fields and other order-related details all remember your common entries for easy selection.
Optional: Enter a Prescription or a Refill
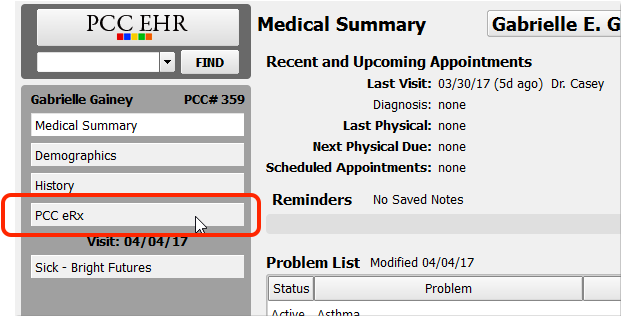
Click on the “PCC eRx” button and use PCC EHR’s integrated prescribing tools to review and update medication history or create a prescription for the patient. You can do this at any time and then return to charting.

Optional: Fulfill Labs, Procedures, or Other Orders
Whenever you order a lab, medical procedure, or other order, your office will see an orange ball indicator on the schedule screen. They can also track orders on the Visit Task queue, and the navigation button for that order is highlighted.
You can grab an order from the chart note (by clicking “Edit”), click the orange ball on the Schedule screen, or find it on the Visit Tasks queue. Then you can complete the order’s tasks, enter results, make notes, or create additional tasks.
Optional: Generate a Visit Summary Report
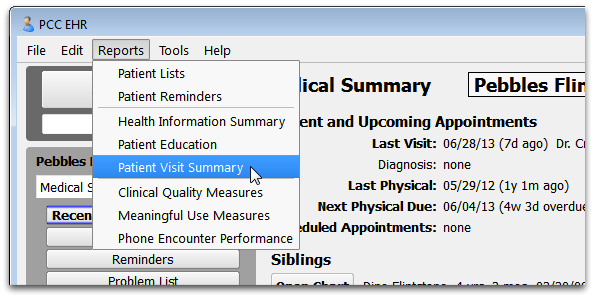
You can generate a handy end-of-visit report for the patient and family. Click “Print Visit Summary”, or select the Patient Visit Summary report from the Reports menu.
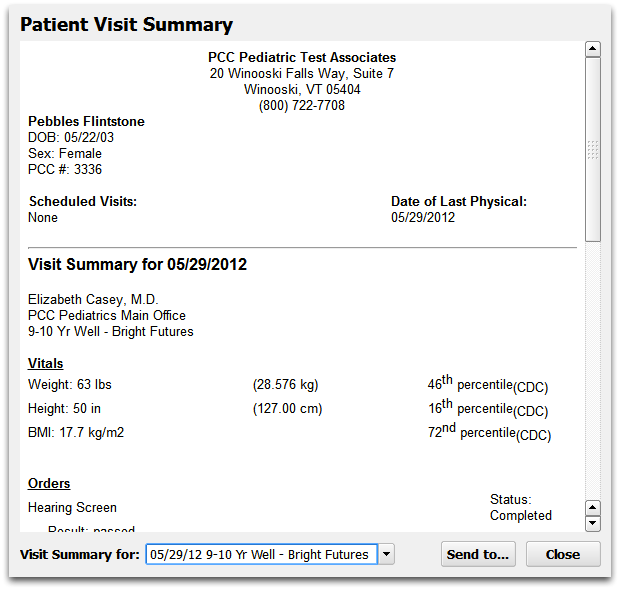
The Visit Summary includes everything that happened today, along with an immunization record and other key patient information.
Optional: Click “Bill Visit” and Make Diagnoses and Procedures Ready For Billing
Click on the “Bill” button at the bottom of the screen to review diagnoses and procedures and select additional items on PCC EHR’s electronic encounter form.


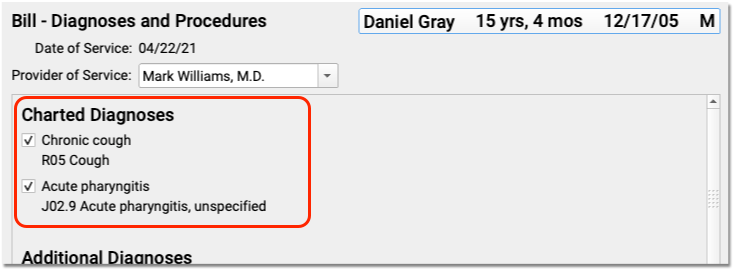
In the Bill window, you can review charted diagnoses and procedures, add the visit code, link diagnoses and procedures, and then send the visit over to the Partner practice management system for billing. For a complete guide, read Send an Encounter to Billing in PCC EHR.
Save Changes, and/or Sign the Visit
At any time during your work on the chart note, click “Save” to save your changes. If you do not click Save, PCC EHR will remind you to save when you close the chart or return to the schedule.
Sign Off On a Visit: You can click the “Sign” button in the lower right-hand corner to sign (and then close) a chart. Unsigned visits, and any orders or documents requiring a signature, also appear together in a list on the Signing queue.
What Happens Next?
After the clinician has charted the exam, selected diagnoses and procedures, confirmed the items on the electronic encounter form, and signed the chart, they are finished.
Other clinicians, the front desk, or other staff at the practice might still need to complete orders for the patient, including scheduling followups, creating referrals and more.
The checkout or billing staff will post charges and queue up a claim. To learn how they do that, read Post Charges and Check Out Patients in PCC EHR.