Use Auto-Notes to Insert Your Standard Text in a Chart Note Field
PCC EHR’s Auto-Notes feature can enter your default notes at the click of a button while you chart.
How Do I Use Auto-Notes?
When you click on a radio button selection while charting, or the “Make All” option at the top of the component, PCC EHR can auto-fill the notes field with your standard note.
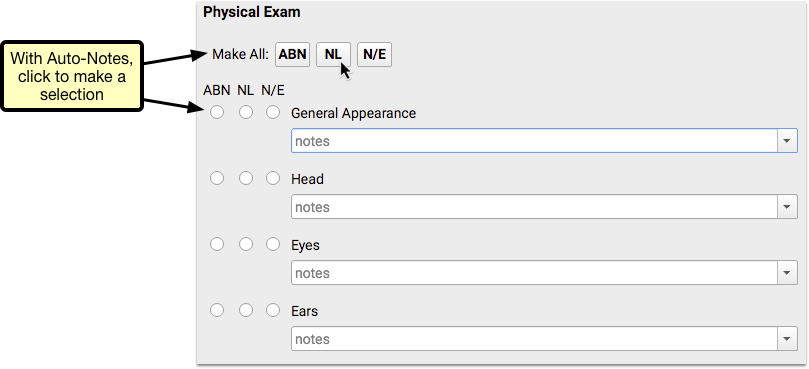
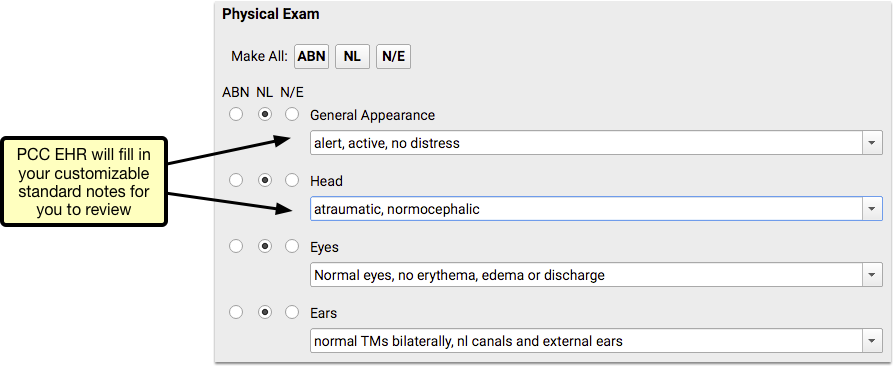
For example, you may have a standard note for what “Normal” means for a physical exam. After you setup Auto-Notes, clicking on “Normal” or “Make All Normal” will add your notes to the chart note automatically. You can then review and confirm or revise the note text, as needed.
Each provider, or your whole practice, can implement standard notes for each choice (i.e. NL, ABN, N/E) for each radio-button style component, for each visit protocol. Read the sections below to learn more.
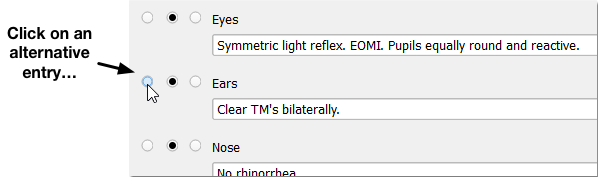
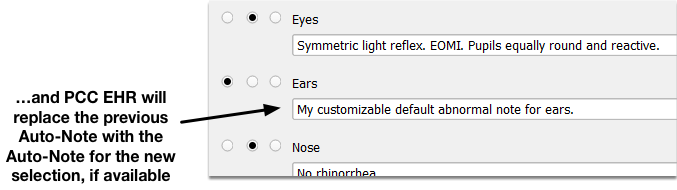
When you click on a new radio button selection, it will either replace the Auto-Note text with your alternate Auto-Note value, or erase the note text.
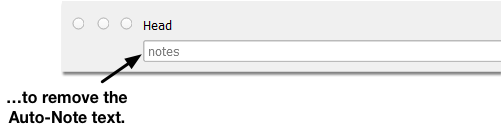
You can also re-click on a selection to deselect it, and PCC EHR will remove the Auto-Note text.

Your Changes Are Never Removed: If you make any change to a note text, PCC EHR will prefer your new note text and will not remove or update the note with the Auto-Note after that point. You can clear the note field to reset the Auto-Note behavior.
Set an Auto-Note
You can set an Auto-Note on the fly, as you chart.
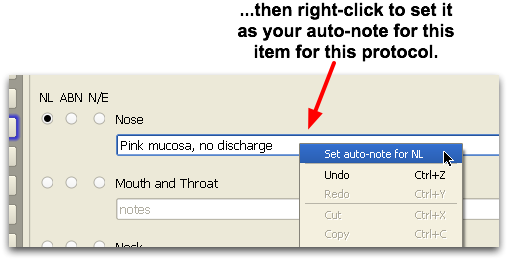
First, make your radio button selection and enter your standard note for that selection.

Next, use your mouse to right-click on the note field and select “Set auto-note for…” from the contextual menu.
Not For Every Chart Note: Your auto-note settings are per-item, per-selection, and per-protocol. You may want a very different note for a teenage physical than for an infant, for example. Therefore, depending on your Protocol Map, you may need to set the same auto-note for several different visit reasons.
Enter and Edit All Auto-Notes
Use the Auto-Notes Configuration tool to edit or enter all of your auto-notes, for each radio component in each protocol.
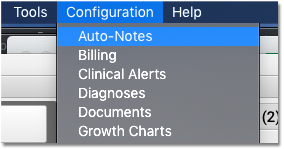
First, run the Auto-Notes Configuration tool from the Tools menu.
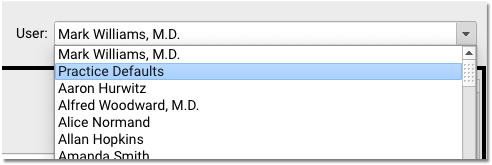
Next, select a protocol and (optionally) a different user.
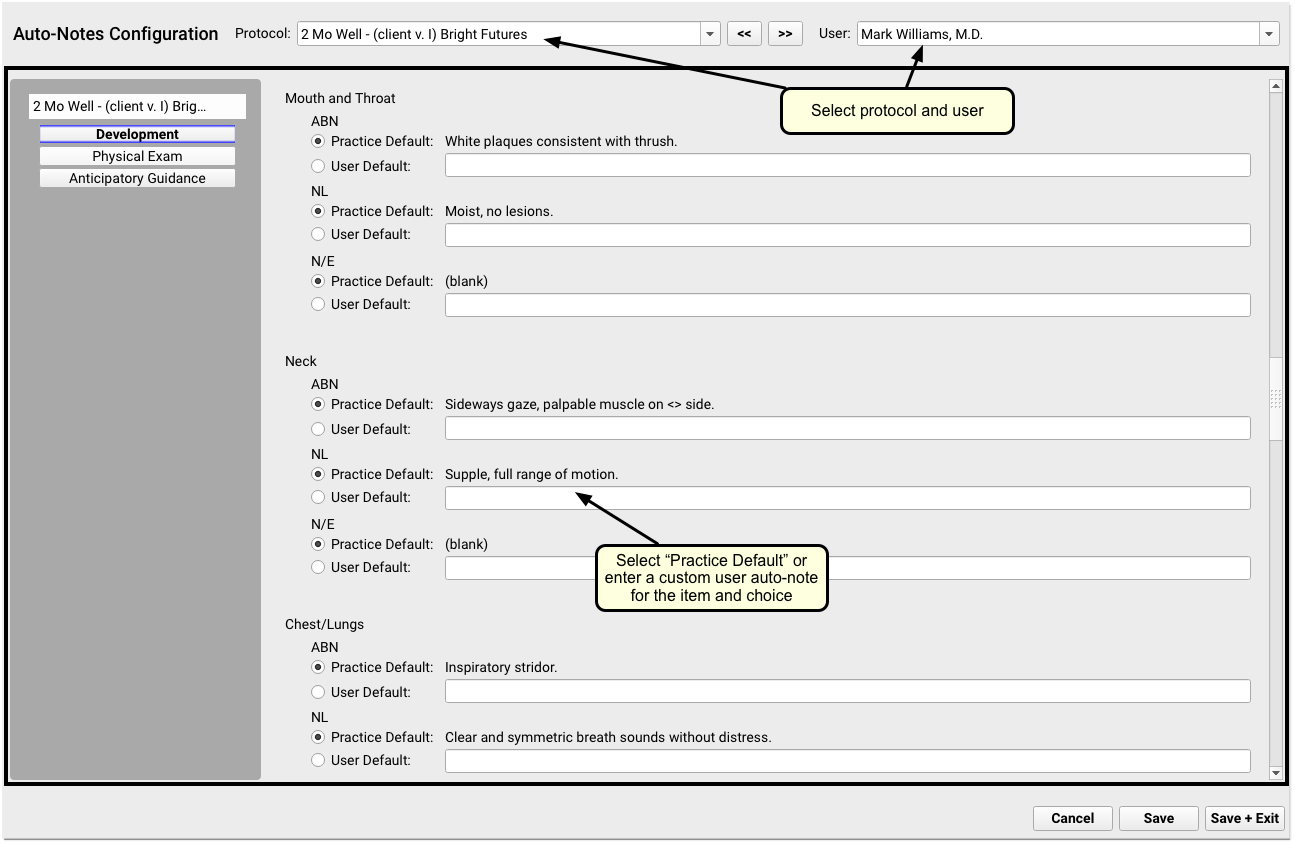
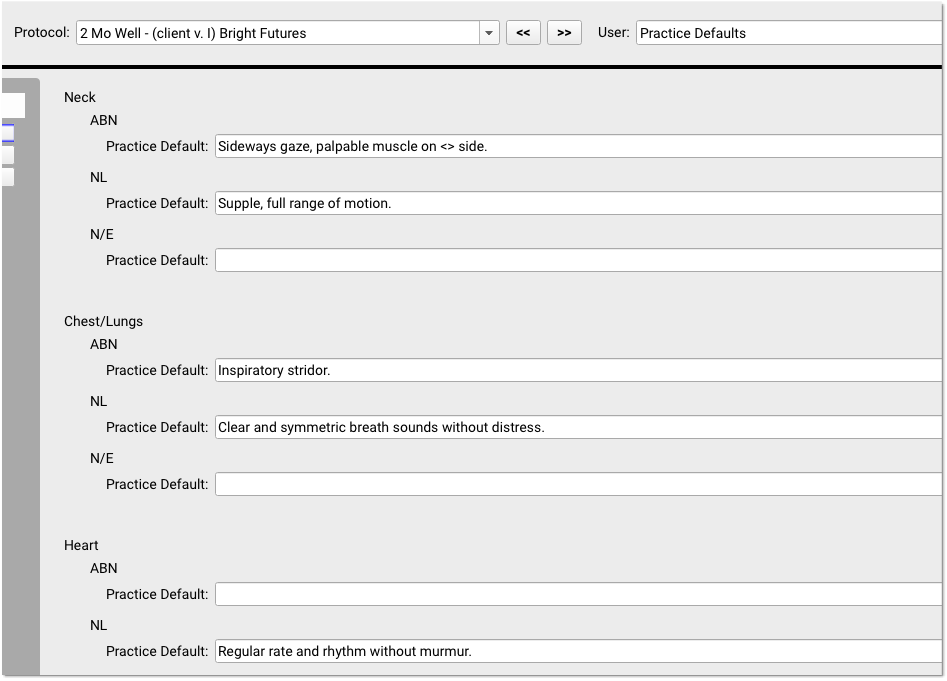
You can review all the radio line sections of the selected protocol. Use either the scrollbar or the anchor buttons to navigate. You can enter Auto-Note answers for each selection for each item, or indicate that you will use the Practice’s Default.
Not All Are Required: You may decide to only enter a “Normal” note for Physical Exam items, and leave the auto-note for “Abnormal” or “Not Examined” blank. You may decide to enter “Normal” auto-notes for just a few items on the chart note, and leave the others blank.
Edit Practice Default: To edit auto-notes for the Practice Default, select the “Practice” option from the User menu.
As you enter practice-wide Auto-Notes, keep in mind that every user and provider may be effected by your changes. Practice defaults should be discussed and agreed upon by all providers, and those PCC EHR users who wish to customize their own auto-notes (or use a blank field) should do so before you create practice-wide Auto-Notes.
You, the Practice, Other Providers: By default, all users have permission to edit their own Auto-Notes. The Auto-Notes Configuration Tool can also edit other providers’ Auto-Notes or enter default Auto-Notes for the entire practice. Permissions for Auto-Note configuration are set in the User Administration Tool. If you are unable to edit Auto-Notes, speak with your office’s PCC EHR system administrator.